Hello Everyone. I am back with your most awaited part -2 for ‘Features of CS5 for every learner’
In part-1 , we discussed the major features that CS6 offers and some of its basic tools. Since I assume we are trying to make it look easy for the beginners or amateurs, we are presenting some other tools which weren’t discussed in part -1.
It allows you to fix anything with your image. You can remove a scratch or anything that does not originally belong to the image. Users are promised to hold more controlled editing for raw files with this tool. Using the Spot Healing Brush Tool with the new Content-Aware Fill, everything is possible to fix the image.
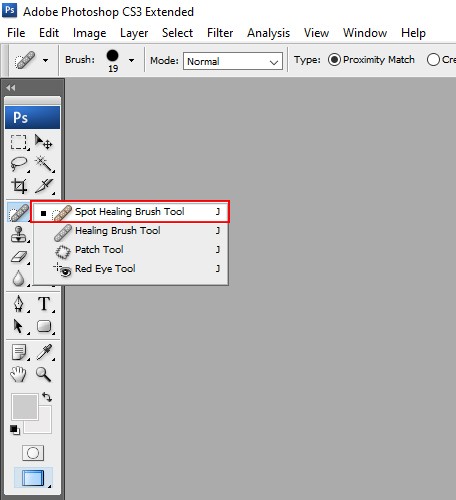
*Red Eye Tool
I know readers, even if you’re no editor, but love to take photos you know this tool, in fact, you must have loved it. Editing Red Eye from a picture or even red reduction is so damn easy using this tool.
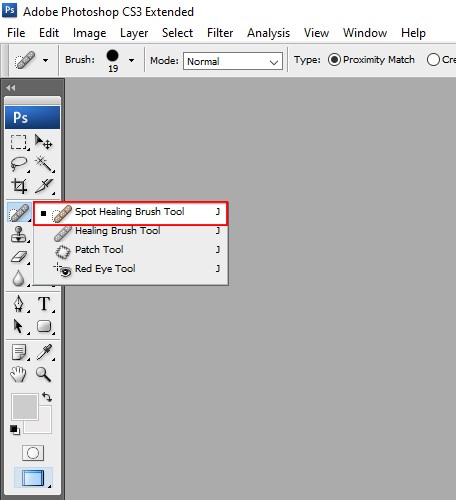
*Brush Tools
These are exactly how the real brushes should be. So that you may achieve maximum real brushing experience. It can be soft, hard, big, round, square, or even completely customized to make your own effects. Also creating digital paintings, one is able to set just how dry, wet, and loaded artistic brush he/ she wants.
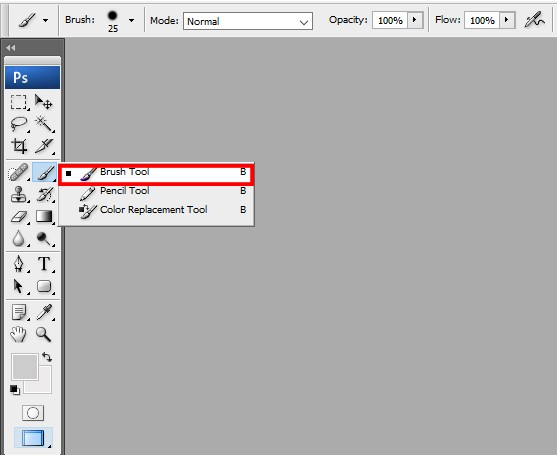
*Pencil Tool
Animated character! Yes, right you are. The pencil allows you just as much as a real pencil would do in your real hand. It allows drawing finest, even 1px square hard-line, which is popular for creating animated characters.
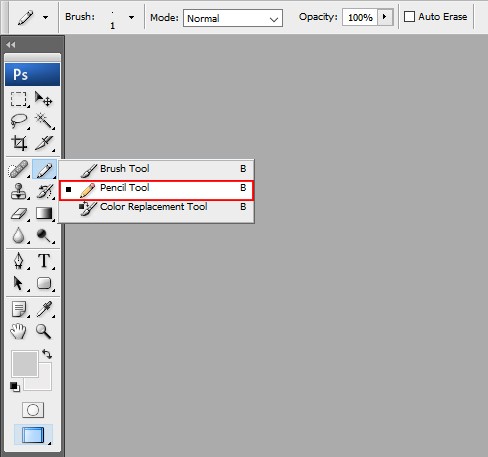
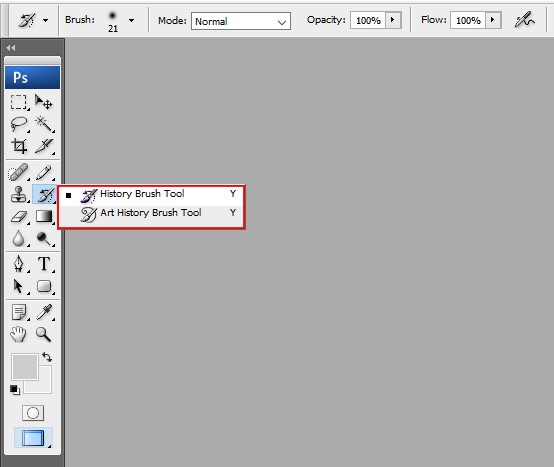
*History Brush Tools
History Brush & Artistic Art History Brush allows you to make time travel possible. These help you to paint over parts of an image, the result will be an earlier version of the image. You can easily turn a brand new image looks like hundreds year old. One can configure the history brush from the History menu.
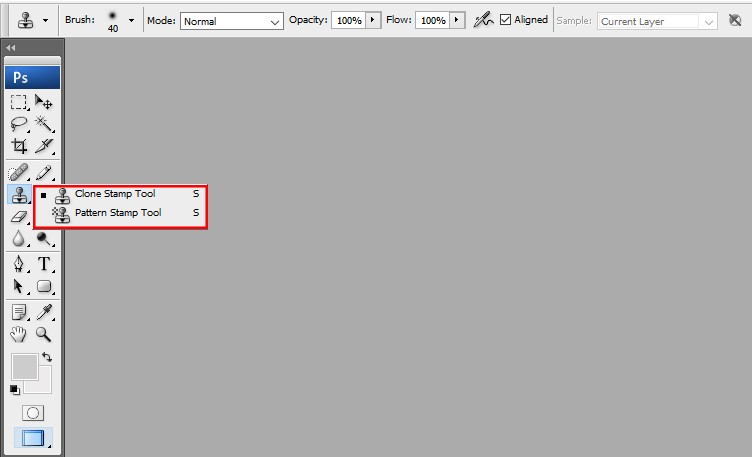
*Clone Stamp Tools
Clone Stamp will let you sample one area of an image and paint over another.
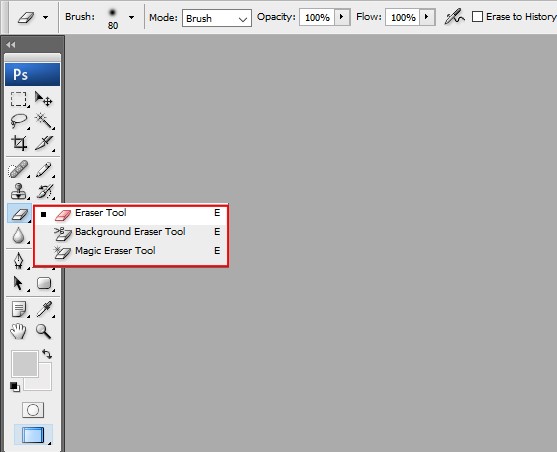
*Eraser Tools
We all know that Eraser erases, don’t we? That is why the erasers are for. Magic Eraser can instantly erase single-color backgrounds.
*Gradient Tool
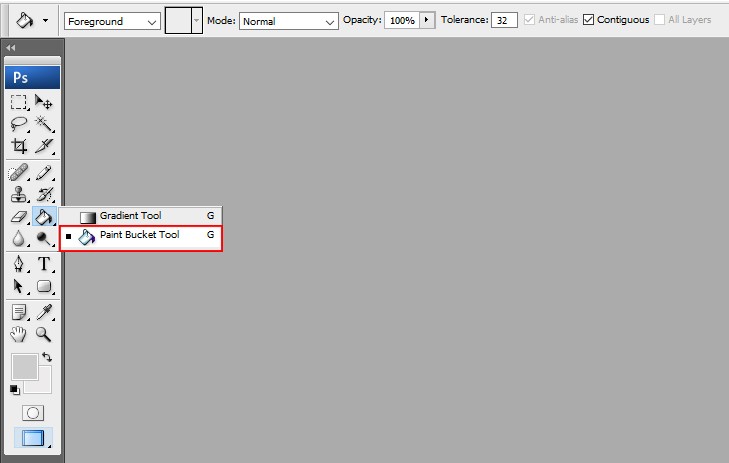
This tool allows you to create color blending in Photoshop. Basically, it allows the users to blend multiple colors, unlike the bucket tool. One can choose from preset gradient fills or can create their own.
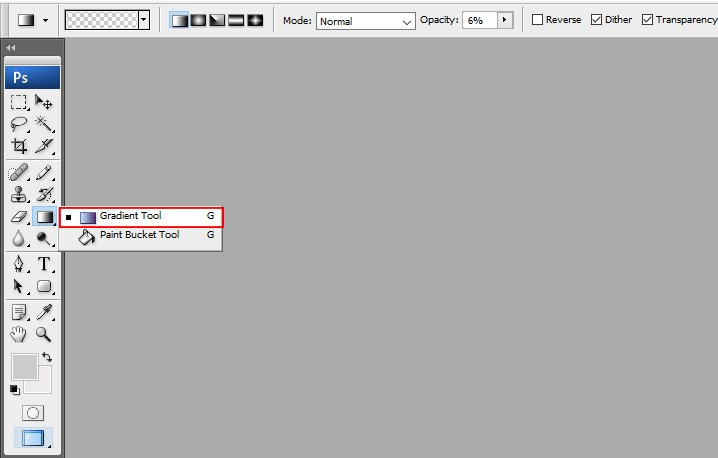
*Paint Bucket Tool
The name calls for Bucket, so pour it! Just like in Microsoft Paint, Photoshop has its own bucket tool. Select any single solid color and pour it on the selected surface with one click.
*Blur Tool
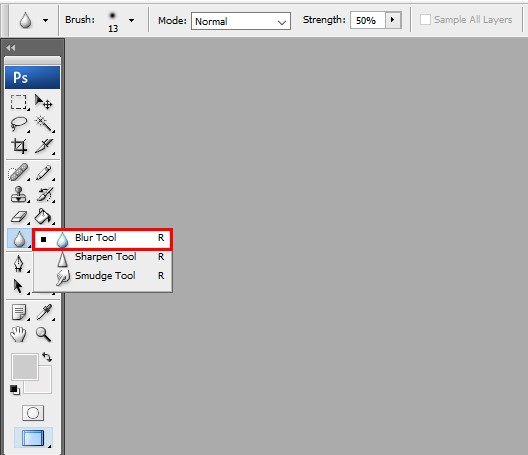
It allows blurring anything that you want to make blurred.
*Sharpen Tool
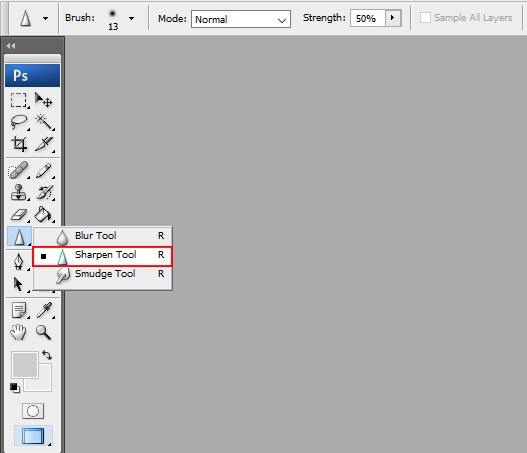
You need to be a little careful while using this tool. Because overdoing it is not a good idea. It makes images sharp and crisp but while zooming in too close will flash out quality loss and color problems.
*Smudge Tool
Smudges the area you want to.

*Dodge Tool
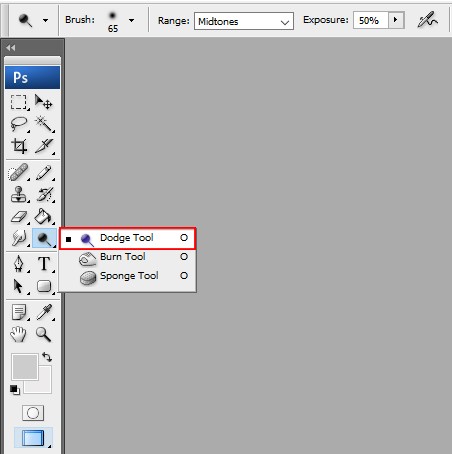
You can use this to create brighter effects. But just like the Sharpen tool, be careful with it.
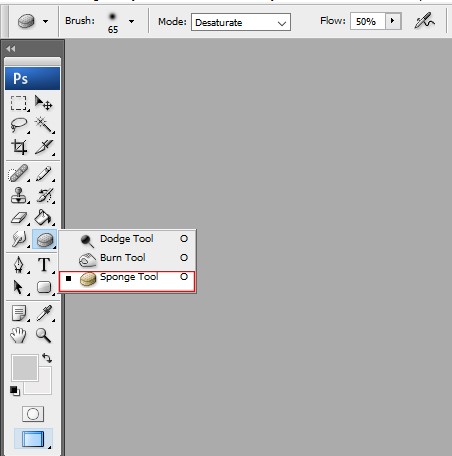
*Sponge Tool
You can use this as much as you wish, unlike Sharpen and smudge tool. It De-saturate color in s snap. The more it is used, the more black-‘n’-white effect will be created.
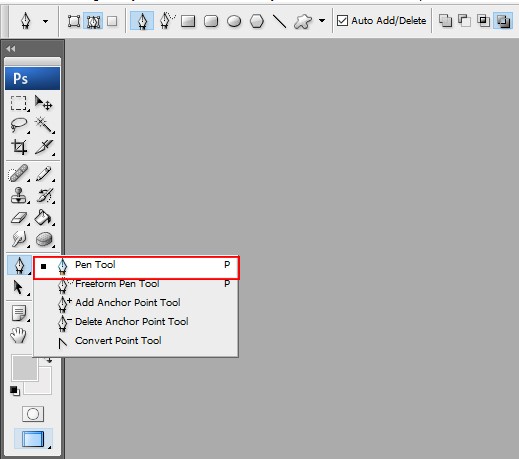
*Pen Tools
Similar to the pencil tool, in this case, we are working with a pen.
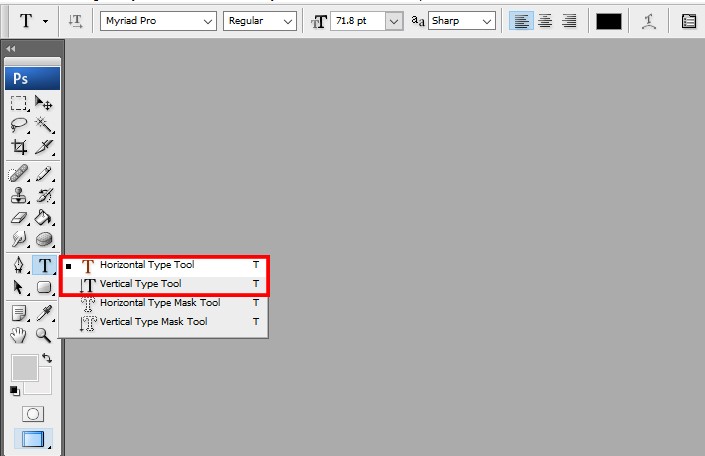
*Type Tools
This tool lets you add text to your image.
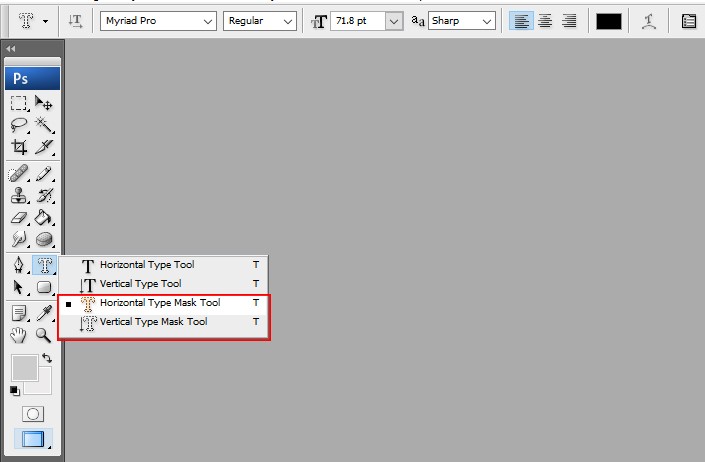
*Type Mask Tools
While the type tool lets you add text to your image, Type Mask Tools makes a selection instead of the actual text. One can make his/her very own text effect with little extra effort using this tool.
*Path Selection Tools
Path Selection Tools are used for selecting and moving paths.
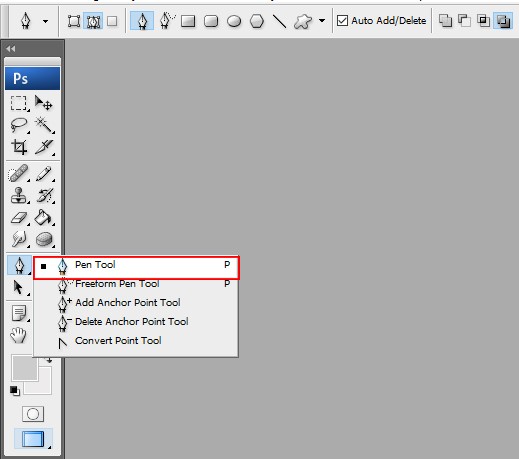
*3D Rotation Tools &3D Camera Rotation Tools
For the 3 D image creators, CS5 has tools like 3D Rotation Tools &3D Camera Rotation Tools. The 3D Camera Rotation Tools allows the camera to be rotated over the image/ objects. These are the tools with advanced features for rotating 3D objects. These are little advanced level, for expertise to be honest.
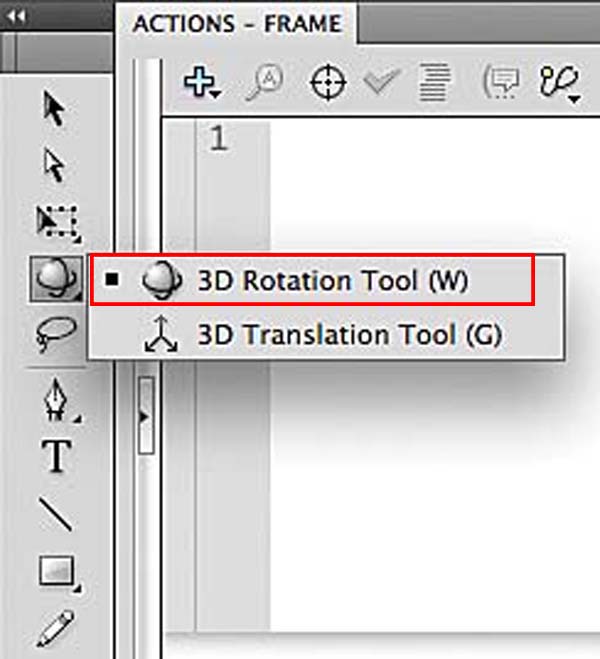
*Rotate View Tool
It’s like rotating the sheet of paper while drawing in real life. It allows rotating the canvas you are working on sideways at a degree of your choice.
*Count Tool
It helps to separate sections within images. Also, it also works as an addition to the note tool as well.
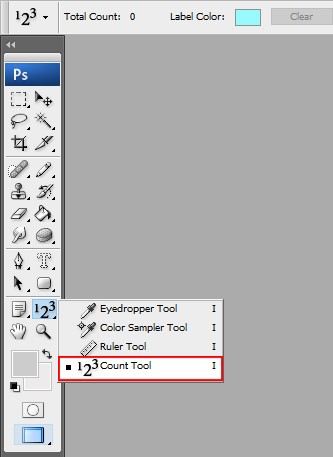
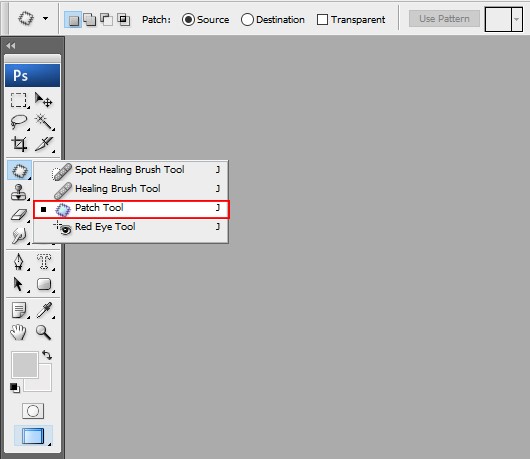
*Patch Tool
The patch tool is very easy to use and remove small objects in low and high detail areas.
Well last but not least, let us talk a little bit about the hardware and pc settings. If you want to maximize your experience with Photoshop, you should make few changes in your working device setting. Definitely, Photoshop needs a lot of memory to run smooth than any other apps. For proper changes to run it flawlessly, click on Edit > Preferences >Performance. In the Memory Usagesection grab the slider close to that little “+”, putting on ‘maximum’.
If you have limited space on one hard drive but another drive with more space, then head over to Scratch Disks. Select which drive the temporary Photoshop files you need to be saved. If you have a weaker GPU, enable OpenGL Drawings, and go to the Advanced Settings button, and put on your Mode, Vertical Sync, and Anti-Aliasing. You can keep the mode at Normal, but the Vertical Sync and Anti-Aliasing should be on for the best visual appearance. Now press OK twice if you are happy with your customized settings, and you are ready to go! Happy Photoshopping.