The newbies are always trying to get the perfect tutorials for them which will help them to learn the advanced tips and tricks of Photoshop. The bloggers are also interested to learn how they can improve their blogging by implementing high-quality photo editing services. In this blog, we will share some advanced tips and tricks that will help you to be an advanced blogger. Let’s discuss “3 Awesome Photoshop Tutorials for Bloggers”
How to create a clipping mask in Photoshop?
It is a step-by-step method and you need to maintain all the rules and regulations here. Do not mix them up and try to be the focus. Hopefully, it will be an easy guideline for the newbies.
Step 1
Firstly, you have to create a new document in Adobe Photoshop and there type some word like Hello world. Try to keep things simple and straight. You can choose a font style as your wish.

Step 2
Now your task is to create a new layer on top of the existing layer you have right now. It can be done by clicking the layer and go to the new layer. Now you can draw whatever you wish to draw here. For making a simple experiment you can try some colorful scribbles.
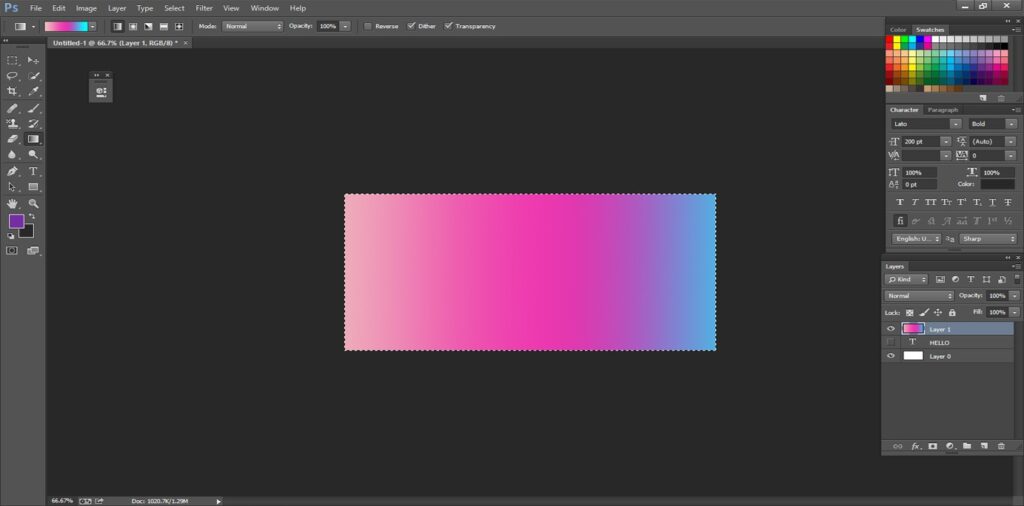
Step 3
You need to confirm that the new layer is highlighted within the layer’s panel. Now you can click the layer and then go to the clipping mask option in the drop-down menu bar. A simple shortcut will hover between these two layers. A noticeable arrow will pop up when you will click them. After that, it will create the clipping mask for yourself.
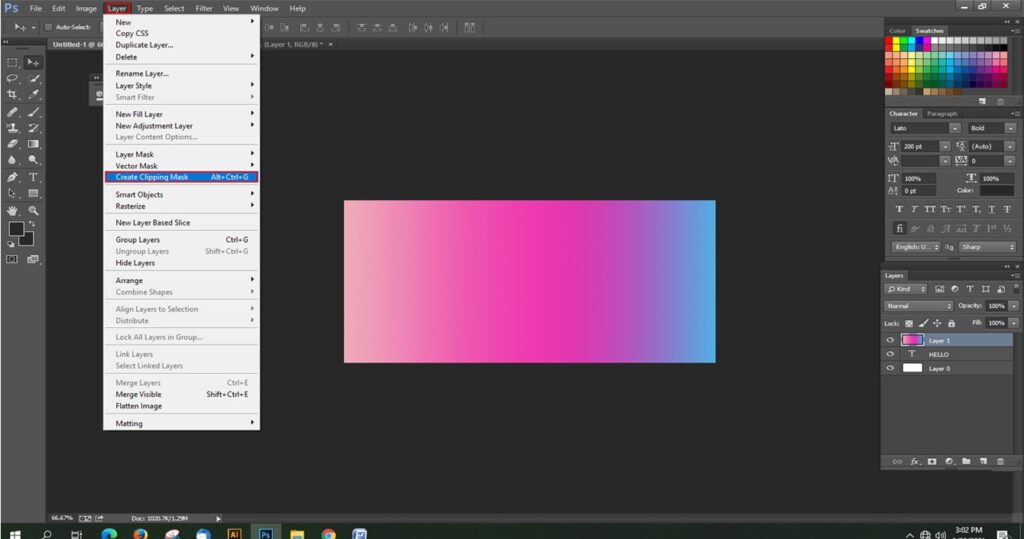
Step 4
Alternatively, without creating a second layer in step 2, you could simply drag a photo or another graphic on top of the text. In this example, I dragged a shiny gold image into the given document where we are experimenting now. Now, press the button for a clipping mask, automatically the words will take effect on the image. That is the perfect example of a clipping mask. Hope you got it.
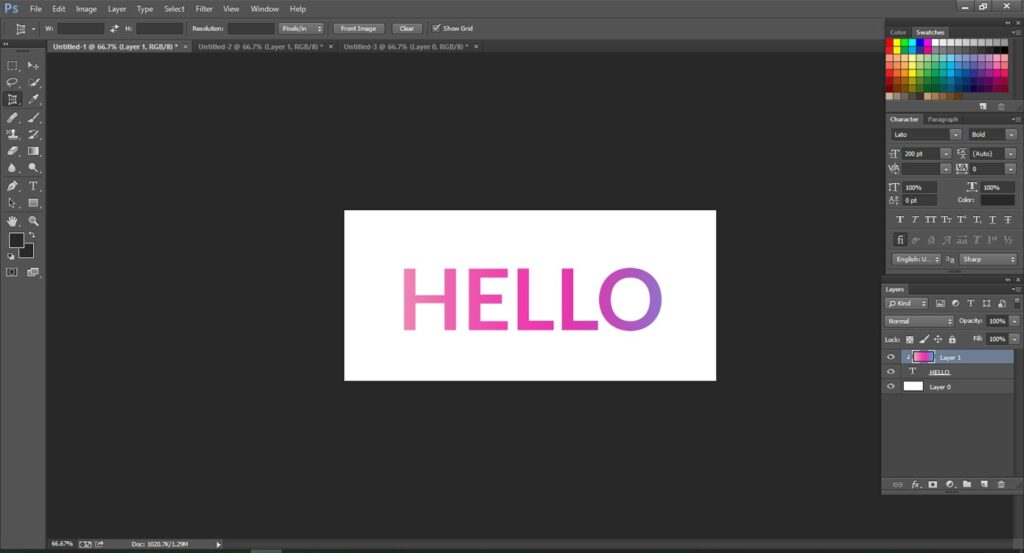
YouTube videos on pinnable blog graphics
You can simply create a pinnable video for the blog site. It can be done within the blog itself. For that reason, firstly, you have to make a perfect video related to your blog and then upload it onto the personal channel. In that case, by using Adobe Photoshop you can create a great thumbnail. I believe it will help you to increase some views. A good thumbnail is a key to increase the views as well as creating the stability of your channel.
Firstly, take the most sensational moment of your videos which will catch the mind of general users. Create a sensational Headline that will also be the crucial point for the users. Now try to adjust the color and hue by using the color palette. The color of your thumbnail should not be too light or dark and it needs to be adjusted to the user’s eyes. Now you have to resize them in perfect shape. It is (1280/720) px.
When we are blogging for something not everything is in our favor and in that case, sometimes we have to hide something from there. In that case, we might need to use the blur tool in Photoshop. Let’s discuss how you can use it?
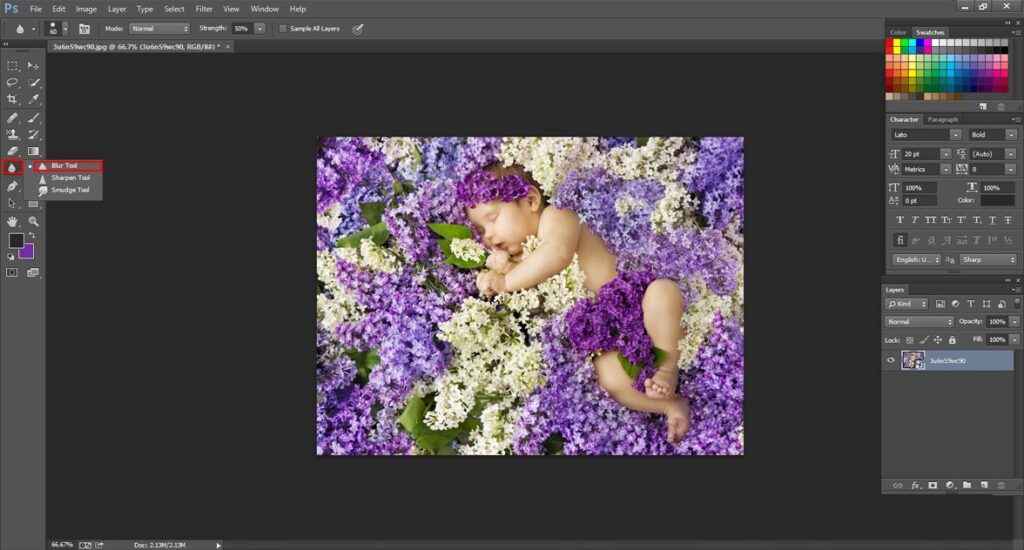
3.Now in your blogging image, you need to paint on the specific areas that you wish to blur. It has to be done successfully.
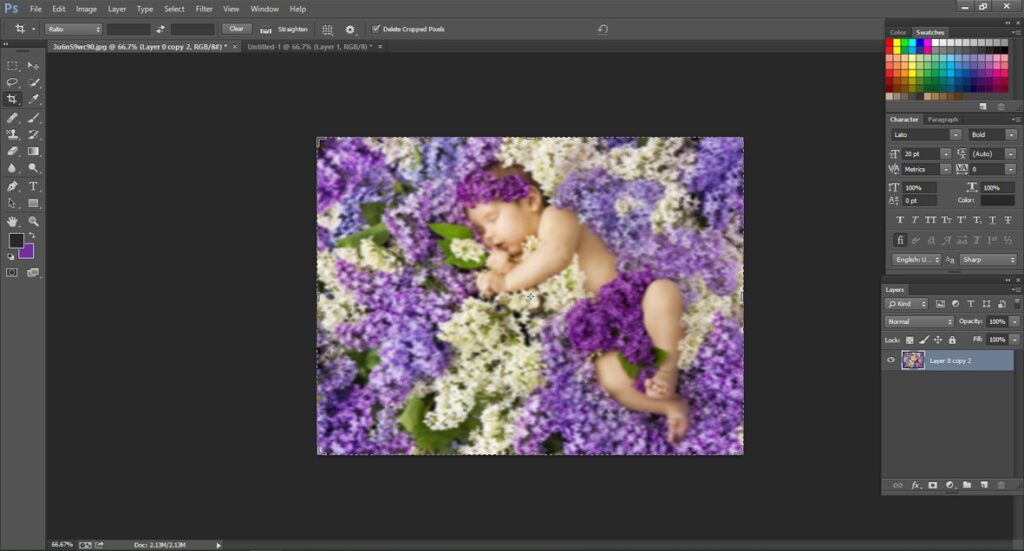
4.After finishing the blurring task, you can save them. Be careful while you are doing that. Do not hide the necessary parts of your image it will make the image meaningless.
I believe these tips will be helpful for you especially when you are starting blogging. Some advance tips and tricks will make your work easier than the previous time. If you like to know more about the tips do not hesitate to comment below.