A mockup will help us to portray the beauty of the scenery. If you got a real feeling here that will be an added advantage. Through mockup, we can generate the business idea, and later on, it can be implemented on the business platform. The realistic mockup is something that will catch our minds and force us to rethink this topic. Mockups are pretty easy to make by using Adobe Photoshop and you need some basic design skills in this perspective. Let’s discuss “How to create realistic Mockups in Photoshop?”
To start this journey, we need to download a stock image and later on open it by Adobe Photoshop. This is a very simple task and you can do that within a few seconds. Let me remind you of some tricks that you need to consider here. If you download this image from any stock provider be sure that it is royalty-free. Otherwise, you might fall into deep trouble. You can directly search for a royalty-free image.

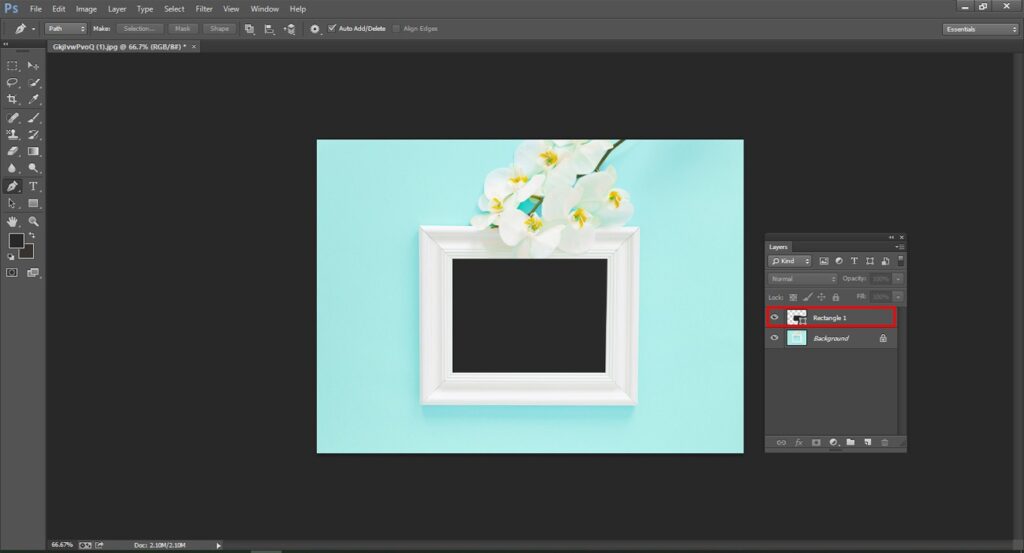
Now it’s time to draw a shape for your users. It has to be perfect anyway. While doing this please be sure that your drawing will cover up the entire image. You can use Photoshop guides to make it perfect.
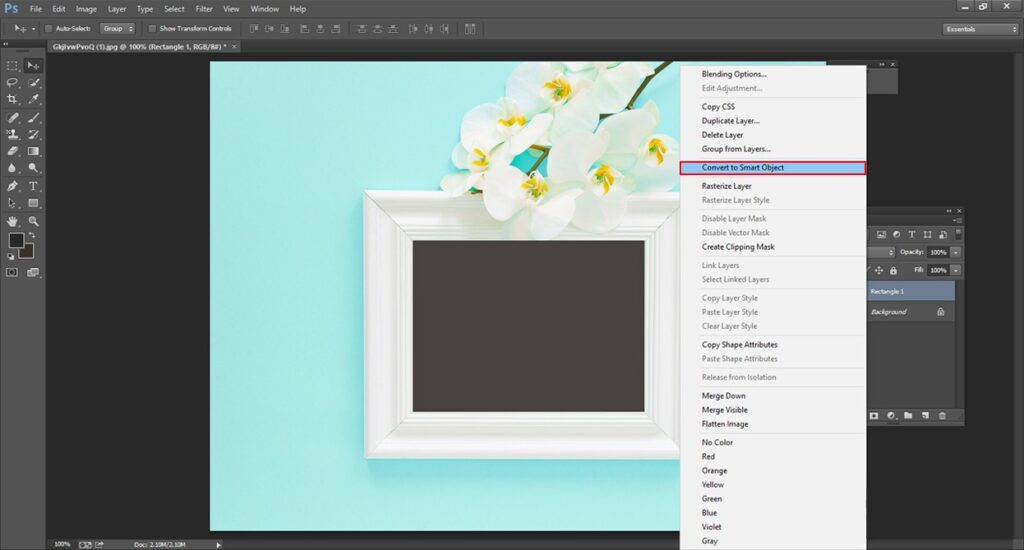
Before starting this session, you need to fit the image into the box perfectly. Otherwise, all the attempts will have ended in the smoke. For converting this shape into a smart object you need to right-click the layer and after that convert it to the smart object. You will easily find that option from there.
We need to place the object perfectly into the frame and the presentation must have to be okay. In that case, we are suggesting you use the transform tool. Firstly, from the menu bar please click the edit option and then select transform and press the distort button. Now you can start editing the shape of the given smart object.
While you are doing this, please reduce the opacity from the layer’s panel. It will allow you to see the underneath image perfectly. You need to click and drag the corner for getting the appropriate shape for your users. If you have a rounded or a customized shape it might need more and more customization.
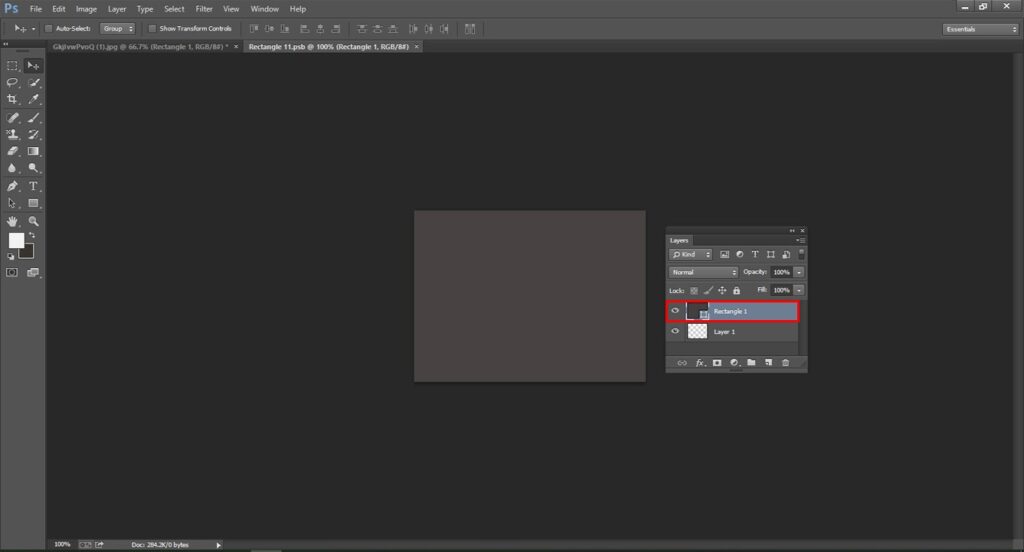
If you complete all the things completely then try to add the image into the mockup. Firstly, you have to double-click the smart object thumbnail in the layer’s panel. You have to click on the image icon in the layer’s panel. When it will have done, you will notice a pop-up window. If the shape is awful to you then you need to customize them.
Now, open the product images in Photoshop. You can easily drag and drop the new images on the screen by using the move tool. Now click the save option and close the window perfectly. Do not close the Photoshop yet. As we still need her to edit more.
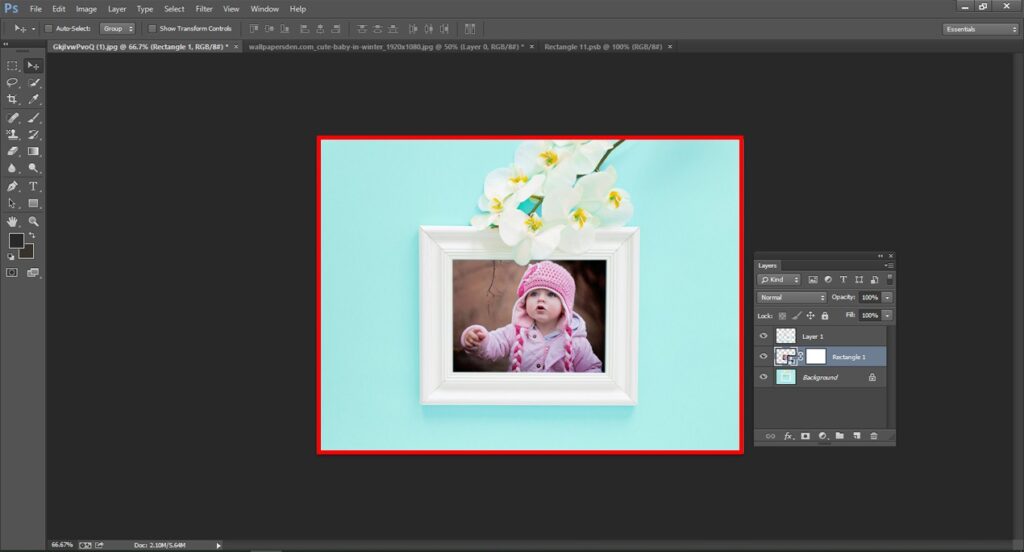
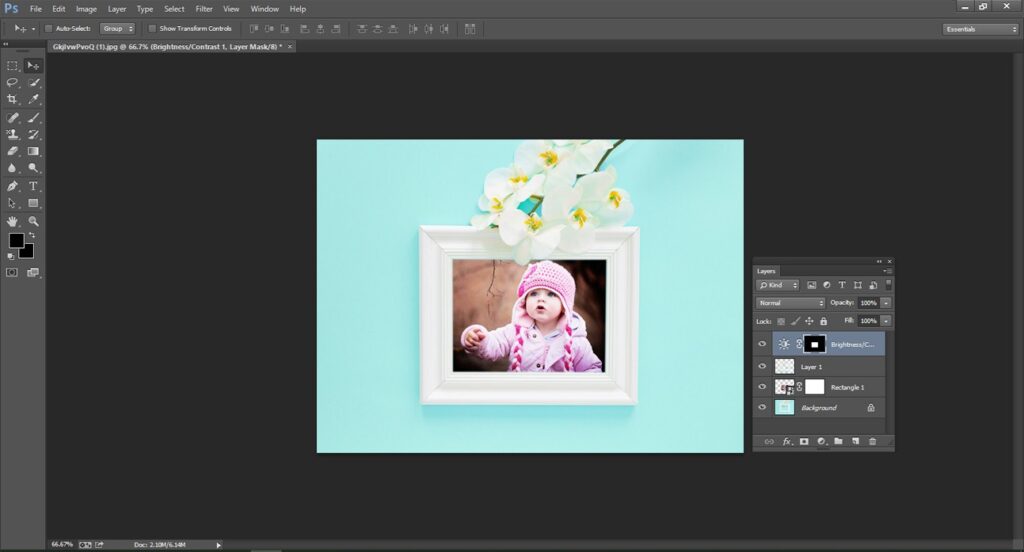
Now, when you get back to the original one. It will be a surprise for the users. Look awesome! Right? At this point, you can simply leave the mockup or you can make it even more interesting than the previous time. Now check out some essential things that will make your images to the next level of perfection.
Please follow our step-by-step guidelines to succeed in this journey. Hopefully, it will help you learn from the very basic. If you feel any trouble just watch some video tutorials on, YouTube. Have a great day!


