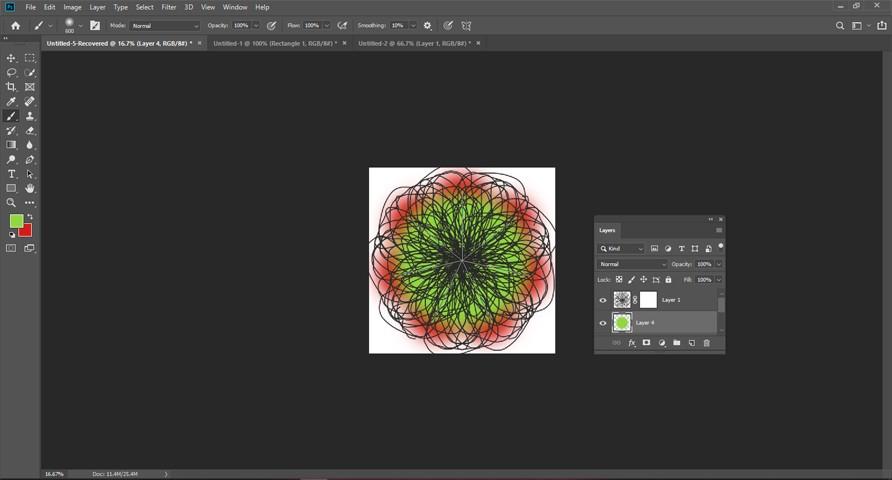
Using paint symmetry , you can draw various unique design . In paint symmetry, Photo-shop permits us to paint several brushes at once . You can create mirror-image design , so many styles . To design all these things , you can use brush tool , eraser tool or layer masks also . In photo-shop CC 2019 , you will get two new symmetry option , one radial option and the other one is mandala option . Applying mandala symmetry path and radial symmetry path you can create really innovative design . It is very interesting also . In this article , I will describe how to use paint symmetry in photo-shop CC 2019 .
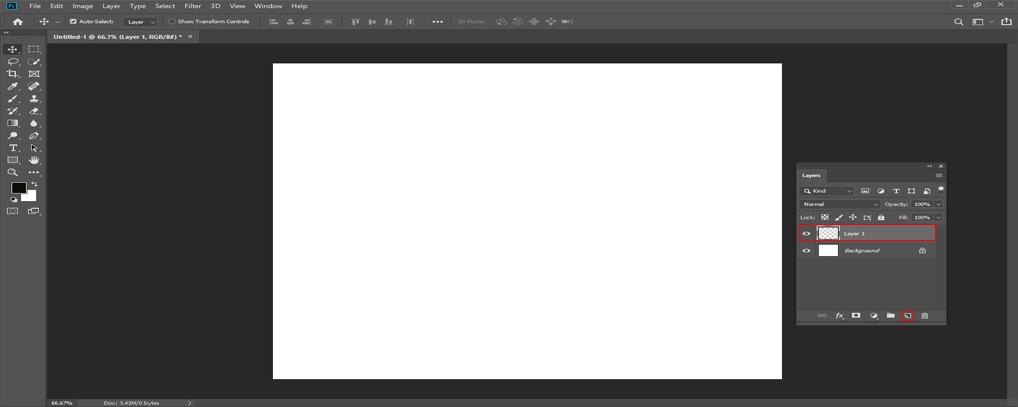
Step 1: Include a new layer : From the layers panel , press on the new layer symbol to include a new layer.
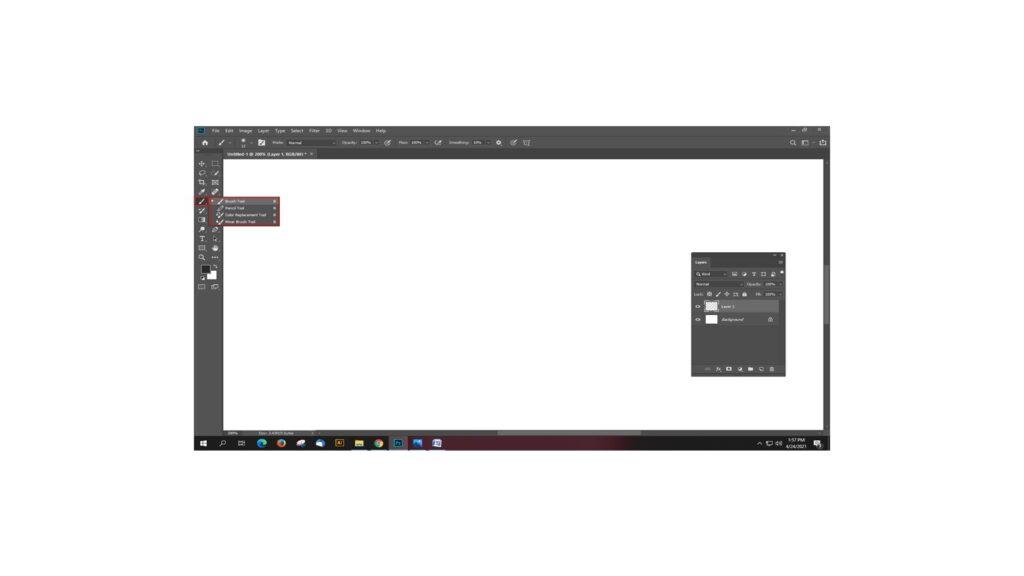
Step 2: Choose any one of them (Brush tool , eraser tool or pencil tool) :To use the paint symmetry in photo-shop , you need to select either brush tool , eraser tool or pencil tool . Go to the tool bar < Choose either Brush tool , eraser tool or pencil tool. For example, select brush tool.
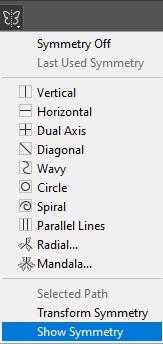
Step 3: Go to the paint symmetry option: As soon you select the brush , a paint symmetry symbol or a butterfly symbol arrives in the menu bar. To open it , Press on that butterfly symbol .

Step 4: Select any symmetry option: From the menu , pick out any symmetry option. There are ten symmetry options available in photo-shop CC 2019. They are vertical , horizontal , dual axis, diagonal , wavy, circle, spiral, parallel lines, radial and mandala. Select any one of them as you wish. Lets select the dual axis option. Dual axis option separates the whole canvas into four parts. This option is a mash-up or mixture of horizontal and vertical options .
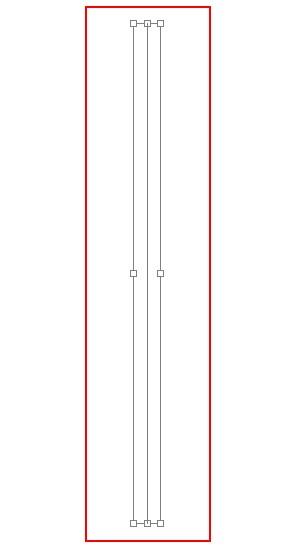
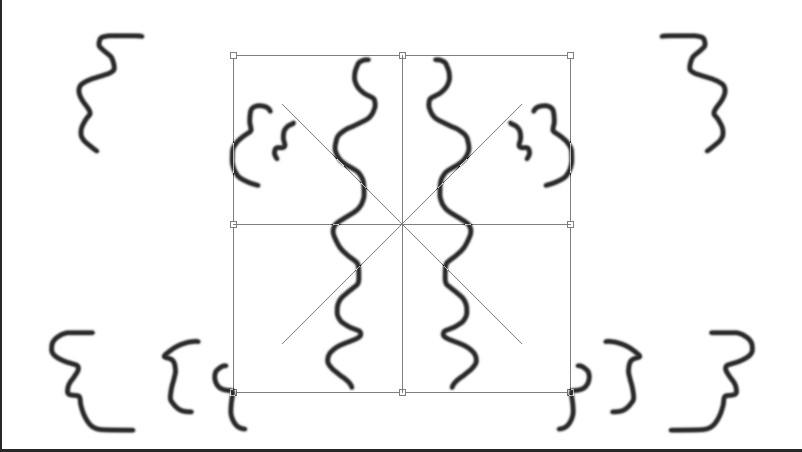
Step 5: Draw symmetry path: When you select the symmetry option ,it includes a blue border to your document. It separates the entire canvas into four equal parts.

Step 6: Alter the size and receive the path : Before painting , photo-shop sets a transform box throughout the path . With the help of it, you can easily resize it, if it is required. Symmetry path works for the whole canvas in any cases of the paths original size. If you paint externally , it will create the same effect on the inside of the frame also . For resizing the path , pull any handles to balance the path equivalently. If you want to balance the path from middle , click and press on the ALT key as you pull a handle. You can relocate the path in any other position in your document . Just press and pull on the inside of the transform box. Also , Press on the ticked-mark option to receive the path. Also you can press on the enter key (Windows) or return key (mac version).
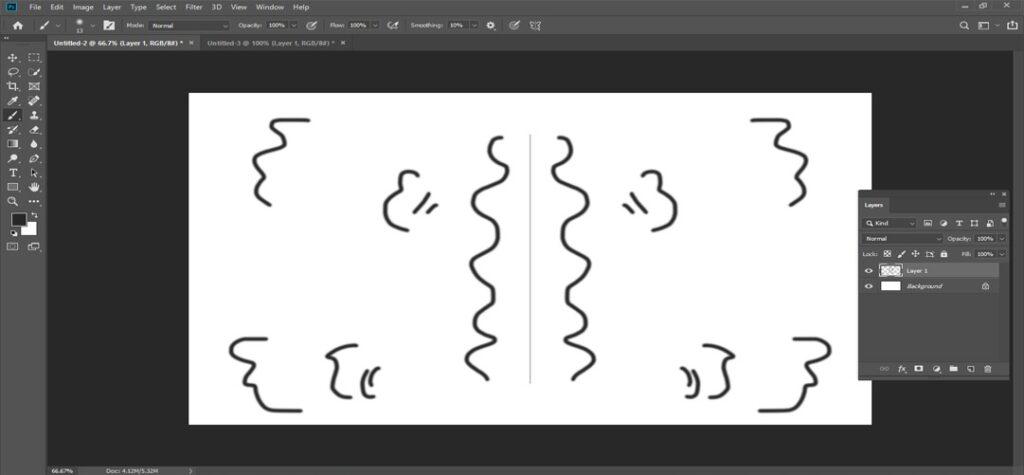
Step 7: Start painting and get mirror-image of that painting: Start painting on the inside of the frame. Paint in one portions and photo-shop naturally duplicate it and creates mirror-image on the other side. Paint more and more and create a complicated and amazing design.
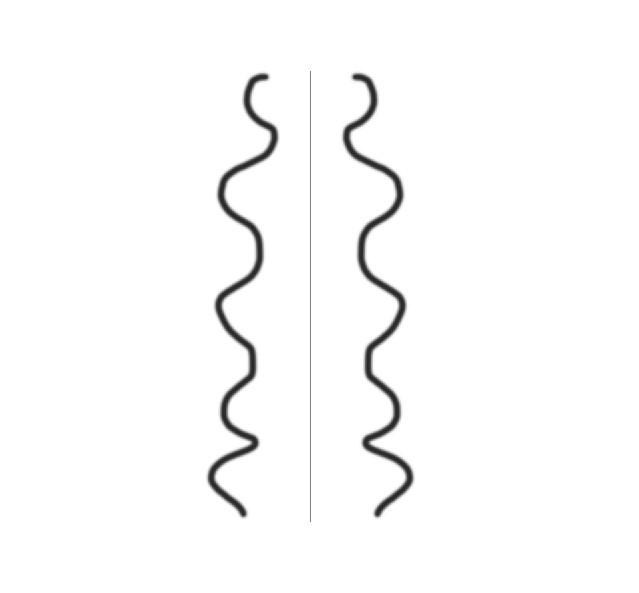
Step 8 : How to conceal symmetry Path : If you want to see your design without the blue path , then conceal the blue path. Press on the butterfly symbol or paint symmetry symbol < Select the hide symmetry option. Now you can see the whole design that you have created. You can still paint if you want .
Step 9: Get back the “show symmetry option” : To bring back the show symmetry option, go to the menu bar < select butterfly symbol < Select “show symmetry”.
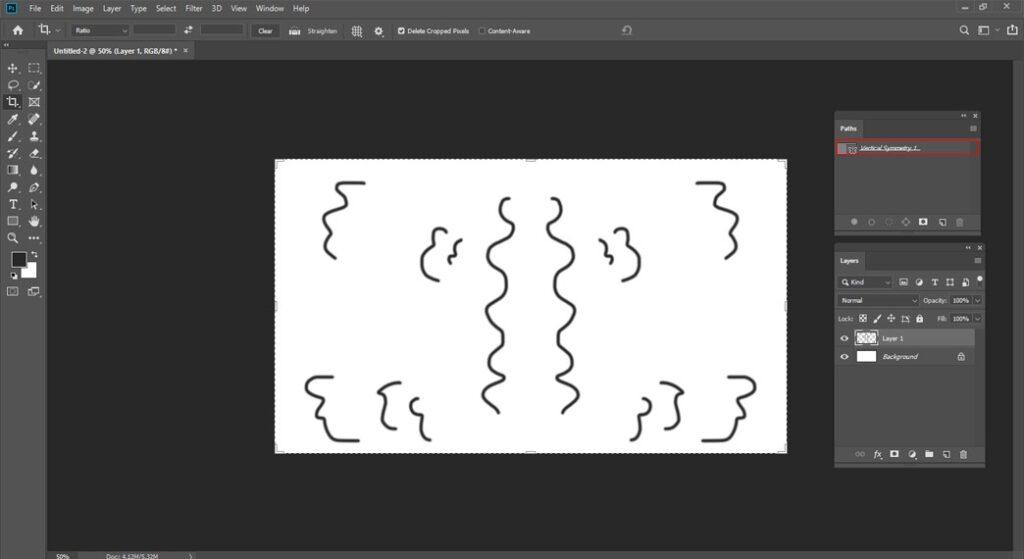
Step 10 : Observe the symmetry path from the path panel: Symmetry path becomes visible in path panel exactly like normal paths in Photo-shop . Path name is dual axis symmetry1. Butterfly symbol will be there in the bottom. It describes that it is symmetry path as well as it it in active mode. You can contain many symmetry paths in one document but you can operate one path at a time.
How to use radial symmetry option :
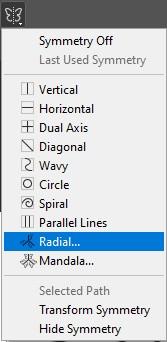
Step 1: Pick out the radial option: Go to the butterfly symbol < Select radial option.
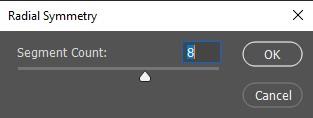
Step 2: Place the the segment value : Set the segment value . Give the value between 2 – 12 . Do not give the value more than 12.
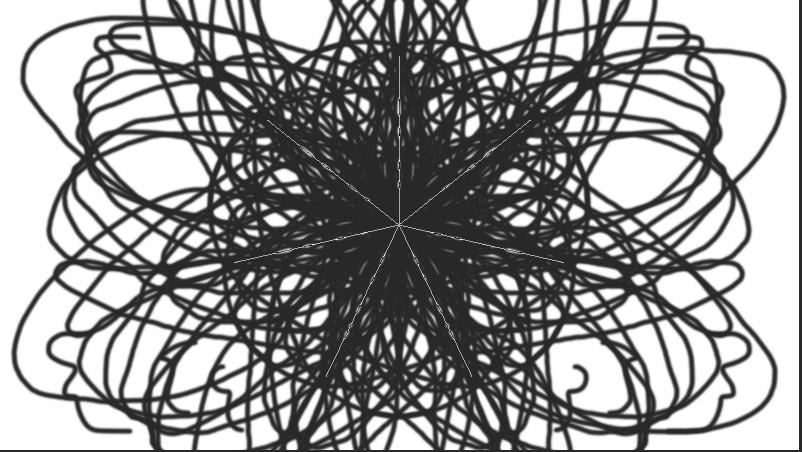
Step 3: Start painting in one segments : Start painting on the inside one of the portions. Paint in one portions and photo-shop naturally duplicate it and creates mirror-image on the other side. Paint more and more and create a complicated and amazing design.
How to apply the mandala symmetry option :
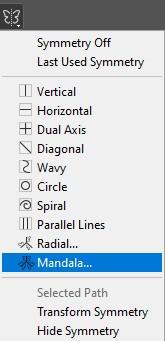
Step 1: Select the mandala option : Go to the path symmetry option < Select mandala option.
Step 2: Place the segment value : Set the segment value . Give the value . Do not set the value more than 10 . Manage the number between 10.
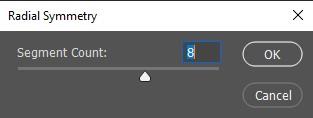
Step 3: Start painting in one single segments : Start painting like before . Paint in one portions and photo-shop naturally duplicate it and creates mirror-image on the other side. Paint more and more and create a complicated and amazing design.
What should you do if any error happens : Painting symmetrical design is really exciting and interesting too. But sometimes mistakes may occur during painting. If you do not like the design that you have designed , you can erase it . Simply press on the CTRL +Z (WINDOWS) OR Command + Z (FOR MAC) and click on the shortcut command to undo the design. If you want to redo it then simply use this command : SHIFT + CTRL + Z (Windows platform) Or SHIFT+COMMAND+Z (MAC platform).
How to control the symmetry paths : Photo-shop allows us to include many symmetry path in the same document. When you include any path, it displays in the path panel. When any path shows butterfly symbol in the bottom of the right side , this means it is in active mode. You can work with one symmetry path at a time . If you want to go to one symmetry path to another ,then go to the desired symmetry path < right click of that path or control click of that path < select the option “Make symmetry path”. By doing so , you can shut down the previous symmetry path (for example , it was mandala symmetry) and turn on the new one (for example , radial symmetry) . Now you can paint .
How to use the “Last used symmetry mode ”: If you want to go the last used symmetry mode from the present symmetry path , go to the menu bar < press on the butterfly symbol < select last used symmetry .
Symmetry off Option : go to the menu bar < press on the butterfly symbol < select “symmetry Off ” option.
How to use Layer mask for paint symmetry:
Lets create radial gradient on the backdrop layer. Look at the layers panel. There is a black filled layer upward of the gradient. Turn on the eye symbol . Whole file has turned into black.
Step 1: Include a layer mask : Go to the layers panel < select the add layer mask symbol. A layer mask arrives .
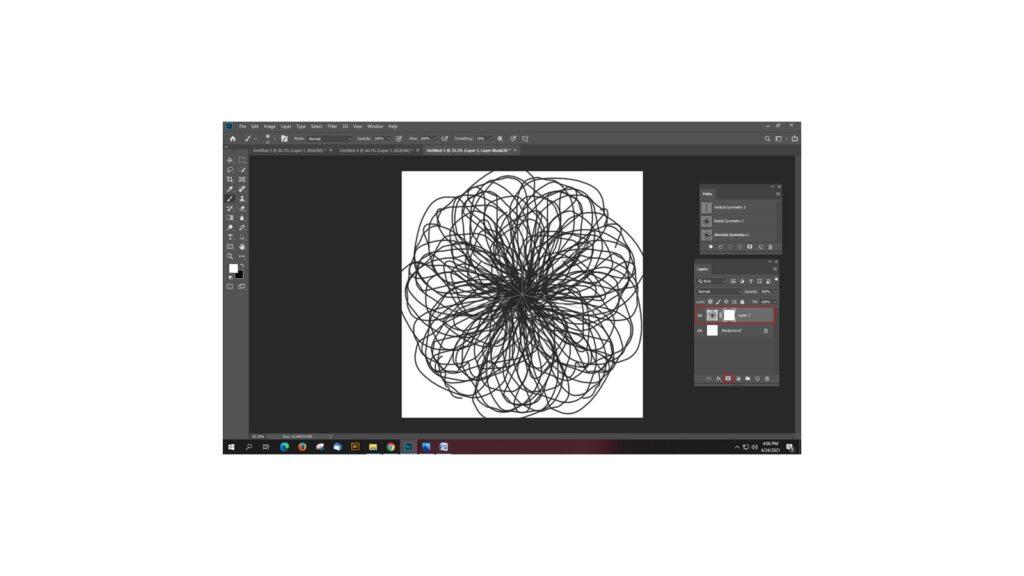
Step 2: Choose the brush tool : Go to the tool bar < choose brush tool .

Step 3: Fix the forefront color as black : Set the forefront color as black if you want to conceal the top layer in the portions from where the symmetry effect arrives.
Step 4:Select any one of the paint symmetry option: Go to the symmetry option < select mandala or any other option . You can choose any symmetry option for your design . Photo-shop includes a mandala symmetry path. Click on the enter (windows) or return key (mac).
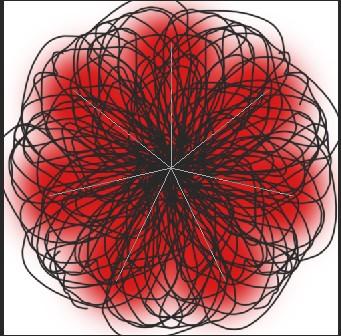
Step 5: Start painting over the layer mask : To conceal the present layer and show the layer beneath it , just paint over the layer mask. When the symmetry effect extends , many layers are displayed. Also you can include more brush design in the symmetry effect to create more beautiful design .
