Have you ever tried to separate a part of the image from the entire photo or like to edit it in a different direction? In this case, you need to separate every part of it. To do that, there are several selection tools are available in Adobe Photoshop. Not all of them are equally fruitful in the era of the photo editing business. In that case, the pen tool can be the perfect choice for the designers. In this tutorial, we will discuss “making selections with the pen tool in Photoshop” Let’s go for a detailed discussion.
This is a very common question that almost every newbie designer will ask that why we should go for a pen tool rather than using some other different tools. Yes, in some cases, you might use a magic wand tool or something else but they are not accurate when we are thinking of the efficiency. In professional life, our business clients always want something special from us. So you have to make it perfect otherwise lose the potential clients. This is an alarming situation for the photo editing agency. To cope up with this strategy we must need the help of a pen tool. It will aid us to smoothly select any portion of the image and later on, we can make the change. The automatic selection might erase some valuable pixel and later on, it will affect us badly.

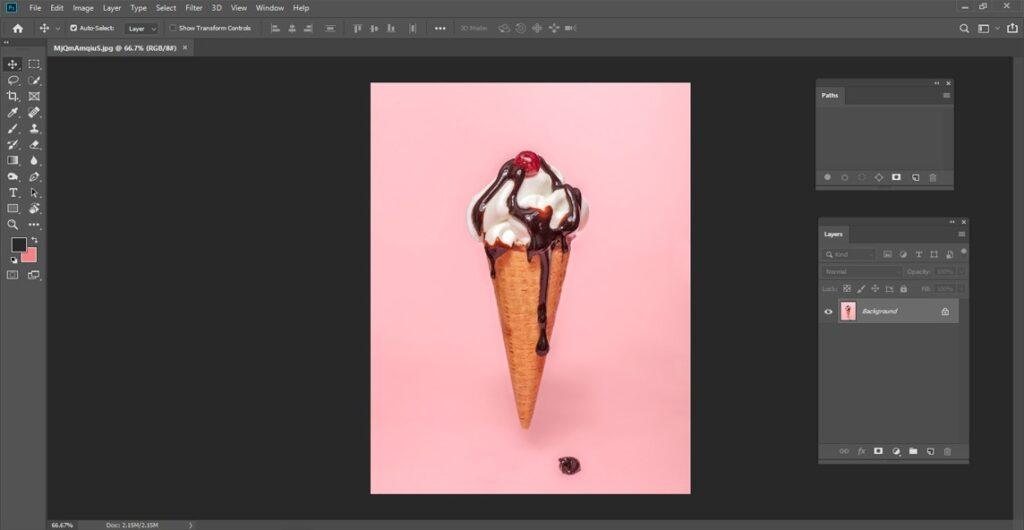
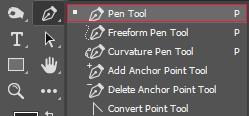
To start this journey, firstly, we need to select an image from your computer and open it in Photoshop. Our next task is to use the pen tool and we will complete the clipping process. You can simply select the pen tool from the tools panel or either use the short cut and it can be done by pressing p. Firstly, we are suggesting you go for a simple image where not so many edges are available. Choose an image of a tissue box or anything else.
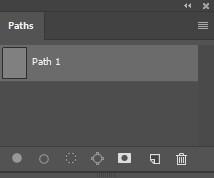
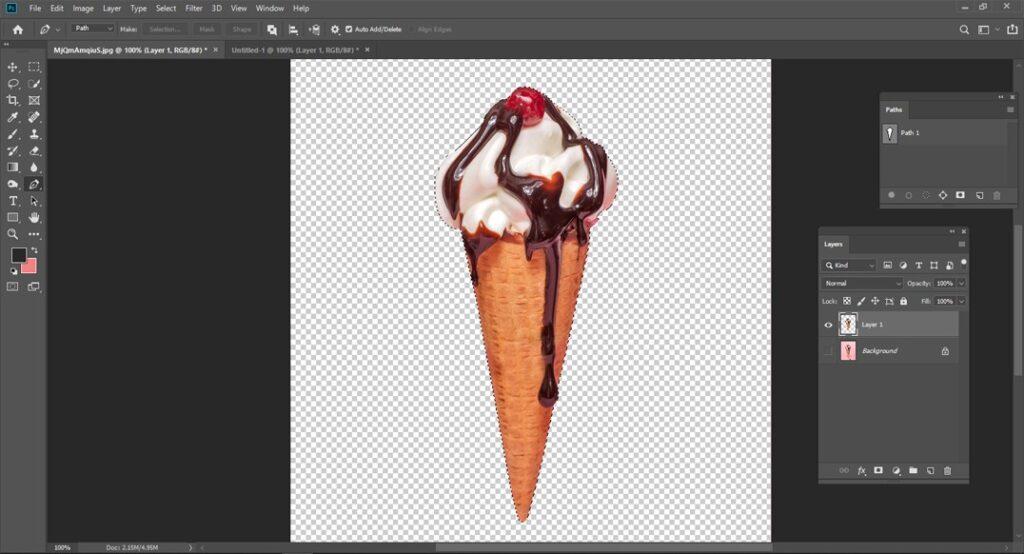
We can take two points and from the starting point, the clipping will go on till the end. You can use Alt to change the line here. While you are working on a roundish shape. When you will move in the opposite direction click Ctrl + right-click. This process is very easy and you can do it by trying the first or second attempt. Now we have to fill the path and eventually try to create a shape from it.

After completing fill the path you will see a pop-up window on your monitor. Here, you can choose the contents to the foreground color and set the mode to normal. The opacity will be 100%. You can use the content-aware tool if you wish to implement it here.

Ctrl/right-click away and pick Stroke to apply a line across the choice in whatever brush you have chosen. For this specific line of the light fixture, we utilized a dissipate brush to uniformly space the spots.
Utilize the drop-down in spring up appeared to change the apparatus you’re utilizing to stroke the line with – for instance, rather than whichever brush document you have chosen, you may wish to change to a pencil.
The Simulate Pressure checkbox applies the pressing factor you’d typically use while making a stroke with the Brush device, which means your line will tighten toward the end. Stroke is widely using for creating the same document again and again. It is highly useful when we like to create the same document for the clients. Strokes help create the exactly same document.
When we are using pen tool accuracy and time management is becoming the vital issue here. You need to practice more and more for becoming perfect while selecting the edges of your object. After a certain period, we can complete the target within the given timeframe. Keep your eye on the object and then move your hand fast and it is the key to success.

Final few words | Selection with the pen tool

You can choose the pen tool in Adobe Photoshop in the case of an emergency and when you need accuracy. Automatic selection tools are less effective and accuracy is low. Thanks a lot for being with us.