Adobe has brought so many new features in photo-shop cs4 interface. Adobe brings a convenient and user-friendly interface to photo-shop cs4. In this article, I will describe every detail of photo-shop cs4 interface. If you have updated the photo-shop version, then you can easily notice the new changes. If you have updated your photo-shop version from cs2 to cs4, then you can easily notice the new changes or features in your new photo-shop version.
Photo-shop Cs4 Interface quick tour :
Menu bar option: Most of the application contains a menu bar at the top. Almost every application contains menu bar at the top . Menu bar contains various types of headings . When you will click on those headings , it represents different types of option. Then you can complete your desired work by pressing those headings . For better understanding , lets give an example. Many headings are available in the menu bar . Some of them are : file, edit , image , layer , select , filter and many more. File menu is a place where you can get many options such as : how to save a photo-shop document , how to open a photo-shop document, how to turn off any photo-shop document. Using layer menu option , you can operate with layers. Filter menu is very much popular . You can use different types of filter on your image and can easily enhance your picture quality . If you are using mac , then you can get the “preferences” on the left side of the menu bar . If you are using windows , then you can detect the photo-shop “Preferences” below the edit menu.

Tools panel option : Go to the left side , you will find the tool box option . Previously , this tools panel option is known as tools palette . But now in photo-shop cs4 , palette is known as tools panel . It is also known as tool box. We use different tools to present our image more accurately in-front of our clients. And we take different tools from the tools panel option to modify our image more accurately . There are some tools which you will find in the photo-shop cs4 extended version . But you can get maximum number of tools in normal version of photo-shop cs4 .

Single column format or Dual column format : You can show the tools panel as you want . You can make one single column or you can divide it into two parts . There is a double arrow symbol and using this double arrow symbol you can divide the column into two parts . If you do not like the dual column , then no need to worry . Just press one more time on the double arrow symbol and go back to the previous situation.

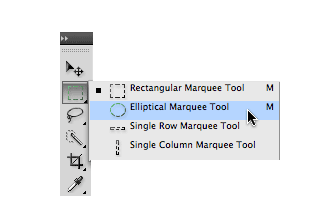
Hidden tools list : There are many tools in photo-shop cs4 that remainsin a hidden situations they are grouped together. Adobe has assembled similar types of tools together. You can view one tool at a time in the tools panel . And rest of the tools can be found when you click on that visible tool . Many tools have a small arrow icon . It means that you can get extra tools option here. When you click on that small arrow icon you can find some other tools there . Let’s give an example, the Rectangle marquee tool contains a small arrow icon. Click on that icon. When you will click on the icon, many other options will be appeared . You can use the elliptical marquee tool, single marquee tool or single column marquee tool from there. Just click on your desired tool and apply it to your work.
Option Bar : If you are using a windows platform , then you find out the option bar beneath the menu bar . Under the menu bar you will find out the Option bar . And if you are using mac version , then you will find out the option bar under the application bar . Everyone’s option may look different. It depends on which option you have selected . You can select move tool or crop tool or you can select type tool also . Whenever you click any tool , it represents a new looks in the option bar . For example : If you choose the crop tool , then the option bar switches the display layout for the crop tool . Yo can find the height , resolution , width , pixels / inch option there .
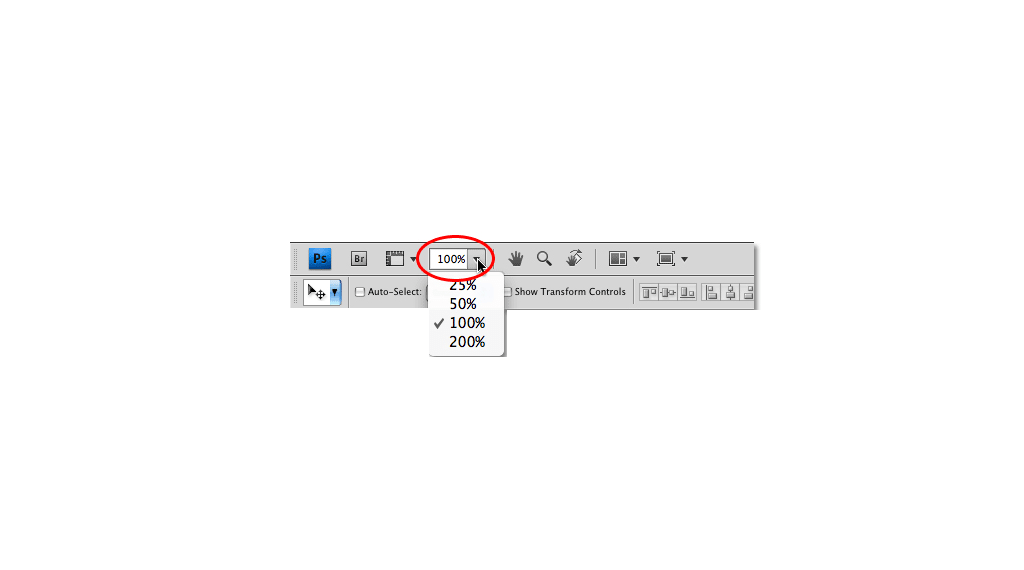
Application Bar : In windows version , application bar is incorporated with the menu bar . Go to the top and find out the application bar from there. But if you are using mac , then you can find out the application bar under the menu bar . The main objective of this bar is to produce us a primary location for few regularly used tools , options and characteristics. In application bar , you will see many options. For example : Br , Views extra ( a box with drop-down button) , zoom level , rotate view tool , hand tool and many more . Br helps to launch bridge . Go to the right side and check out the “views- extras” option . You can easily use the show guides , show grids or show rulers option from views-extras option . You can select the zoom level from zoom tool , You can select 100% , or 25 % or 50% or 200 %.
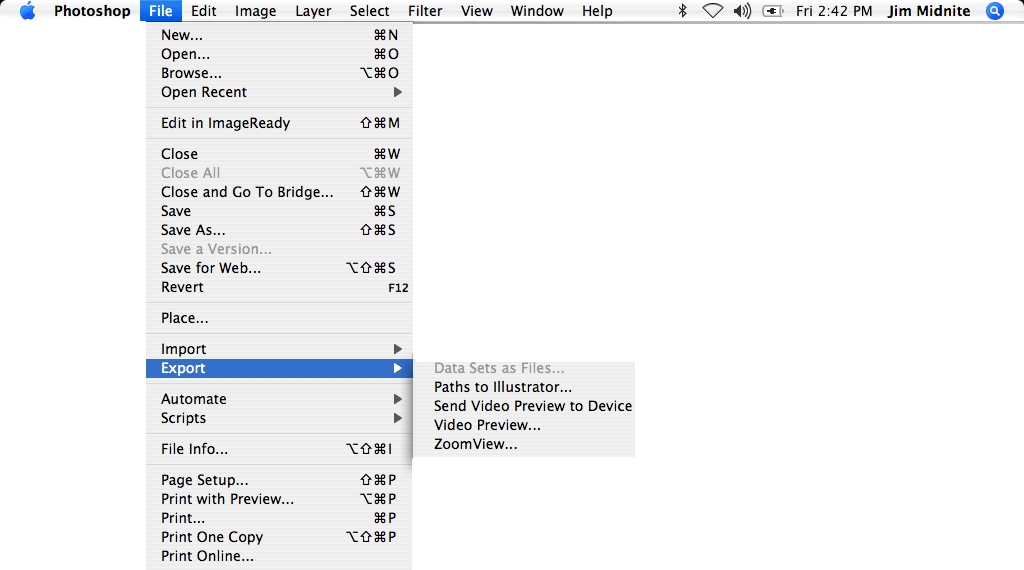
Photo-shop Cs4 new feature “Rotate Tool” : Photo-shop has brought a new feature “ Rotate view tool” . You will find the rotate view tool in the tools panel. From the tools panel , press on the hand tool and then choose the rotate view tool . Rotate view tool option is really helpful . It never destroys the image pixels. It helps us to rotate our image the way we want to see the image. People rotate pictures so that they can modify their pictures as per their wish.
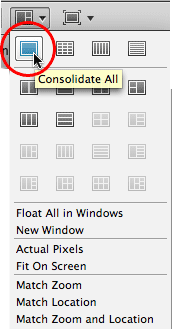
Multi-document format : In photo-shop cs4 , another new function is “Manage document symbol”. It generates many new formats . Using these new formats , people can see various documents on the monitor at a time . There are some other options are available such as : match zoom , match location, match zoom and location etc. In the new application bar , there is a rectangular box icon . This box is known as “Screen Mode ”. Go to that icon , click on it . Select the desirable mode. Three options are available there (“Standard screen mode” , “ Full screen mode with menu bar ” and “Full screen mode ”). You can easily alter the screen mode using these options.
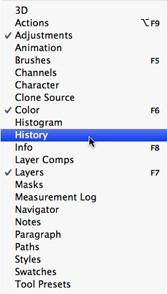
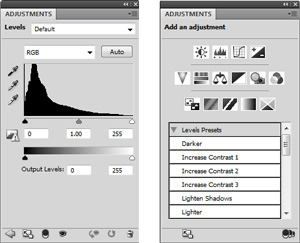
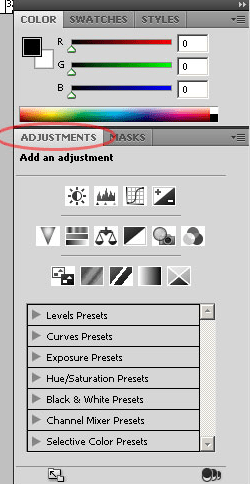
Panels : Go to the right side of the display , you will find out the panels option there . Panels allows us to use any type of options to complete our work. You can assemble all the layers by the help of panels , You can select color by seeing the separate color channel. Also you can operate with text for your image , you can see the details of image . You can do so many things here . Majority of the panels are exactly same as the previous version of photo-shop. But there is a new panel in photo-shop cs4 which is known as “Adjustment Panel ”. You will find so many panels there . If you see a tick mark by the side of a panel’s name , it defines that particular panel is open now. If you want another panel then simply click on the desired panel and it will be opened. Previous panel will be turned off. Panels group is very much helpful if you want to assemble the things perfectly . You can make a group of similar type of panels . Press on the panels name and select it and create a group. Every panels contains different types of commands and option . It is a specialty of that individual panel. Go to the right side < select the menu symbol < check out panels option and select as per your wish . Press on the panel’s menu and see what type of commands it contains.
Workspace: Go to the top of the display. Go to right side . There is an option . This option helps us to choose immediately from different sort of work-spaces . You can use those work-spaces which are already in photo-shop cs4 or you can use your own custom made work-spaces. With the help of Work-spaces , you can arrange various panels . Also you can build shortcuts using your keyboard . You can do many other things here. Work-spaces helps us to arrange the display as per our wish . Photo-shop cs4 contains so many built-in work spaces. At first , you will see the “essentials” work space. It remains as the default mode. But you can choose any other work spaces also . And you can apply your custom made work-spaces also . Just press on the “essentials”and then you will see a list of work-spaces there . Choose any one of them as per your requirement.
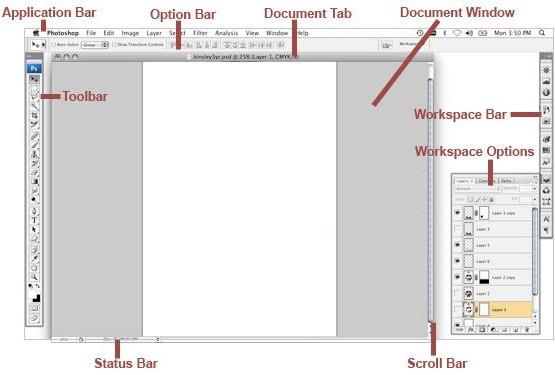
Document Window Or document Box : One of the most essential photo-shop cs4 interface is document window . Document window is a place where you can see your desired image and you can modify your image properly . All modification can be done there . In document window , you can get many details about the picture. You can know about the zoom level , color mode of the image . If you go to the document window , then you will find out more details about image . Go to the bottom. Click on the right arrow icon. Then press on the “show”. You will find out many options there . You will find out document dimension options , document sizes , document profile , measurement scale and many other option .
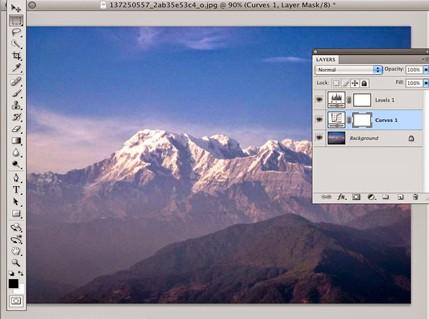
Application frame option : Application frame is a new feature in photo-shop cs4 mac version . Application frame option sets the whole photo-shop interface on the inside of a separate application window. It shows how windows operate . That is why its available on mac version . Go to the window < select application frame < this application frame helps to set all the interface component on the inside of a window . You can re-scale the application frame . If you want to leave , then go to the windows option again <again press on the application frame .
