Creating a clipping path for a bicycle wheel is a common task in graphic design and photo editing. Here’s a step-by-step guide on how to do it using Adobe Photoshop:
Step 1: Open Your Image
Launch Adobe Photoshop.
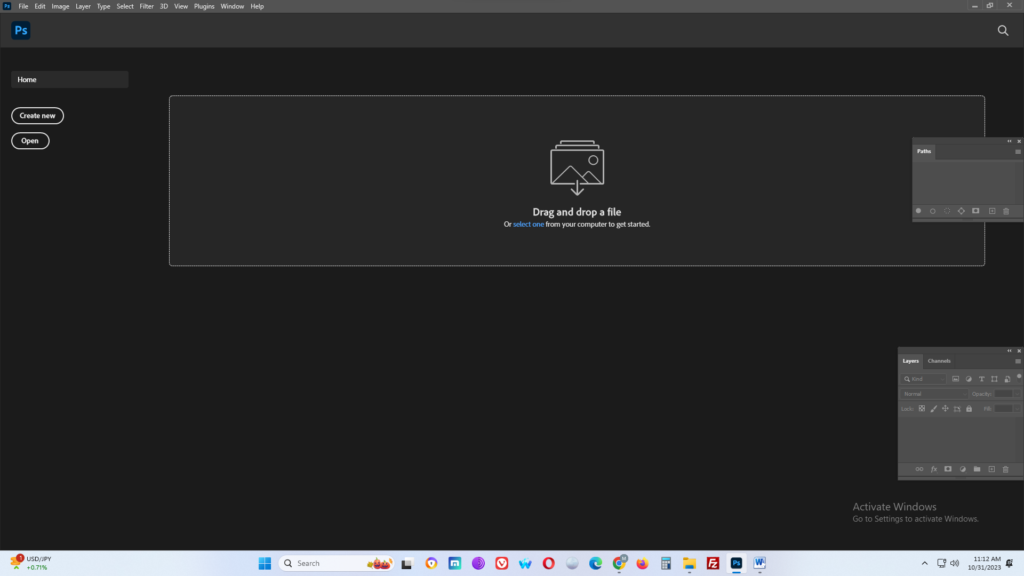
Open the image containing the bicycle wheel that you want to clip.

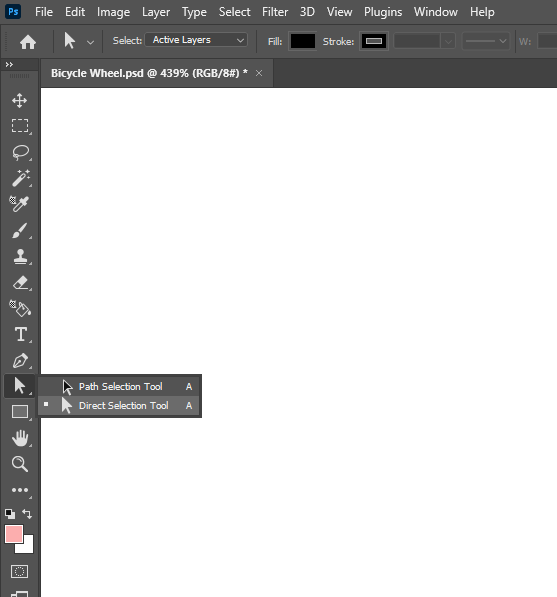
Step 2: Select the Pen Tool
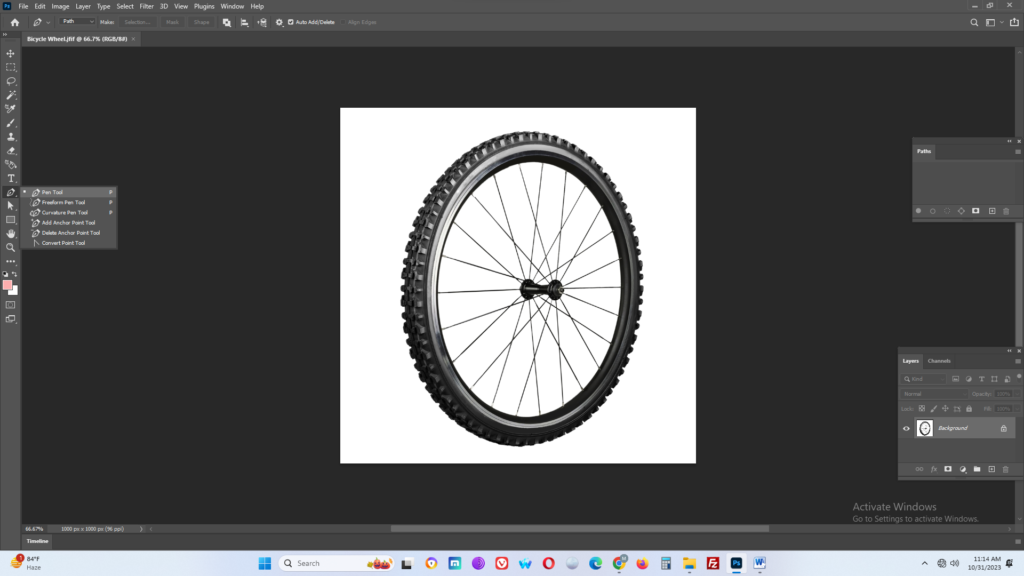
Step 3: Start Drawing the Path
Zoom in on the bicycle wheel so you can work more precisely. Use the zoom tool or press Ctrl/Command and the plus (+) key.
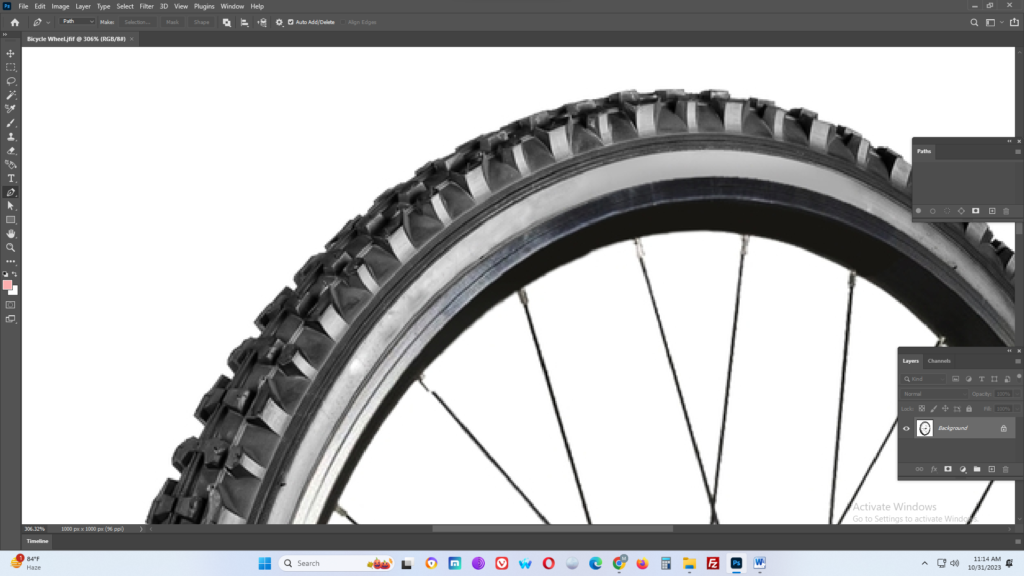
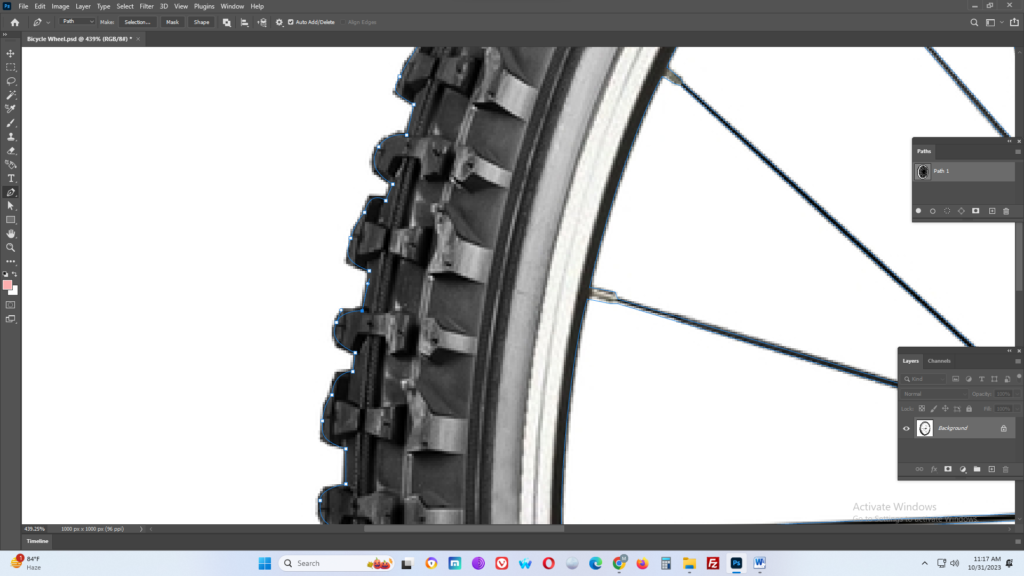
Begin drawing the path around the bicycle wheel. Click at a starting point and then click and drag to create a curve if necessary.
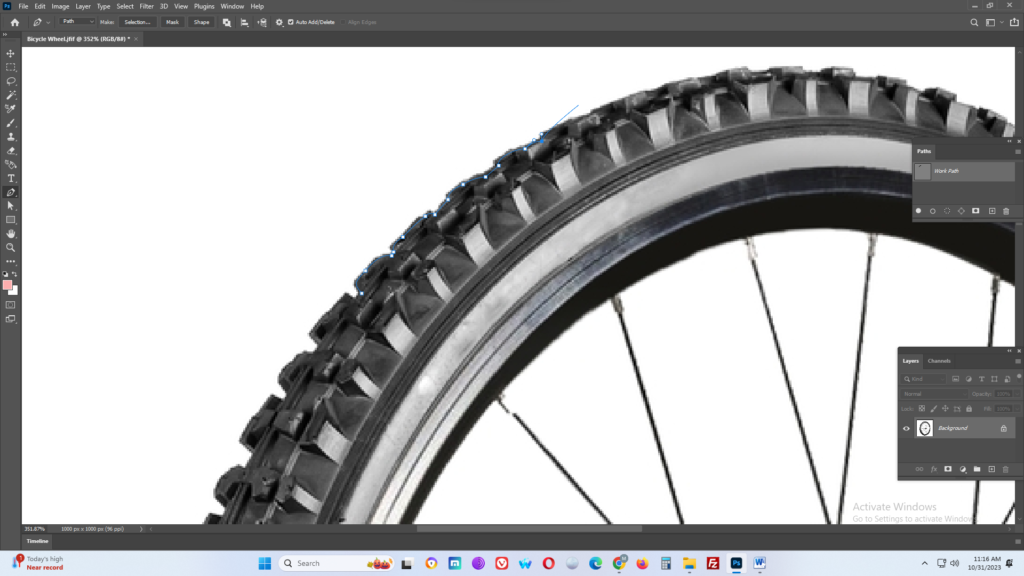
Continue clicking and dragging to create anchor points and curves along the edge of the wheel.
Make sure your path closely follows the contours of the wheel.
Step 4: Close the Path
When you’ve outlined the entire wheel, return to the starting point.
Click on the initial anchor point to close the path.
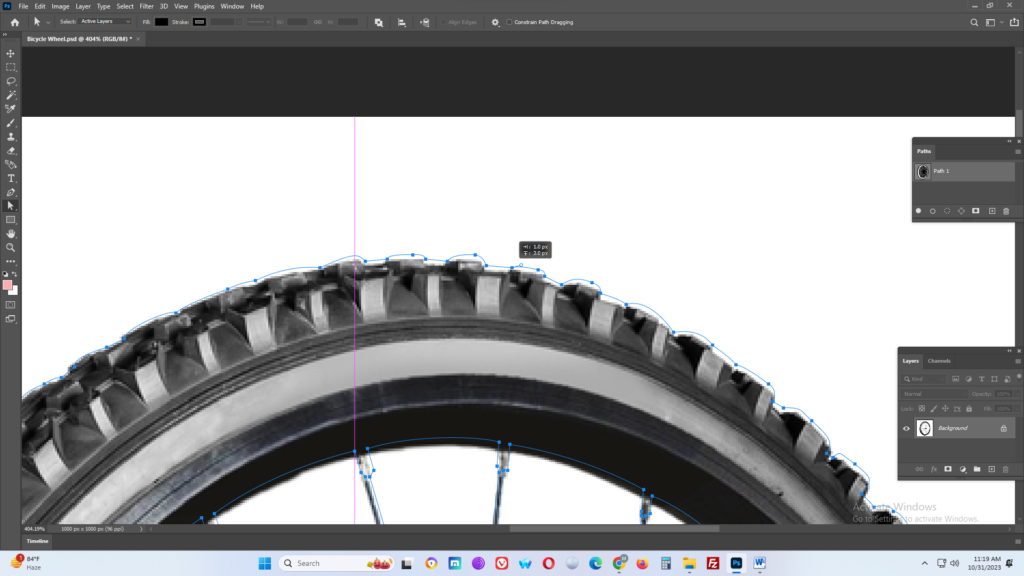
Step 5: Fine-Tune the Path
Ensure that the path is precisely following the edge of the wheel.
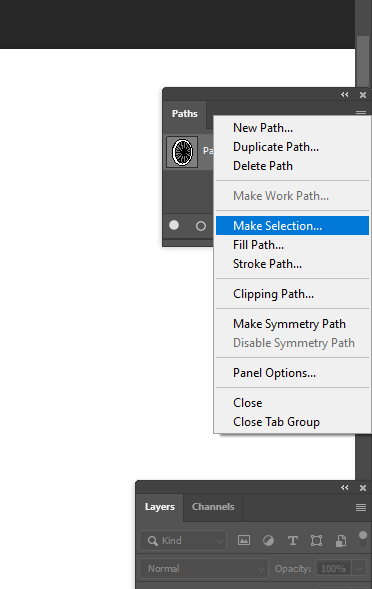
Step 6: Create the Clipping Path
Step 7: Apply the Clipping Path

Step 8: Save or Export
That’s it! You’ve successfully created a clipping path for the bicycle wheel, allowing you to use it separately in your graphic design or photo editing projects.


