In this tutorial, I will show you how to make a dark chocolate skin effect using Photoshop. All the tricks and tips that I used to achieve that, I’ll try to show you. The dark chocolate effect of skin tone is unique and appealing. Everyone is trying to replicate this effect every now and then. And how to do it, if they have no idea. In this lesson, I show how to create this effect using Photoshop. I hope this tutorial will be helpful to you. In the worlds of portrait and fashion photography, this chocolate brown effect is very popular. Unlike Sepia, who appears to be old and ancient in your photo, this tutorial gives you a modern and chic look. With only one layer, this Photoshop tutorial demonstrates how to do it.
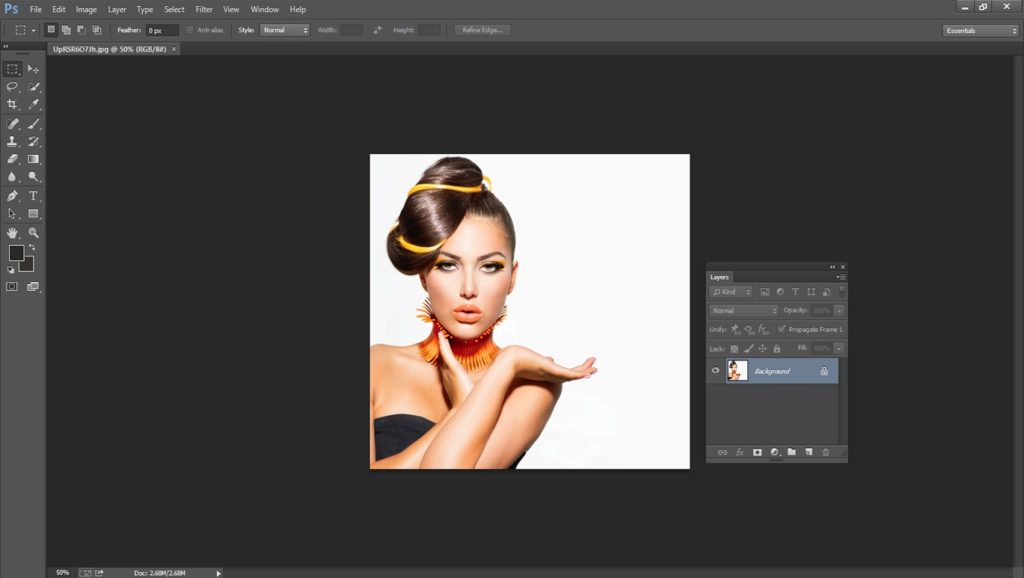
Open the image you want to add the chocolate tones to in Photoshop. The first image we’ll work with is this one. Click the New Adjustment Layer tab to add a Solid Color layer to the Layers panel (Window > Layers). You’ll be presented with the Color Picker tool, which will ask you to choose a color.
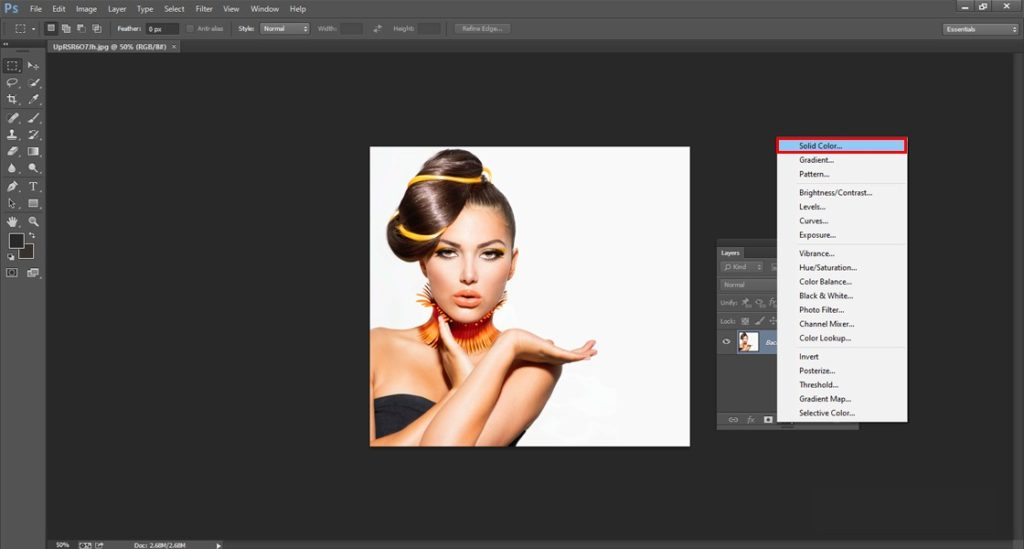
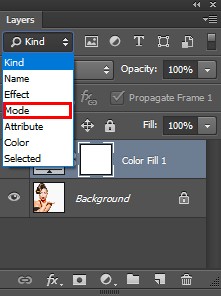
At this point, No matter what color you select; simply click OK to close the window. Modify the mixing mode of this color fill layer in the layer panel (Window > Layers).The Color blending mode tells the layer to focus on color rather than light intensity or luminosity. By double-clicking back in the layer, you can access the Color Picker tool.
Please ensure you’ve double-clicked the thumbnail. Choose a neutral brown color. You can change the setting from 50% to something lower if you’re really into a light and dark look and want more vibrancy.
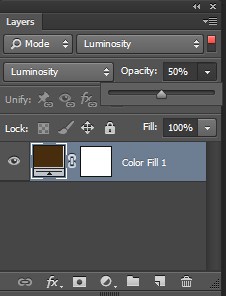
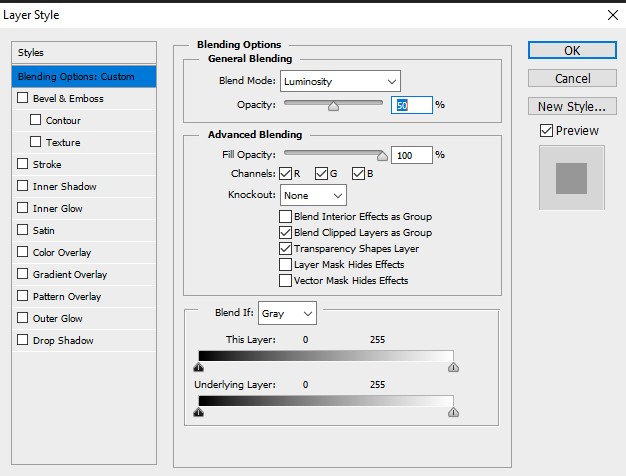
This is how our image currently appears. It appears to be a sepia effect rather than the chocolate’s color.There are several ways to accomplish this. To begin, Opacity is reduced to approximately 50%. If this isn’t producing the desired results, increase the opacity to 100% or move on to the following stage. Another way to combine the chocolate brown tones is to use brightness masking. If you understand how to mask brightness, this one is a little different. We won’t use a layer mask for this because it isn’t required. There is an easier way. To begin, make sure the opacity is set to 100 percent. After that, right-click on the layer and select “Blending Options.”
The “Blend If” section of the Blending Possibilities tool is near the bottom. There are two gradient bars; the bottom one should also be edited. While keep the Alt key, drag the bottom-right point to the left (Option on Macs). The point is now divided in half. You must do so even if you want smooth results. For the entire journey, drag it to the left. When you’re finished, press the OK button.
Actual results

You’ve completed the task! This page contains a comparison of the various effects. When using light masking, reducing opacity can give you a softer appearance, which gives you an even more vintage feel.