In this article, you will come to know how to turn on the lights in a photo with Photoshop.
The lighting effects filter lets you produce various lighting effects on RGB images.
When you capture a fantastic picture of a car or motorcycle and realize that you forgot to turn the headlights on while you were on location. Don’t get upset about this because Photoshop makes it a breeze to flip on those high beams in just a few easy steps in a short time.
To a portrait photographer , it’s a rare occurrence to photograph a vehicle, but every so often, use a car or motorcycle as a prop to help enhance the photo. There are hundreds of different ways to achieve this effect, but this is what works well. It might just work for you too.
In step 1, create a new layer and change it to color Dodge blending mode.
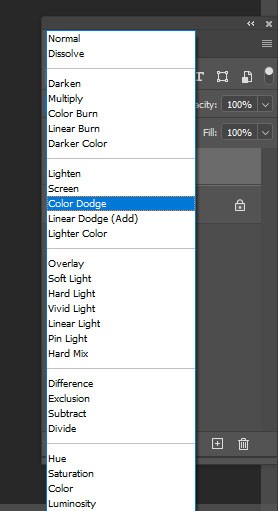
In step 2, you need to choose a soft white brush and change the size to roughly the same size at the light.

In step 3, click with the brush to add a glowing effect to the light. You may need to apply it more than once sometimes. It depends on the result.
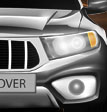
In step 4, do the same for all the lights in the scene.
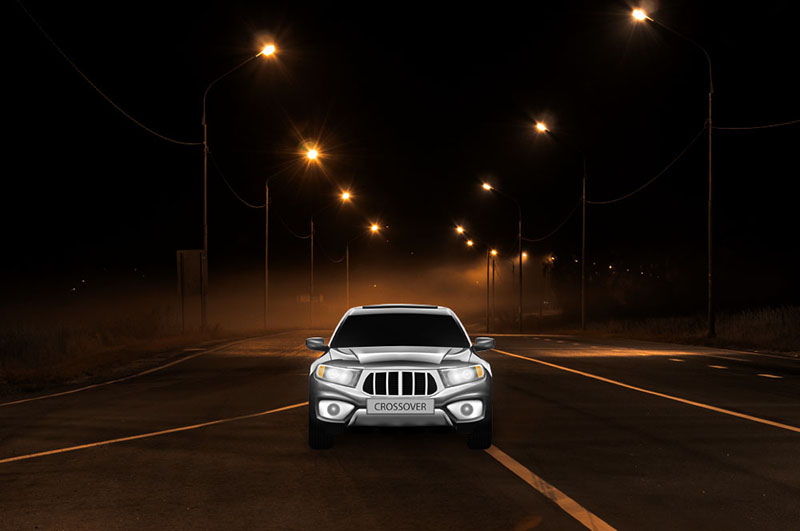
In step 5, you now need a glow around the lights, as natural lights spread. Then create a new layer and change it to screen mode.
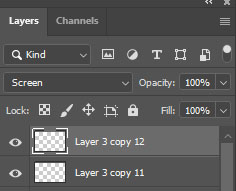
In step 6, change the brush opacity to 40%.

In step 7, choose a larger brush this time and make sure the foreground color is set to white. Then dab the brush on the lights to create the glowing effect.
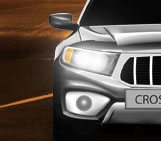
In step 8 it’s time for some beams. You need to create a new layer and set it to screen mode.
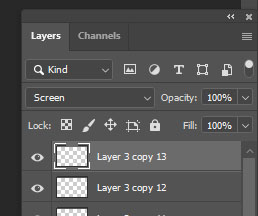
In step 9, paint some lines beneath the lights, make sure the brush size is the same as the lights.
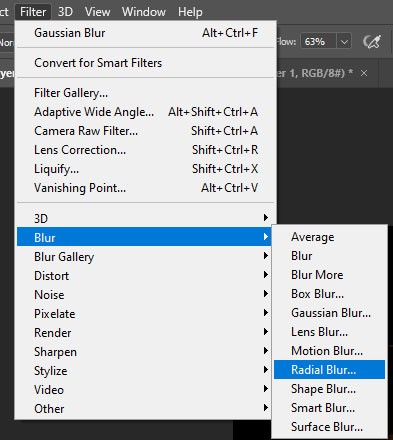
In step 10, choose Filter>Blur>Radial Blur. Then select zoom and set it to about 44.
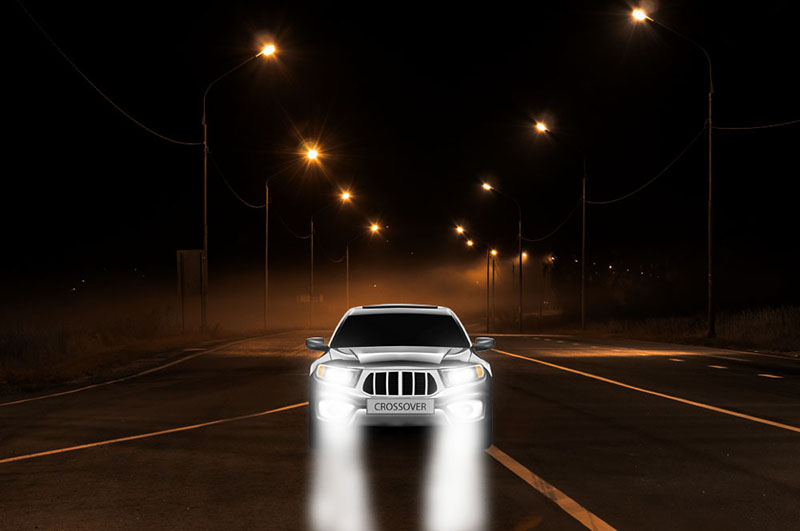
In step 11, here you can see the lights smoothened out to beams.
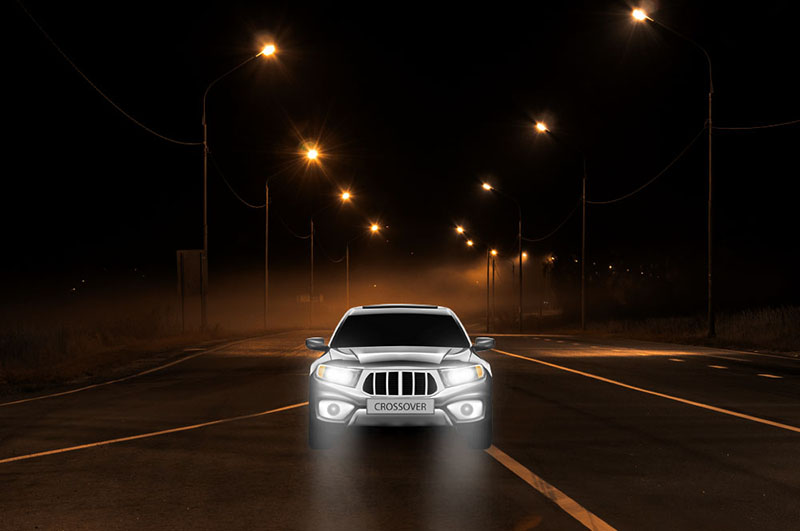
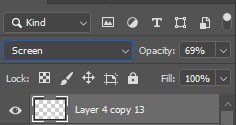
In step 12, adjust the opacity to suit your tastes.
And get ready for the final result.
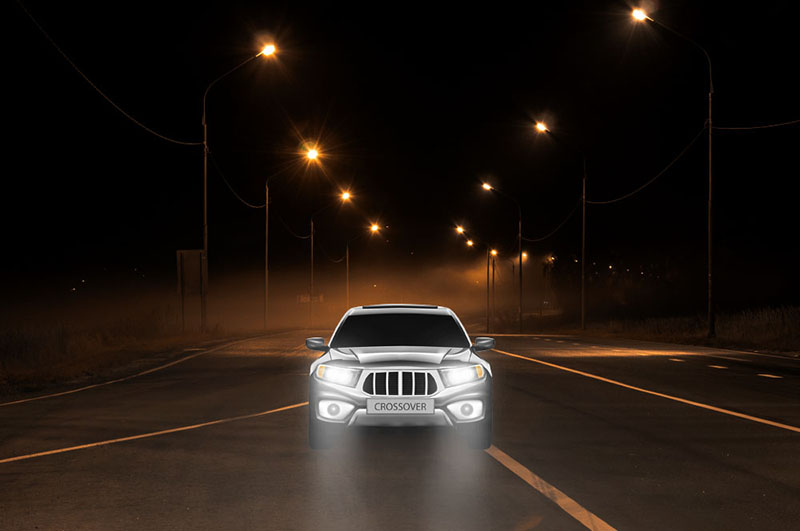
This is a little tutorial. Check out other tutorials here.
This is a great way to start to really analyze and sketch out your ideas for the photo. This can clarify what will need to be done to complete a realistic effect.
Step 1: At first, create a new blank layer and change the blending mode to Linear Dodge.
Step 2: Select the brush tool and keep in mind that the Opacity and Flow are at 100%, and the Hardness is set to 0%.
Step 3: Set the brush size to be roughly the same size as the light and paint over it by clicking just once.
Step 4: Then create a hue and saturation layer and check the colorize box.
Step 5: In this step, create a clipping mask to link the Hue or Saturation layer to your painted layer and get rid of the blanket color over your image.
Step 6: Then, you need to adjust the hue, saturation, and lightness sliders within the Hue/Saturation layer to achieve your desired color and brightness for the light. If you want to adjust the light’s intensity, just play with the fill slider on the painted layer, and you will get your desired result.
Step 7: just nothing without repeat. Repeat as you need.
This is not the only way to do this but it’s the way that works amazingly. So why not see another one!
Step 1: Creating the Beam of Light
Select the polygonal lasso tool and create a shape that will encompass the main beam of light. Fill it with white. Now, go to Filter – Blur Gallery – Field Blur. You will see a little dial pop up, which can be adjusted to add less or more blur. You can click on another area and add an additional blur dial. This is very useful because it allows you to make the beam of light blurrier as it gets farther from the car! If you need to, you can transform the beam (Cmd + T) to be at a slightly different angle, or stretch it out.
Step 2: Adding Effects to the Light
To give the high-beam a glow, double click on the layer and check the “Outer Glow” box. You can choose the color for the glow – we chose a yellowish tint here. Feel free to adjust the amount of glow as well as the opacity to get just the look you are going for! Add a layer mask and create a gradient over it to lessen the glow as it gets farther from the car.
Step 3: Adding Subtle Light Streaks
This is a small adjustment but will go a long way in terms of impact! Using the brush tool, click all over and make random dots and marks on a new layer. Then, go to Filter – Blur – Radial Blur. Select “Zoom” and adjust the amount of blur. It will make the dots look like they are moving at warp speed, which will later turn into light streaks! Place the center of the layer right over the headlight. Change the Blend Mode from Normal to Screen. Then, create a Hue/Saturation layer if you need to change the color of the light. Again, don’t be afraid to transform this layer to adjust its angle or size. Go with what looks right (it might take some time to be able to recognize what looks most correct. Keep practicing!).
Step 4: Adding Light to the Road
This is the same concept we used for the initial beam of light. Create oval shapes on the ground using the elliptical marquee tool, filling it with the same yellowish color we used for the light streaks. Add a gaussian blur to the layer and duplicate it so that it appears to be coming from each headlight. The color can be tweaked by using a Hue/Saturation adjustment layer.
Step 5: Special Touches: Lens Flares & Gradients
Now the real fun begins! Create a stamp visible layer (Shift +Opt + Cmd + E). Go to Filter – Render – Lens Flare. You can choose the size and position of the flare. However, it is very limiting to place the lens flare directly onto the visible stamp layer. To get past this problem, place the lens flare on a black layer and change the Blend Mode to Screen.
Gradients are simple but quite impactful. Click on the Gradient Tool and create a gradient that goes from black to a bright yellowish-orange color. Then change the Blend Mode to Soft Light. The black part of the gradient serves as a sort of vignette, and the bright part of the gradient will reflect what is happening with the bright headlights.
As you can tell, there are many little details in this technique that works together to create a realistic final look.