Adobe Photoshop is a popular program for image editing that provides the Adobe Creative Suite with a work environment compatible with Adobe Illustrator, Adobe InDesign, Adobe Image Ready, and other products. Photoshop tutorials help us teach Adobe Photoshop’s basic tools and techniques. This tutorial introduces us to the work area of Photoshop and teaches us how to open our images and save them, zoom in and out, and undo errors. An introduction to using Adobe Photoshop is this tutorial. Here, we will learn how to get started, how to use the gui, and how to use simple Photoshop software to change images.
Open pictures
Get acquainted with the work area
Learn how to pan and zoom
Undo an order with a command
Save your work
Best Photoshop Tutorials for Beginner
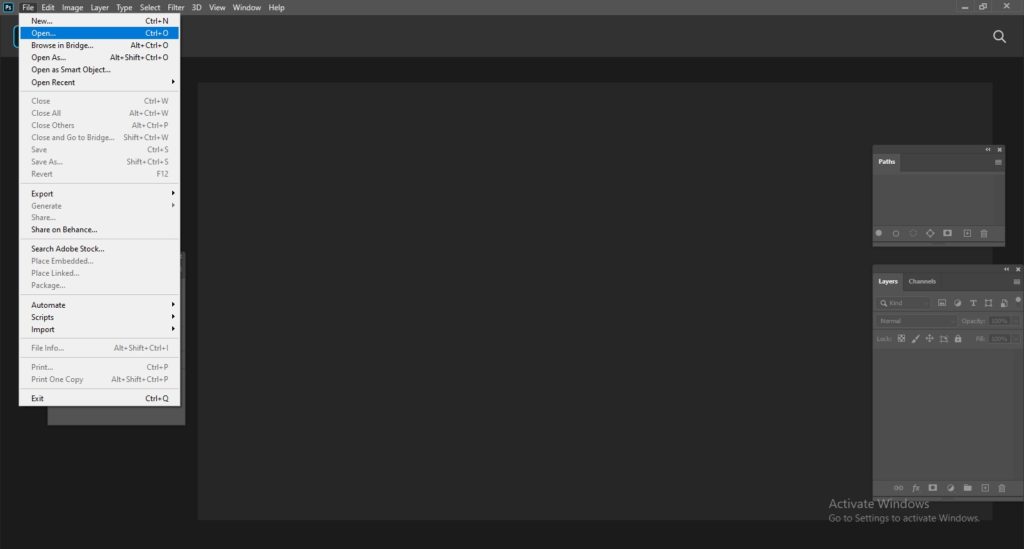
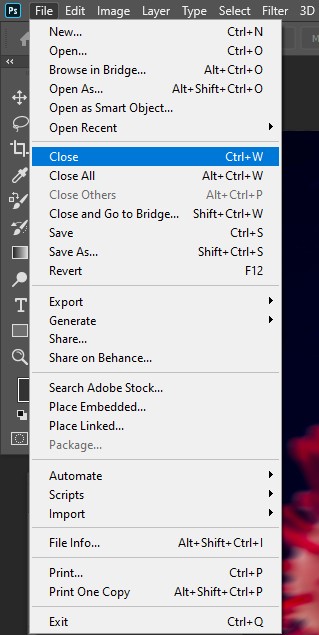
1.Open pictures
Open pictures, and create new pictures.
What you have learned: opening up and making pictures
In the menu bar, to open current images, select File > Open.
Select File > New in the menu bar to create a new image from scratch.
Select a preset for a text. By typing in your own values, including width and height, you can customize the preset.
2.Get acquainted with the work area
Tour the work area.
What you have been learning: the interface
The File, Edit, Image, and other menus that give you access to a variety of commands, changes, and panels are shown in the menu bar (at the very top).
The Options bar shows options for the method you are actually working with (under the menu bar).
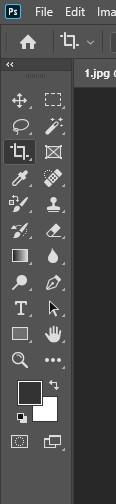
The Tools panel (left) includes image editing and artwork production tools. There are related instruments grouped together. By clicking and keeping a tool in the window, you can access similar tools in a community.
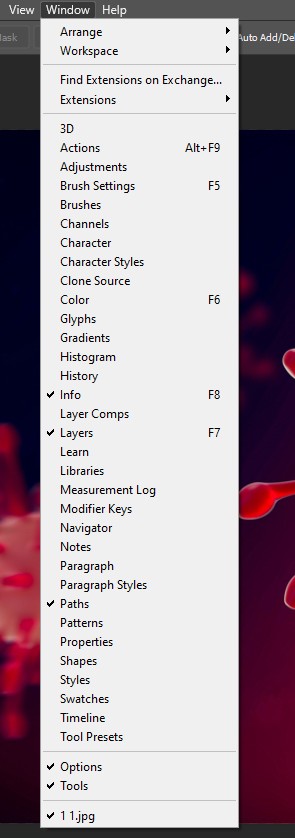
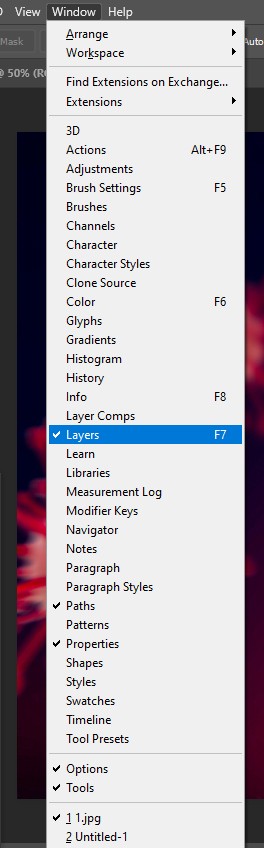
Color, layers, properties, and other panels include panels (on the right) that provide a number of controls for working with pictures. Under the Window menu, the full list of panels can be found.
The document window (in the middle) shows the file on which you are actually working. There are several open documents displayed in the Document window tabs.
Close image: Select File > Close.
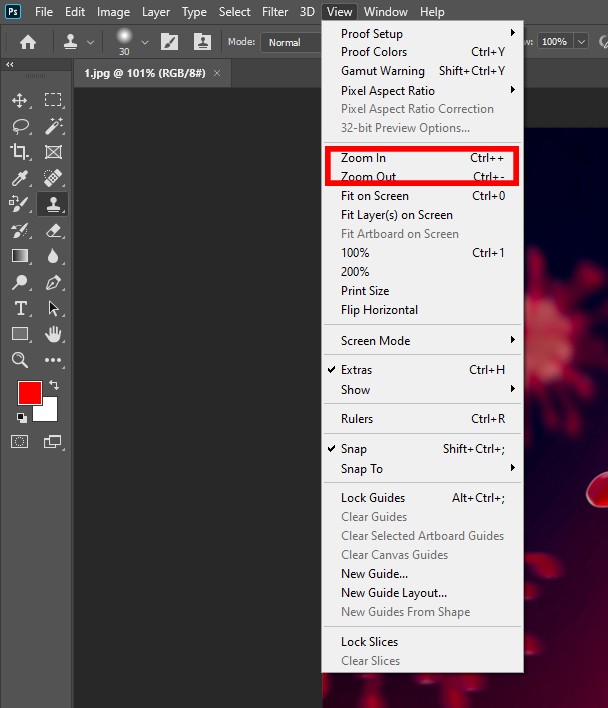
3.Learn how to pan and zoom
Change your view of an image.
What you have learned: zooming in and out and paning around
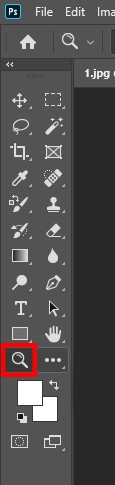
The Zoom feature can be found in the Tools window. In the options bar, turn from Zoom In to Zoom Out.
The Hand Tool, also found in the Tools panel, helps you to rotate around a picture that is big or zoomed in.
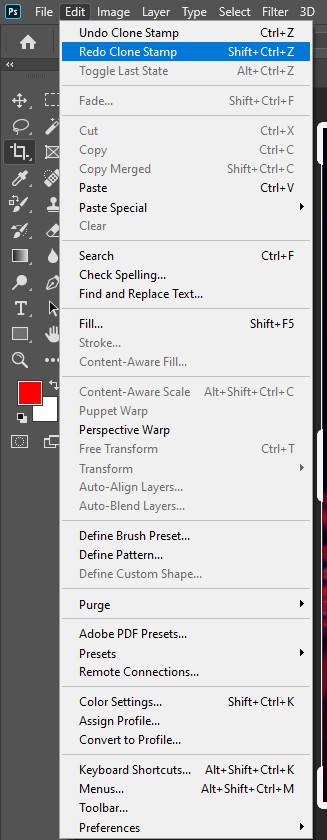
4.Undo an order with a command
Undo single or multiple steps, and use the History panel.
What you’ve been taught: to erase
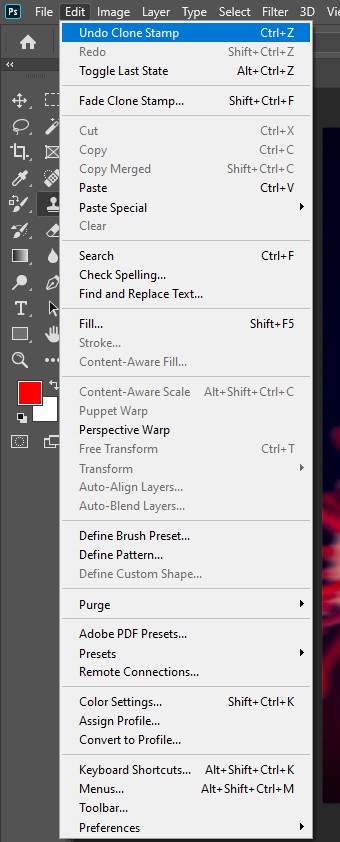
Choose Edit > Undo to undo the last thing you did, or press Control+Z (Windows) or Command+Z (macOS).
Choose Edit > Redo to redo the last thing you did, or click Control (Windows) or Command+Z again (macOS).
Click Edit > Step Backward several times to undo multiple steps or select a step in the History row.
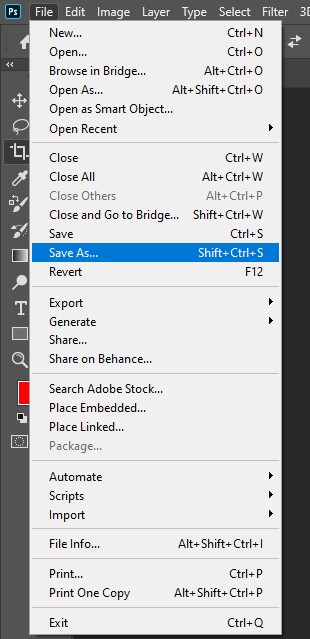
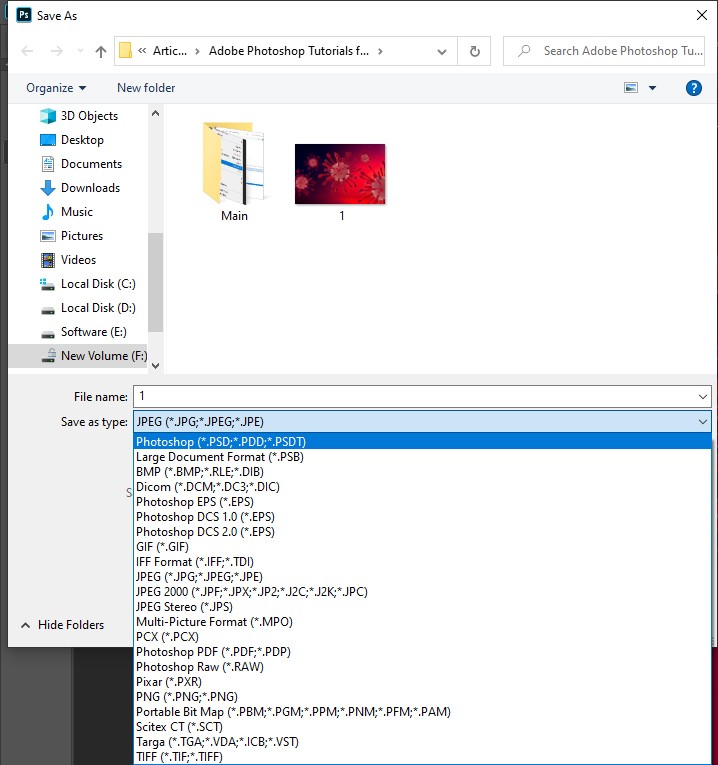
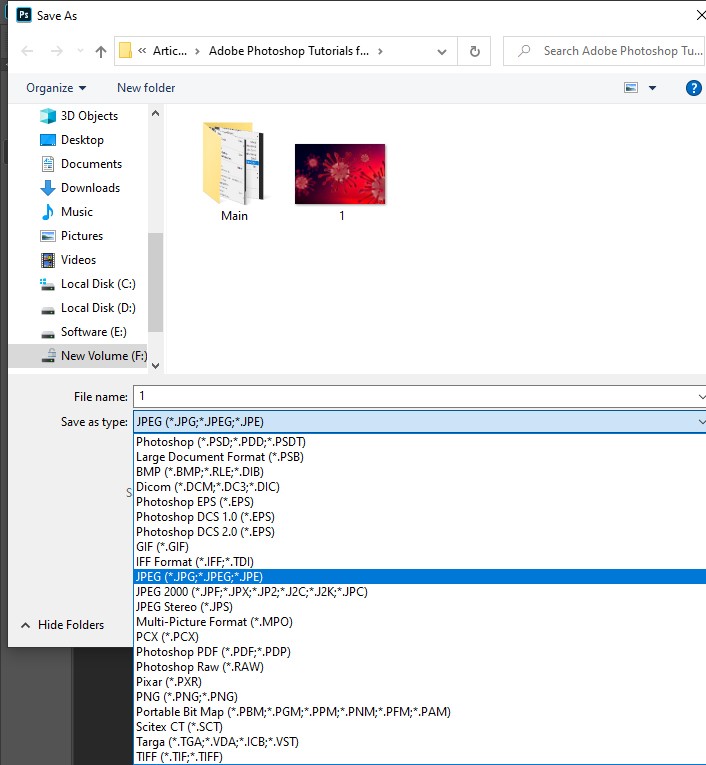
5.Save your work
Use the Save commands.
What you have learned: To save a frame
Pick File > Save or File > Save As.
Save in Photoshop format (.psd) preserves the layers, type, and other editable properties of Photoshop. It is best to save your image when you’re still working on it in PSD format.
Savings in JPEG (.jpg) or PNG (.png) format would be saved as a regular image file that can be shared, opened, and posted online by other programs. Save a copy in one of these formats when you’re done editing, too.
How to resize, crop and straighten an image and add it to Adobe Photoshop’s image canvas.
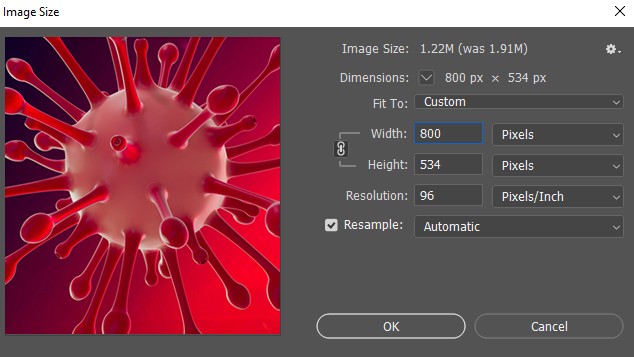
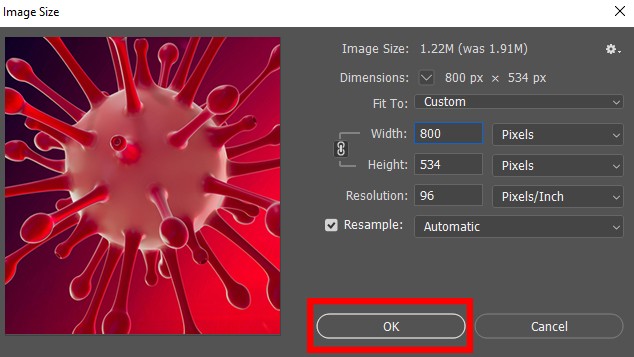
A).Resize an image
Adjust the picture size. What you’ve learned: Resizing a picture
Select Picture > Image Size.
Measure pixel width and height for images you want to use online or for images to print in inches (or centimeters). To preserve proportions, keep the connection icon highlighted. This changes the height automatically when you change width and vice versa.
To adjust the number of pixels in the image, select Resample. This alters the size of a picture.
Only click OK.
B).Configure the agreement
Adjust an image’s resolution. What you learned: To adjust the resolution of photos
Select Picture > Image Size. Resolution in this dialog box means the amount of pixels of the image that each inch is allocated when the image is printed.
For printing, leave the width and height set to inches.
Deselect Resample to save the original number of pixels for the image.
Set the number of pixels per inch to 300 for printing on a standard desktop inkjet printer in the Resolution area. In the width and height fields, this modifies the number of inches.
Only click OK.
C).Crop a picture and straighten it
Using the Method to Crop. What you have learned: cropping and straightening a picture
On the Tools column, pick the Crop tool. A border with crops appears.
Drag any edge or corner to change the crop border’s size and shape.
To place the image inside the crop border, drag it inside the crop border.
Drag to rotate or straighten outside a corner of the crop border.
In the options bar, click the check mark or press Enter (Windows) or Return (macOS) to complete a crop.
D).Expand the canvas
To the document canvas, add some space. What you learned: Adjusting the size of the canvas
Choose Picture > Scale Canvas
Enter the sum of width and height to be applied in order to add a canvas. Measure width and height for online use in pixels or print in inches.
Select Relative, then in the canvas diagram, select an anchor point. The arrows point to where the canvas will be applied to the edges.
Only click OK.
How to use layers in the Layers panel, resize the contents of a layer, add images to a layered file, and work with a background layer in Adobe Photoshop.
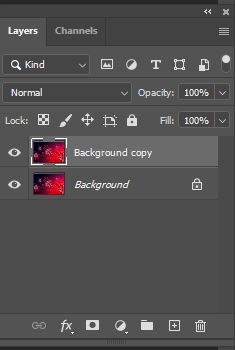
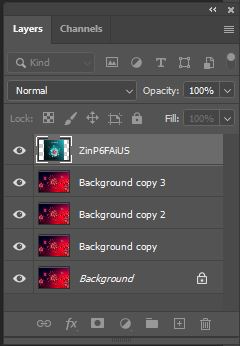
a).Understand The layers
Find out what layers are and why they are so valuable. What you learned: In the Layers row, display and pick layers
The layers include the images, text, or objects that make up a layered file. Without affecting content on other layers, they let you switch, edit, and work with content on one layer.
In the Layers panel, which is typically located at the bottom right of the work area, layers are placed in a stack. If you have not seen the Layers screen, select Window > Layers.
To cover its content, click the eye icon to the left of a layer in the Layers window. To show the content, click on the same spot again. This is a convenient way to remember what’s on a certain layer.
To make adjustments to a layer, it must be picked. In the Layers panel, right-click the name of a layer to pick that layer. Keep Control (Windows) or Order (macOS) to add more layers to your list when you click on other layers.
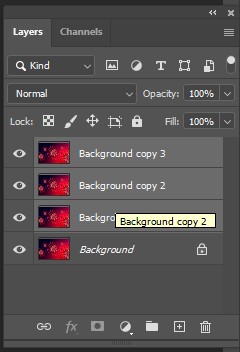
b).Learn layer basics
Adjust the order of layers, create a new layer, change the opacity of the layer, and remove a layer. What you’ve learned: To work in the Layers panel with layers
In the Layers panel, drag a layer up or down to change the order of layered objects in the image.
To build a new layer, press the Create New Layer icon at the bottom of the layer panel. Unless anything is applied to it, this layer is transparent.
Double-click the current layer name to name the layer. Type the layer’s new name. Click either Join (Windows) or Back (Return) (macOS).
Pick a layer in the Layers panel to adjust the opacity of a layer and drag the Opacity slider located near the top of the Layers panel to make the layer more or less transparent.
To delete a layer, in the Layers panel, pick a layer and press Backspace (Windows) or Delete (macOS).
c).Resize a layer
Adjust the content size of the layers picked. What you have been learning: to resize layers
Select one or more layers in the Layers panel that contain images or artifacts you want to resize.
Choose Edit > Convert for Free. A transformation border appears on the selected layers across all the material. To avoid distorting the content, hold the Shift key and drag the corners or edges until it’s the desired size. To transfer the content around the image, drag it inside the transformation boundary. To rotate the material, drag it outside the transformation boundary.
In the options bar, click the checkmark or press Enter (Windows) or Return (macOS) to finalize the update.
d). Add images to a layered design
Bring more images, each image on its own sheet, into a design. What you have learned: attaching pictures to a template
Navigate to the image file in File Explorer (Windows) or Finder (macOS) and then press Place. Select File > Place Embedded.
To avoid distorting the image, hold the Shift key and drag the corners of the image border to resize the image you’ve added.
Drag the added picture into the border to put it where you want it.
In the options bar, press the checkmark to finalize the placement. This creates a new layer automatically that contains the added image.
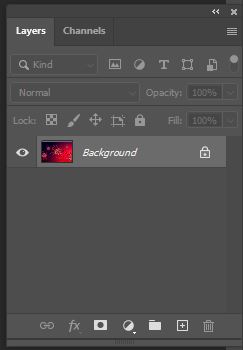
e). Unlock the Background layer
Learn how a special layer of history works. What you’ve learned: To turn a background layer into a standard layer
Since the background layer is locked, it can not be transferred or rearranged in the Layers panel in the Document window, and some editing features won’t work on it.
In the Layers window, press the lock icon to the right of the layer name to convert the background layer to a standard layer.
If you save your PSD (Photoshop default save format) file, your layers will be saved, but the file size will be high. Your layers will be flattened and become one layer if you save your file as a JPEG (a popular image format). However,the file size will be considerably smaller.