Adobe Photoshop is a world famous photo editing professional software that people can use to edit or manipulate picture according their need. In this era of social media and e-commerce business, product photography plays a crucial role to life the business up in online platforms all over the world.
So, the importance to product photo editing is very important and also in the apparel industry, Photography plays a vital role in business. In fashion sector and also in wedding photography sector, you need to edit and manipulate picture and there you will need Adobe Photoshop to do it professionally.
There are many tools in Adobe Photoshop and if you want to know what actually is Photoshop then you have you know the tool very well:
Gradient tool: Gradient tool actually uses to blend the colors according to your need. At first, select the Gradient Tool from the Tool Palette and select the Foreground to Transparent gradient. After that, choose your color. A nice touch in Photoshop CS5 is to select colors from the Open GL Color Picker.
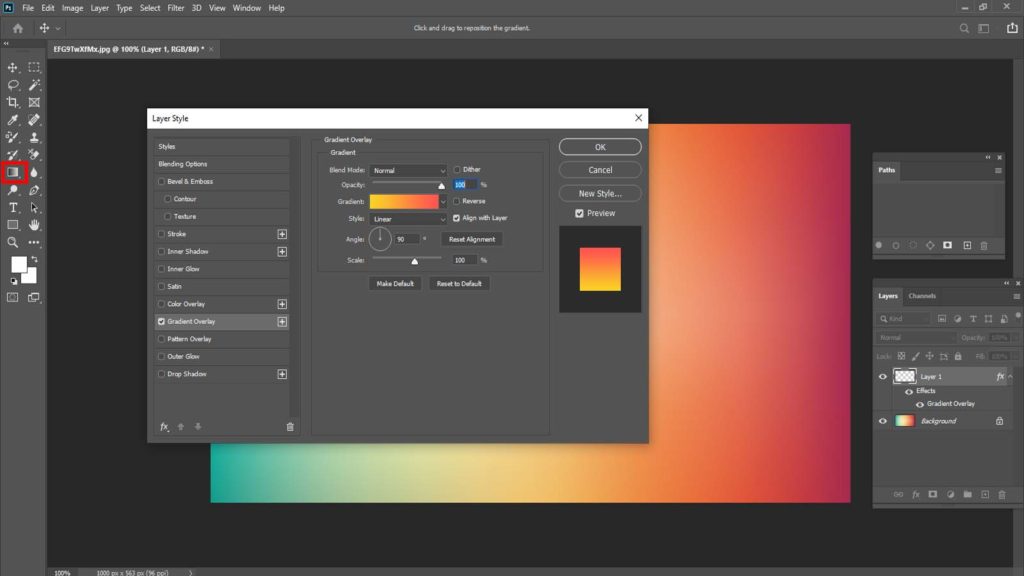
On a Mac hold down Control + Option + Command and click and on Windows: Shift + Alt + Right-click. This will enable you to pick a suitable color to use to brighten up an area in the photo.
Then, Drag a gradient over the area of the image you wish to color correct. For example we dragged the gradient starting at the darkest point to the lightest area. The opacity for this gradient is let’s just say 40%.
However, if you want to change the opacity after applying a gradient, you might normally undo, change the opacity, re-draw the gradient, etc. It can lead to a lot of trial and error. There is another way though.
Clipping Path: Basically clipping path is an option in Adobe Photoshop where you can do things like editing, remove or change background or even manipulate photos quite easily and effectively.
You can also go for shadows, gradation, texture, and many more things with the help of clipping layer. You can edit your images or subject more effectively with clipping layer.
Now let’s talk about the layer clipping functions, how it actually works? Just you need to think about a layer, picture a transparent sheet to understand better a clipping layer works.
We actually cling the layers on the transparent layers, and then we add them to look like a single picture. The clipping function references the layer below and makes it possible to color or draw only on the marked sections of that layer. Moreover, clipping function removes the hassle of fixing parts that basically stand out.
Clipping layer is very useful when you want to add shadow or touch up the drawn area on another layer. If the layer set as the reference for clipping is hidden, the content drawn on the clipped layer is also not displayed.
Clipping Masks allow you to apply pixels on a layer or color and exposure adjustments with the help of Adjustment Layers to only one exact layer as opposed to all layers beneath it.
A clipped layer’s pixels or adjustments will be applied to any opaque pixels in the layer it is clipped to. The opaque pixels essentially form a mask for the one or more layers that you clip to it. When a layer that has other layers clipped to it is disabled/hidden, all clipped layers will automatically hide as well.
Adobe Photoshop for food photography: Food image editing is also very crucial as it brings the real beauty of the picture. Moreover, you can also add various thing to make it look good, On the other hand, you can also delete the unwanted things. Adding special effects while editing will make your food business life easier and better.
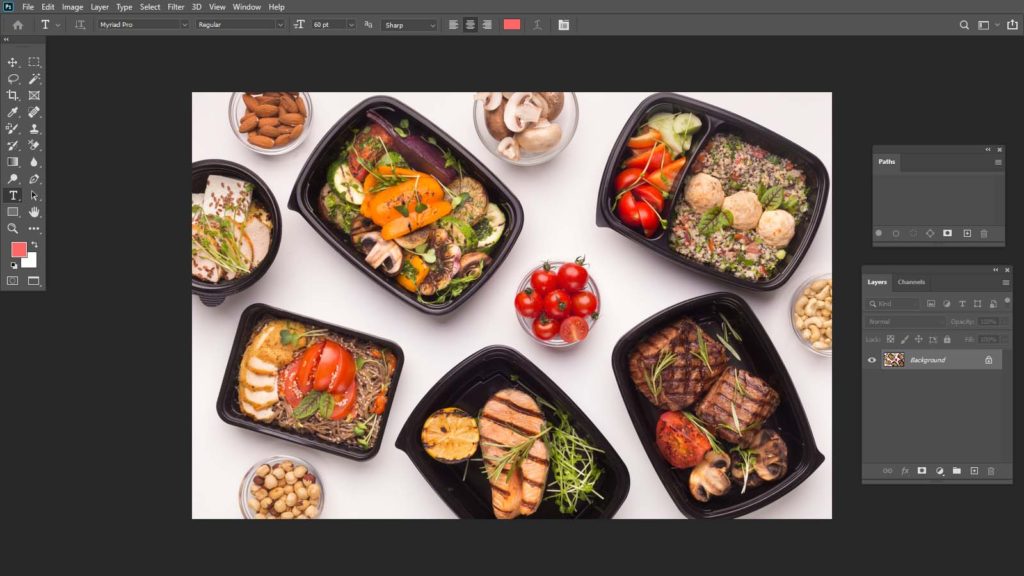
But too much exaggeration in photo editing and wrong angles while talking images might harm the business quite effectively.A good food photography is the essence of doing proper business in case of social media marketing, content marketing, blog post
Adobe Photoshop for fashion and Wedding industry: Wedding photography is very popular in recent times and for a better output professional photographers use Adobe Photoshop software when it comes to photo editing and post processing stuffs.
That’s why Adobe Photoshop is very important for professional wedding photographers there is no question about it.Let’s talk about how Photoshop can help you for your wedding photography.
Go for the perfect software for editing: Choosing the perfect photo editing software is very crucial. For wedding photography, Adobe Photoshop CC is perfect for post processing and photo manipulation.
Selecting tool for photo editing: Flag tool is very important for post wedding photography retouching. All you have to do is click on the P on the keyboard (P for Pick). So you add a flag, or you can click on the checkbox in the thumbnail image.
Moreover, you can also go for Adobe light room and it contains cool features like Face recognition feature in Light room to sort wedding photos into categories as Bride, Groom, Couple, Family, Friends, Macro, Ceremony, Party, and Lifestyle. It will take less time to edit more than thousand photos.
Downloading LR Presets and PS actions: There are many presents in Adobe Photoshop lightroom so that you use it according to your need. You can also create and download presets if it’s needed. Besides, you can also edit color, clarity and many more things in glimpse of an eye. There are very crucial for post processing wedding photography.
Contrast setting: correcting contrast after wedding photo shot is very necessary for a better post processing output. Light room presets the best for adjusting contrast. Just follow the instructions below. If you want to change the lighting, first make light on the photo neutral. Go to Select – Color Range and select Highlights. Duplicate the selected area to the new layer of the CTRL + J command.
Return to the background layer and through the Color Range, select the Shadows. Duplicate the selection on a separate layer (CTRL + J) and change the blending mode of the layers with the shadows to multiply. Reduce the opacity to about 30%, depending on the image. Create a new layer, fill it with a neutral gray color and change the blending mode to Overlay.
We start to correct the light / shadow with the tools Dodge and Burn (O). Or you can create a new layer, change its blending mode to Soft Light or Overlay and draw with black and white colors in the required areas with a low opacity brush.