Embark on a transformative journey as we unveil the keys to professional image editing in Adobe Photoshop—demystifying complexities in just 9 simple steps! In a world where visual excellence is non-negotiable, mastering Photoshop is a skill worth its weight in gold. Whether you’re a seasoned designer or a novice, our concise guide equips you with the essentials to elevate your editing game. Join us as we navigate through the intricate landscape of layers, filters, and enhancements, empowering you to turn ordinary images into works of art.
Ready to unravel the secrets to seamless and professional image editing? Let’s delve into the magic of Photoshop!
It’s essential to make your documents at the right size and goal for your necessities. As an overall assertion, it’s smarter to go large and reduce picture size than to go little and attempt to expand picture size.
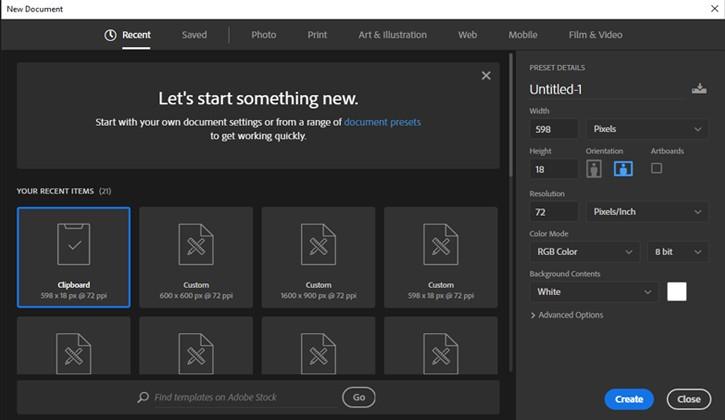
Expert tip: If you are making pictures that will be utilized on paper, then, at that point utilize a resolution of 300dpi. On the off chance that you are making pictures that will be transferred to the web, utilize a resolution of 72dpi.
Then, we need to put our stock image(s) into the report. To do this, head up to File > Place Embedded, this will put your picture into your scene as a smart object.
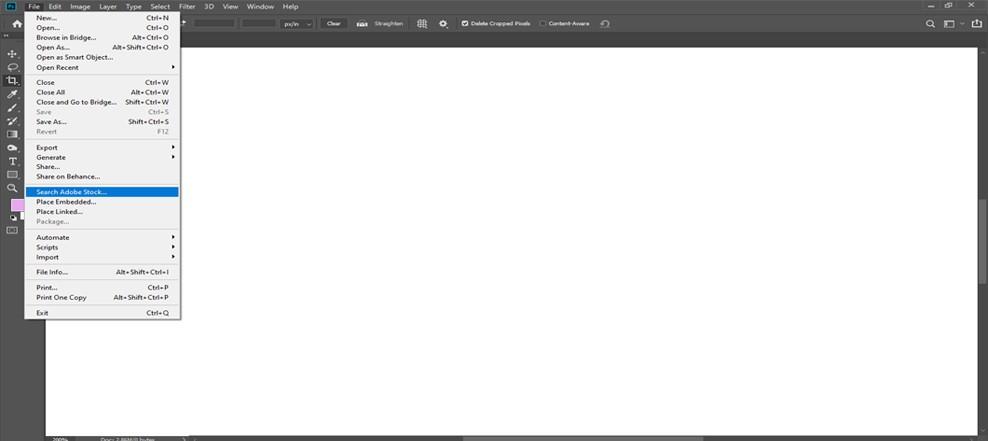
Expert tip: When setting pictures into your document, copy the first layer and afterward alter the copied layer. This will leave a unique variant of your picture in your functioning record. Making it a lot simpler to return to on the off chance that you need to.
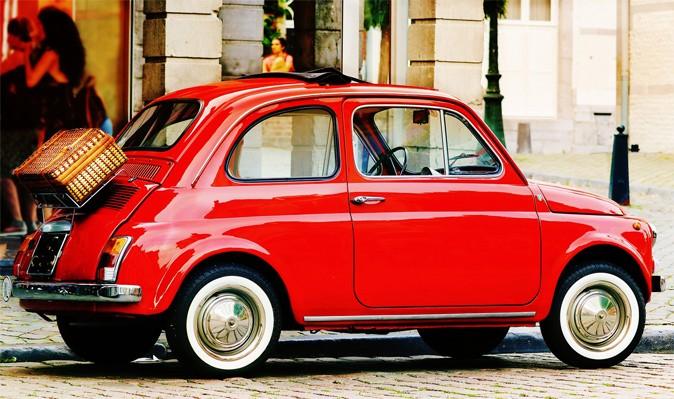
When you have the central picture in your document, it’s an ideal time to take a look at the composition. Now, you can search for stock pictures and begin to put them into your document to perceive what looks great. To make a practical outcome, watch out for point of view. New pictures that you place into the scene should coordinate with the viewpoint of existing pictures.

Expert tip: Find the best free stock pictures used on sites like Unsplash, Pexels, Pixabay, Free Nature Stock, and that’s just the beginning.
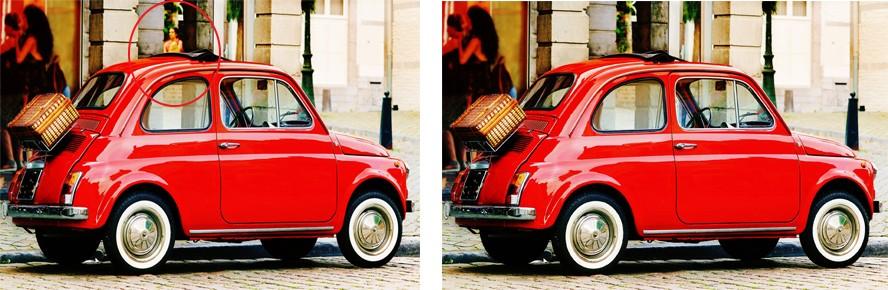
Is it precise to say that you are set up to clean up? That is actually what this stage is. You have put every one of the pictures into your document to fabricate the arrangement, this is the ideal opportunity to eliminate any undesirable parts. When altering the supercar, I needed to eliminate any flaws on the shrub, clearing, vehicle and recently positioned stock pictures.
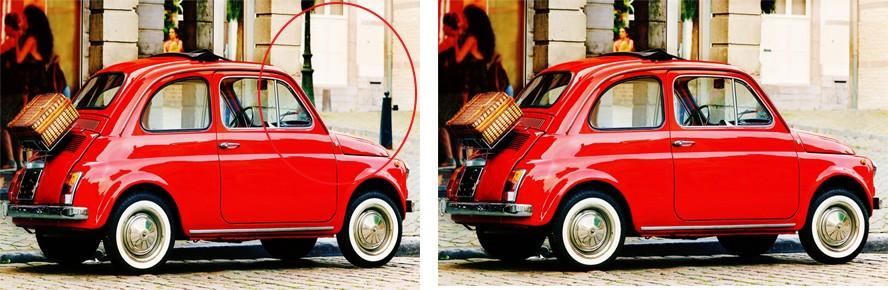
Most pieces will have a point of convergence, you ought to consider this in the arranging stage. Then, at that point with regards to picture altering, you should give a lot of consideration to the point of convergence.
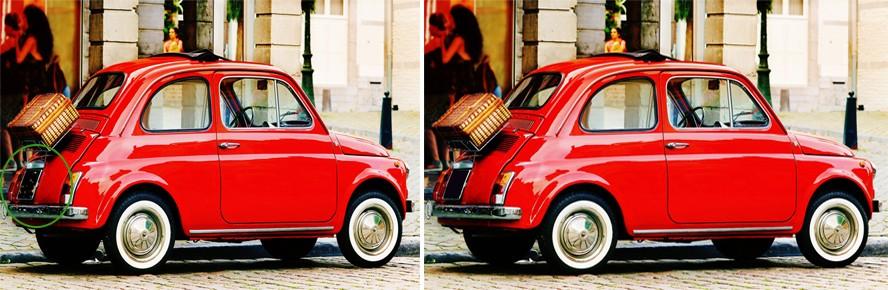
Investigation – Take a stage back and think!! Take a gander at your piece and choose what you should change. I needed to change every one of the reflections on the vehicle, as we have changed the scene and constructed another arrangement, we expected to change the reflections.I got the trusty clone stamp instrument and began eliminating every one of the undesirable shadows on the object. I will not delve into every one of the violent subtleties as this is a tedious altar. Take as much time as is needed and refine your altar gradually.
When utilizing stock pictures it’s critical to eliminate any close to home data like logos, text, names and so forth This will stay away from any copyright encroachment and guarantee there is no item position. In my picture, I expected to change the number plate. This is a free stock picture so it is anything but an important advance, simply great practice.
Expert tip: Use the slant and emblazon layer style when needed to give your content changes some profundity. This makes a practical completion.
Presently we have our piece finished and all undesirable pieces of the scene have been eliminated. It’s an ideal opportunity to take a gander at the differentiation.
Expert tip: Use levels to change layers to alter contrast. This is a non-dangerous procedure and considers changes at a later stage whenever required.
I needed to improve the differentiation to truly make my picture pop! It handled the vehicle first, then, at that point the haggles and ultimately, the carbon subtleties.
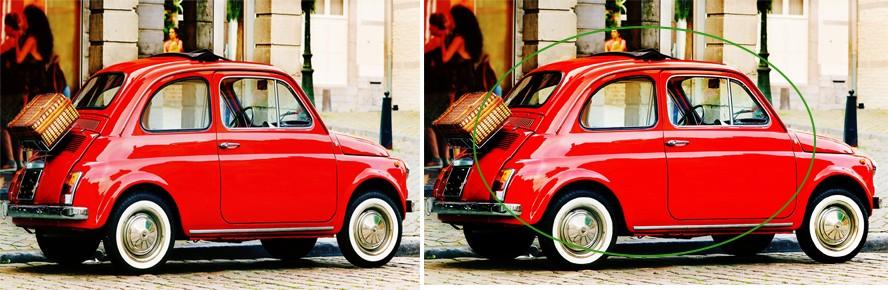
Consolidating various pictures can prompt various regions being more honed than others. Portions of the foundation could be in the center when they ought to be out of core interest. We need to alter the sharpness to guarantee clearness in the picture and the central regions are right. To edit the sharpness, we will utilize the High Pass channel in blend with layer styles. We will then, at that point, specifically hone certain regions utilizing a layer mask.
It’s an amazing technique to create your picture look super crisp.
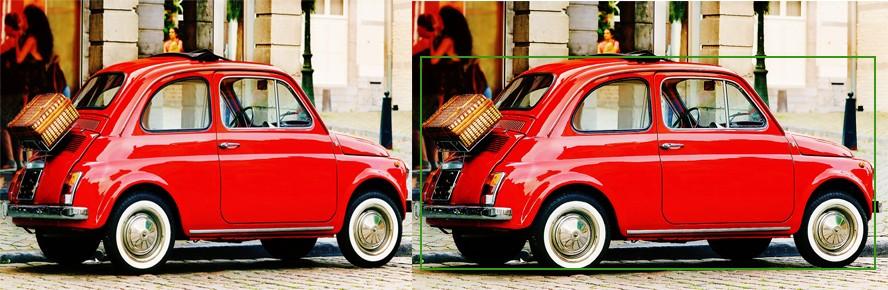
This is likely quite possibly the main strides of the interaction, nonetheless, it’s regularly disregarded. The last shading changes help make a consistent mix between every one of the pictures inside the organization. They additionally permit you to make a specific state of mind or feel. To play out this change, add a concealing question change layer over any leftover layers. Then, at that point go in and alter each shading independently on the change layer. I’ve likewise decided to utilize a Photo channel to give a more brilliant daylight impact.
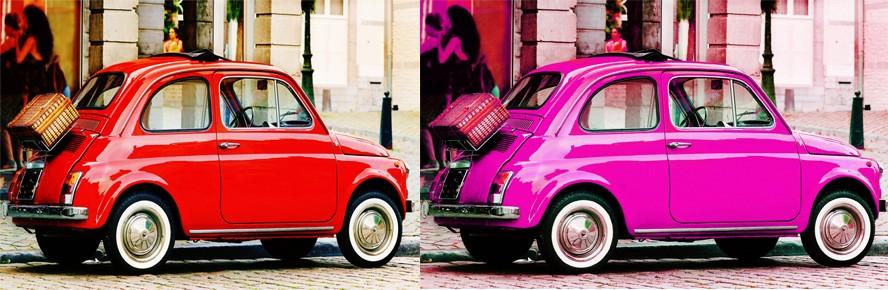
You can see there is significantly more solidarity in the shadings making a superior mix in the structure.


