Adobe photoshop is a software through which anyone can make a photo eye-catchy and gorgeous as well . But there are some hidden features which many of us do not know . Adobe photoshop contains so many secrets. If we use those secrets for modifying our photo, then we can generate amazing photos . Before enhancing our desired photo, we need to know about those secrets and the secrets are :
Colorize the skin quality: If you want to adjust the skin color , go to the option bar and Select < choose “ color range” < Choose “skin tone”. Adjust the pointer . This feature is really good for balancing the color.
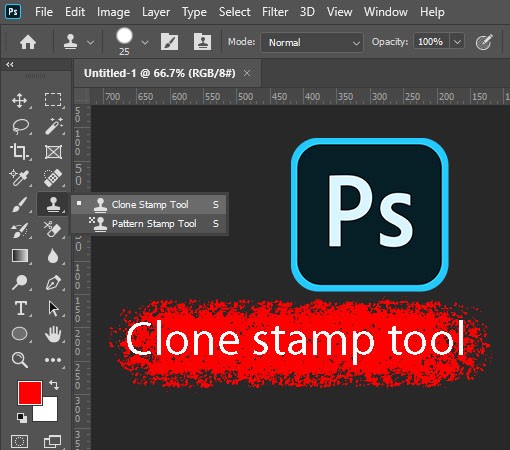
Clone stamp tool: It helps us to duplicate the pixels from one location to another location . If you want to clone any part of your image , then you need to apply this clone stamp tool . For windows Press to the alt key and press to the option key for mac to place a pattern. To clone any part, we need to use brush . Hold on CTRL +z key (windows) or Command z (mac) to undo . Press on the shift+alt (for windows) and shift + option (for mac) and press on the arrow keys from the keyboard . An effect will be created and you can adjust that effect according to your wish. Use (SHIFT+ ALT for windows ) and (shit + option for mac) and press on the left parenthesis to minimize the clone effect . Press (SHIFT+ ALT for windows ) and (shit + option for mac) and press on the right parenthesis to increase the effects.

Rub out with the brush : While designing with brush tool , sometimes mistakes may happen . To remove those mistakes , go to the option “Eraser tool” and rub out the defects. As we know that eraser tool is another type of brush , so when we use this brush for removing spots it may not remain the same effect in the picture . In that case , you need to select the exact brush type which you have used for “ brush tool”. But this is very lengthy procedure . To do it more faster , go to the brush tool < color < for erasing anything press down to the tilde key . This will help to maintain the same effects in the image.
Copy merge option: If you go through numerous layers, you can use “copy merged ” to copy your all details. Make another new document and see what you have copied . This feature is really good.
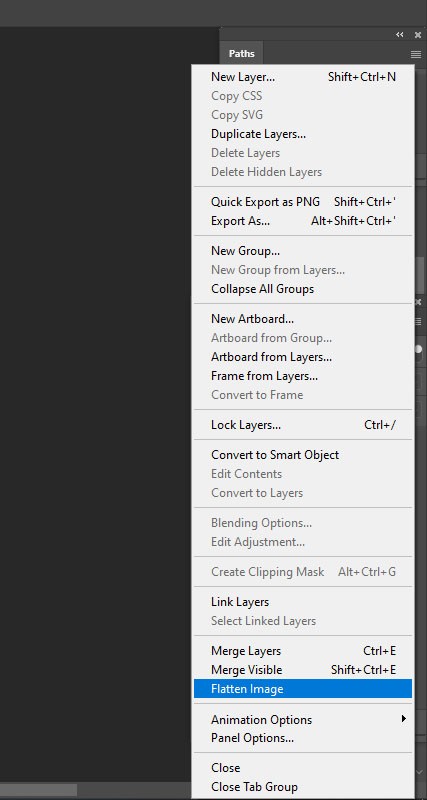
Flattened format : When we work with large PSD files, then it takes a lot of time to open that file. To save our time , we can convert it to a flattened file format for merging . This will reduce the file size also . To do this Go to file < select your file < a window will be appeared < click on the “OK ” . It will create flattened format.

Dotted fringe: With the help of brush tool , we can make dotted fringe in photoshop. To draw dotted fringe using brush tool, go to the brush controls menu< Set the space value more than 150 to create a dotted line . Many of us use brush tool, but there so many people who does not know about this hidden feature .
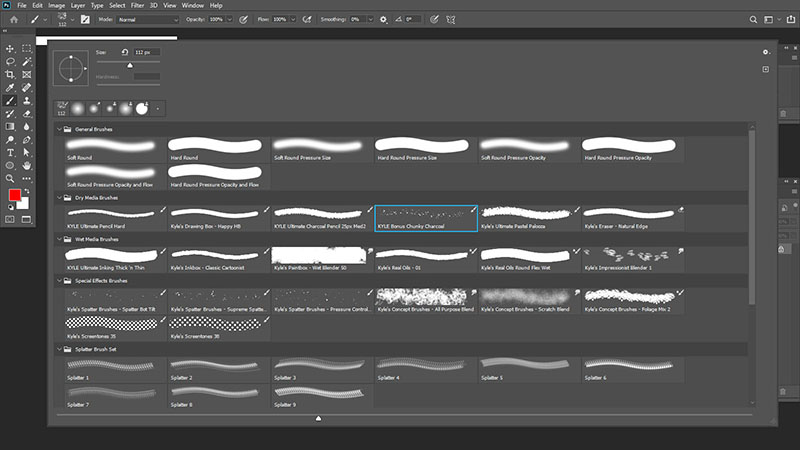
Free brushes : There are more than 1000 free brushes are available and you can simply download those brushes and apply that in your photos. To get this , Select the option named as “Brush tool” < There will be a down marked arrow < go and select that arrow < go to the toothed wheel icon < select the option “get more brushes” < download your desired brushes that match with your version of photo-shop.
Stores brushes in library: To assemble all the brushes and to use the brushes from all our devices , we can use library for storing this things. To do so , Go to the window option bar < choose the option “ brushes”. You can use any styles of brushes , you can apply any of them in your image . If you want to use those brushes for other purposes such as : if you want to use those brushes from your desktop, then you need to choose your desired brush < pull the brush into library panel . Photo-shop will store it into your libraries.

Highlight creation: To apply a highlight effect on a model’s face , create a new layer < choose the option “brush tool” < press on the alt key to pull up the eyedropper tool. Press and pull out the circled light and press on the right parenthesis to expand the brush size < ctrl+alt+g to link this layer to the bottom layer. Besides these, we can link numerous layers into a single layer.
Place the “drop shadow” in a perfect point: When we put drop shadow on any item in photoshop, you can avoid the dialog panel. We can simply press on the drop shadow and can drag it into your desired place. Just maintain the drop shadow size as it depends on how much you want to give the fuzzy effects in your image.
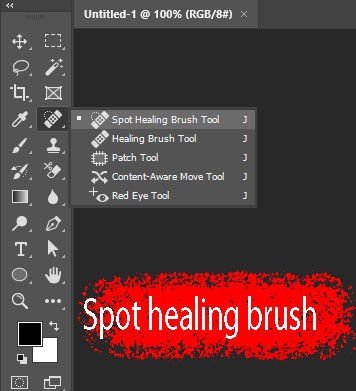
Pull down menu for Spot healing brush tool: This tool is rapidly used for erasing spots or scars from any image. First select spot healing brush tool < select blank layer < ensure that all the layers are verified. To erase any wrinkles from faces, use spot healing tool . But if we zoom on the image , we can see that the spots are not gone perfectly . If we continue using the brush to remove those wrinkles, adobe photo-shop will create a twist in the appearance of the skin and of course it will look unreal . To avoid such problems, undo all the settings that you did for spot healing tool , decrease the intensity . Use the pull-down menu to lighten the wrinkles. Adjust the opacity that match with your image.

Screen share : To share our screen , go to file < choose the option “share my screen ” < login with adobe id and pass. You can easily add your friends and can talk with them , can get their feedback .
Photoshop contains more than thousand of secrets . If we know some secrets of it , then we are really lucky . With the help of those secrets , we can bring out beautiful images for business purpose or any other purposes . Also if we know shortcuts using commands, we can save our time . We can do another important work if we able to save our time . So it is important to know the photo-shop secrets to make our tasks more trouble free and more safe.