The light painting will help us to create brilliant results in the case of photography. Are you looking for the ins and outs of light painting? Yes, in this article, we will discuss this topic in detail. By applying these techniques, you will be able to apply light painting with ease. Let’s drive-in!
We always have curiosity back in our mind that how light painting works? Well, it is a photography technique that uses a moving light source. When we rea thinking of light painting, you will become a completely new photographer. You are not only capturing the photo, there is something else. It needs a plethora of patience and practice to continue and the outcome is rewarding.
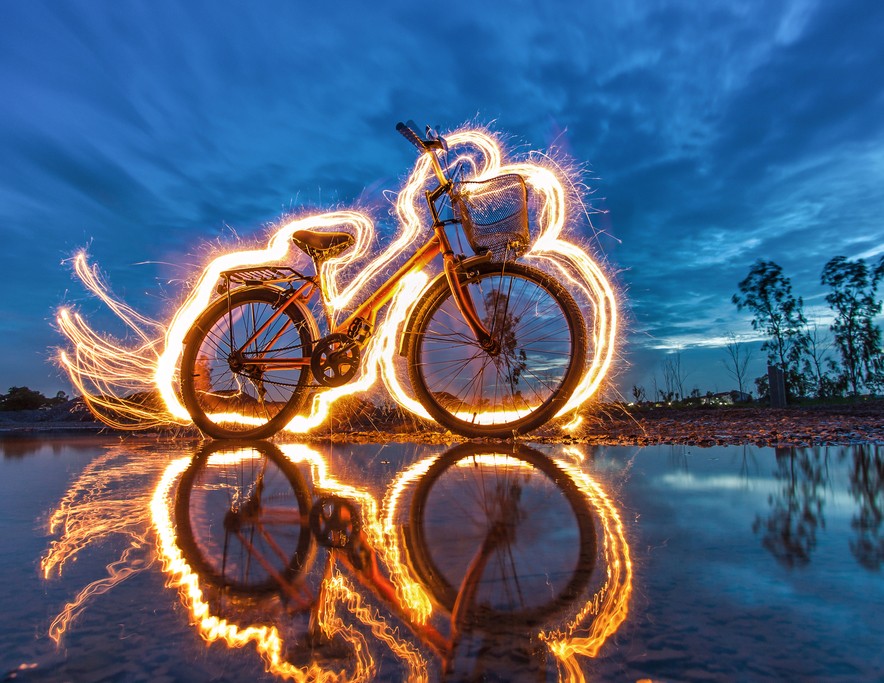
We can describe light panting as an external light source that acts as the motion to enhance the image. Have a close look at this image! It is a low light image that has equal color balance all over the body.
When you are going for light painting there are some tools that you must have to carry or you should have a clear idea of them. Let’s discuss them
Without a camera, you cannot participate in any sort of photography work. In the case of, the light painting we are recommending you to use any digital camera which has a manual setting.

Without a tripod, you cannot continue light painting and it is one of the most important things for a thriving photography career. Here your shutter needs to open for few minutes and for that tripod is important not to move the camera during that exposure.
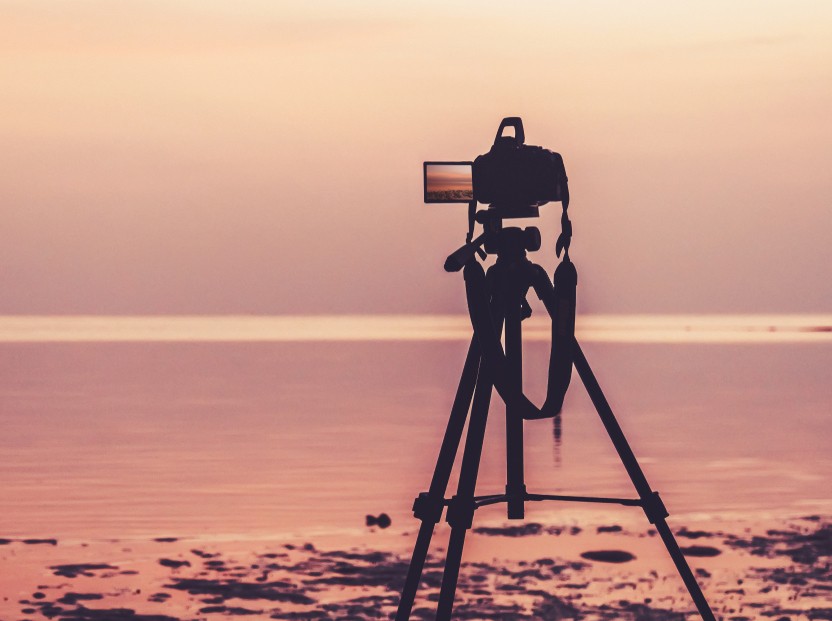
To start the exposure, you can choose a shutter release or cable release. Don’t you have any of those? You can simply use a camera timer. When going for a shot using your camera self-timer option. Do not touch the camera during the period of exposure.
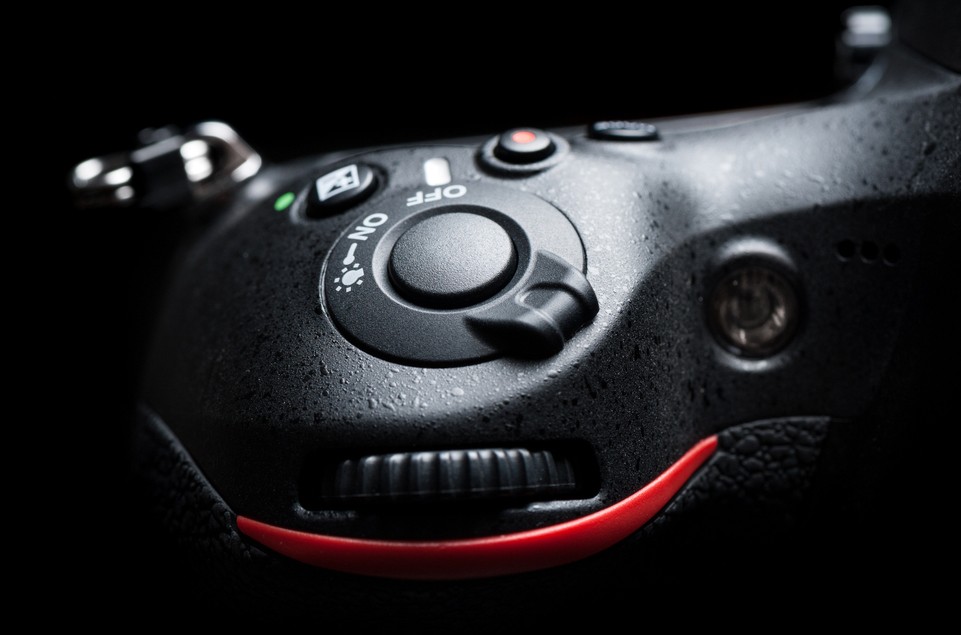
You will need it from the beginning of a light painting. Maximum light painting exposure uses the bulb mood.
It is considered one of the most vital terms of light painting as it is a challenging task and in many ways, you might need some extra skill to develop your photography. It can be a flashlight, torch, cellphones, candlelight works very well in many ways, or a flashlight can work brilliantly when we are thinking of a light source. In modern times, different types of photographers like to use LED light to make the photography colorful. A halogen source will be a perfect example of this concept. They can produce an amazing source of light. Sometimes photographers love to use orange and red light to make the photography colorful.
They will add the extra dimension to your photography. It can be used to make the photography a colorful one.
Camera settings are the rudimentary part of light painting. Different parts need to be changed when you are planning to start this journey. Let’s go for a short journey.
In the case of, light painting we always prefer you to use manual mode and I believe they are perfect in many ways.
We prefer you to set them as a raw image. In this case, you will get a plethora of options to visualize the image and while go for editing it is also super helpful.
It is a critical task and sometimes people do mistake here. Do you like to establish an artificial light source? You have to choose either incandescent or Tungsten white balance settings. They are super helpful. While keeping up the original color you can select the daylight white balance. Do not select auto white balance here. It will not be helpful.
It can be near around 100.
It should be in the bulb mood. This process will be enclosed by an ambient light source.
LCD Brightness
Normally it was too light and in the case of the light painting you need to make them a bit darker.
Normally it was off and you have to make them on. When you turned them on there might be a side effect that the exposure time could be double. The reason is the camera is trying second black exposure to remove the noise perfectly. At a reasonable ISO, the noise level will be low.
We often talk about ambient light but its real-life example is light painting. To do this, firstly we have to set up the correct exposure of light. Set up the ISO to 6400 for this experiment. In every second of exposure, the ISO 6400 is equivalent to ISO 100.
Appropriate focusing is needed while go for a light painting. We can say focusing is the half of light painting. In that case, pick up alight focus where you can cover up the object perfectly. One major suggestion, in this case, is, change the autofocus to manual focus mode. It will help you to select the object perfectly.
There is a plethora of topics to discuss this light painting strategy. In short, we have tried to provide you a rudimentary idea of these topics. Hopefully, you will love them. If you have any queries regarding this topic do not hesitate to ask us by commenting.