Have you ever tried something different on Photoshop? We all know that Adobe Photoshop is the largest platform for various photo editing purposes and we can try simply any type of photo editing work here. In our obsession mind, sometimes we like to create something colorful that could be full of letters or images. Colorful overlapping letters can be a great example of design. Let’s discuss “Colorful overlapping letters text effect in Photoshop” This is a step-by-step guideline and hopefully you will enjoy this article.
The newbie designers have always asked this question frequently that how did they fix colorful overlapping letters text effect in Photoshop? Firstly, you need to select the text tool on the left side of the options bar. Here you will notice a “T” with a little down-facing arrow. It is not a hard task to find them. Easily you can have it. If you are using the older version of Photoshop, then the size of the arrow will be a little one. Just click there and find the reset tool from there. That’s all. You can start typing again and fix this bug easily.
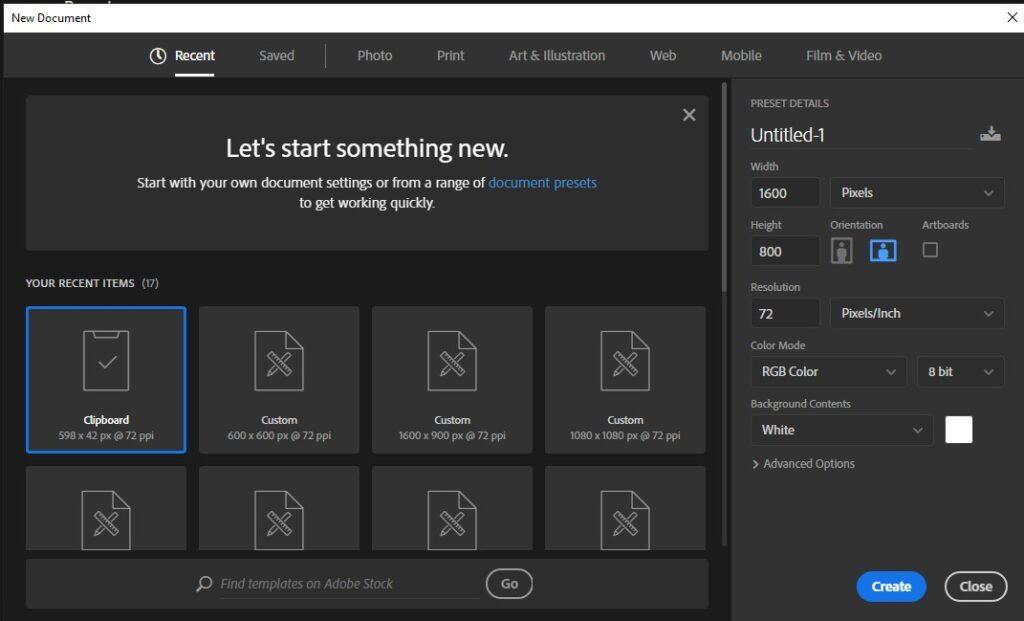
We can simply start this journey by creating the new document here. Open up the Photoshop window and create a new document there. For this experiment we are setting up the dimension as width 1600px and height 800px. You can set up the window as you wish or depending on your requirements. Here we have selected the background color as white and the resolution is 72 pixels. You can also increase this resolution up to 300px depending on your demand.
Now we have to select the text tool from the left side icon bar. The capital letter “T” is there and just press it. Choose a font style at the top of the menu bar. For this journey, we are picking up Times New Roman. We are setting it as Bold. At the same time, we can set up the font size as well. For our safety, we are setting our text color as black as we have chosen the background color as white. Now type a simple text as you wish. For experiment purposes, we are writing “colorful.”
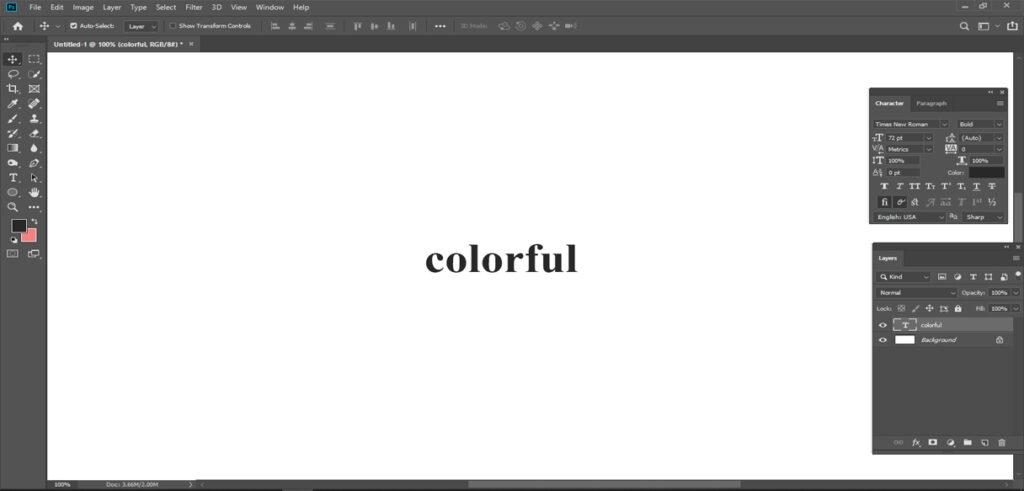
Please go to the edit menu and then choose the transform bar from there. To resize this text, we have to press and hold the shift key as we are dragging any corner of this text. When we will complete this procedure, press enters and complete this transforming procedure.

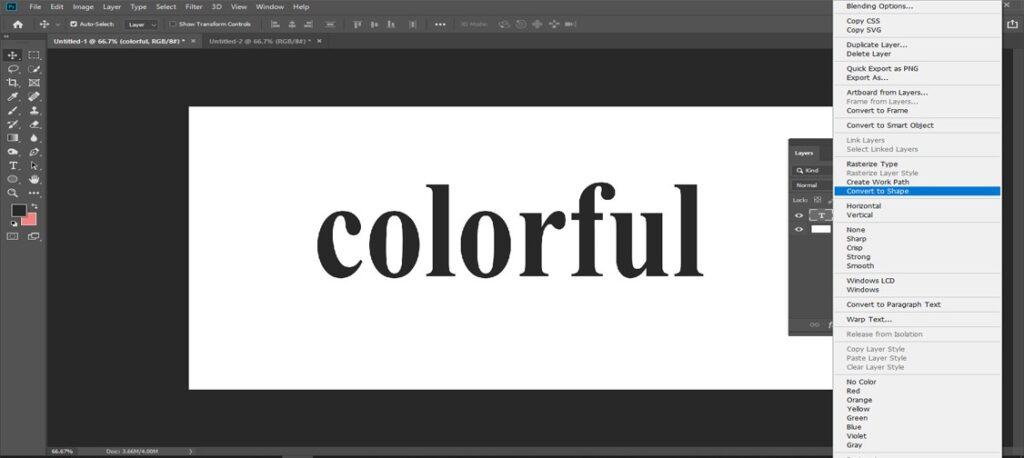
If we check the layer panel, then we might see that it is appearing as a background layer. Now, our task is to convert them to the shape so that we might complete this journey. From the layer menu please choose the type and then convert it to a shape.
To cover the letters and mix their colors, we need to put each letter on a different layer. Get the Path Selection Tool from the Toolbar:Picking the Path Selection Tool from the Toolbar in Photoshop
At that point, in Photoshop CC, go up to the Options Bar and change the Select choice to All Layers. This will make it simpler to choose singular letters. In Photoshop CS6, this choice isn’t accessible, yet you’ll have the option to choose the letters simply:
Changing the Select alternative for the Path Selection Tool in Photoshop CC to All Layers. Evolving “Select” to “All Layers” (Photoshop CC as it were).
From the document window, click anyplace on the white background to deselect the letters. At that point, click on the main letter on the left to choose it. A way diagram will return around that one letter: It seems like nothing has been done yet successfully. From the layer’s panel see here the first letter is above the layer’s panel.
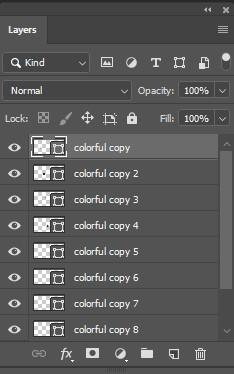
Now we have to move layers and try to create their targeted shape. You can press (Shift+Ctrl+J) to cut the letter from its original shape into its letter. We have to continue moving it until they are separate layers.
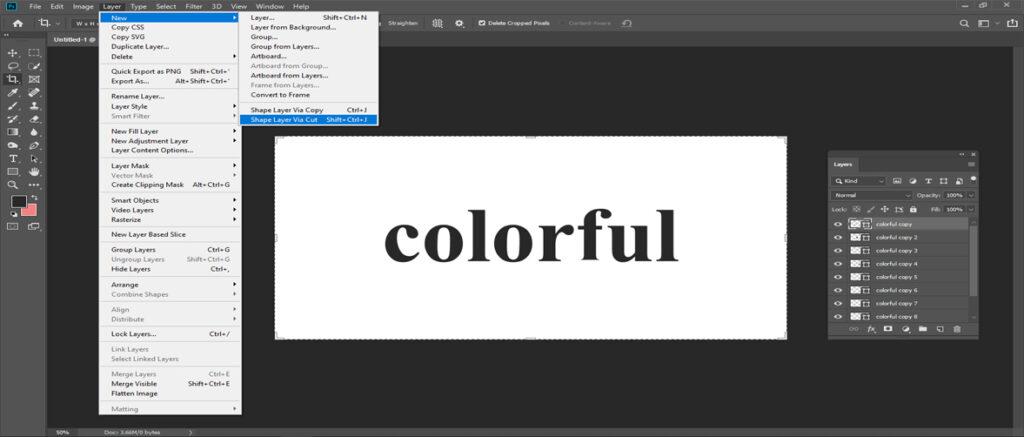
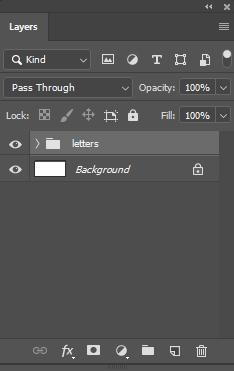
You have to click the layer icon and choose multiply from there. From the layer, panel click the right upper corner icon and then choose the new group from layers. From the group layer box name, it as letters and press ok from there.
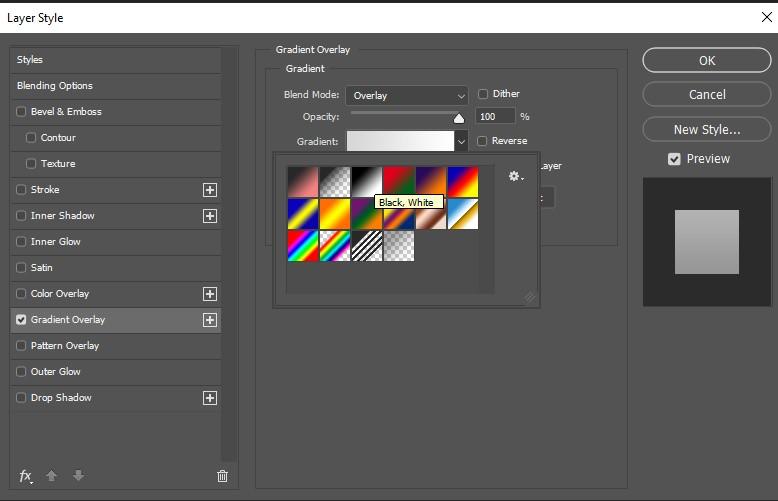
From the color picking option, choose colors for each of the letters in different layers and overlap them simultaneously We have to Set the Blend Mode to Overlay, the Opacity to 99%, the Style to Linear, and the Angle to almost 90 degrees, and then click OK:
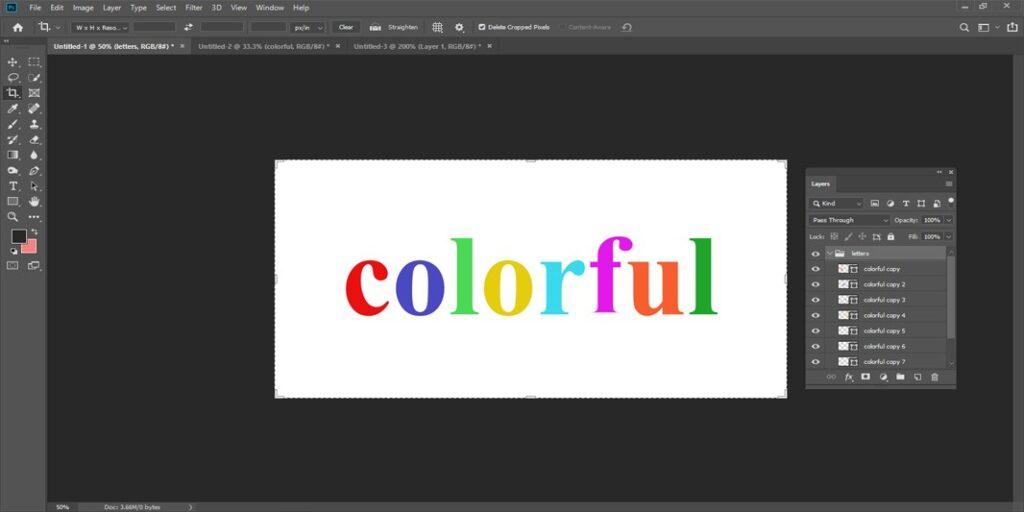
Final few words | Colorful Overlapping letters text effect
That’s all for the colorful text effect. If you do not understand anything do not forget to comment below! Thanks in advance!