Create a clipping path for a product image pair of sunglasses on a colored background
HomeBlogCreate a clipping path for a product image pair of sunglasses on a colored background
Creating a more extensive guide on creating a clipping path for product images, as well as the inclusion of practical examples and advanced techniques. Below, I’ll elaborate on each section to help you achieve your word count goal.
A Step-by-Step Guide to Create a clipping path for a product image:
Table of Contents:
Introduction
Explain the significance of creating high-quality product images.
Discuss how a precise clipping path can enhance product presentation.
Tools and Software
Discuss the options for software, including Adobe Photoshop, GIMP, and online tools.
Explain the advantages and disadvantages of each option.
Preparing Your Workspace
Detail the importance of a clean, organized workspace.
Provide tips on optimizing your computer and software settings for this task.
Selecting the Image
Explain the criteria for selecting the right image, including resolution and quality.
Offer insights into choosing images with complex shapes like sunglasses.
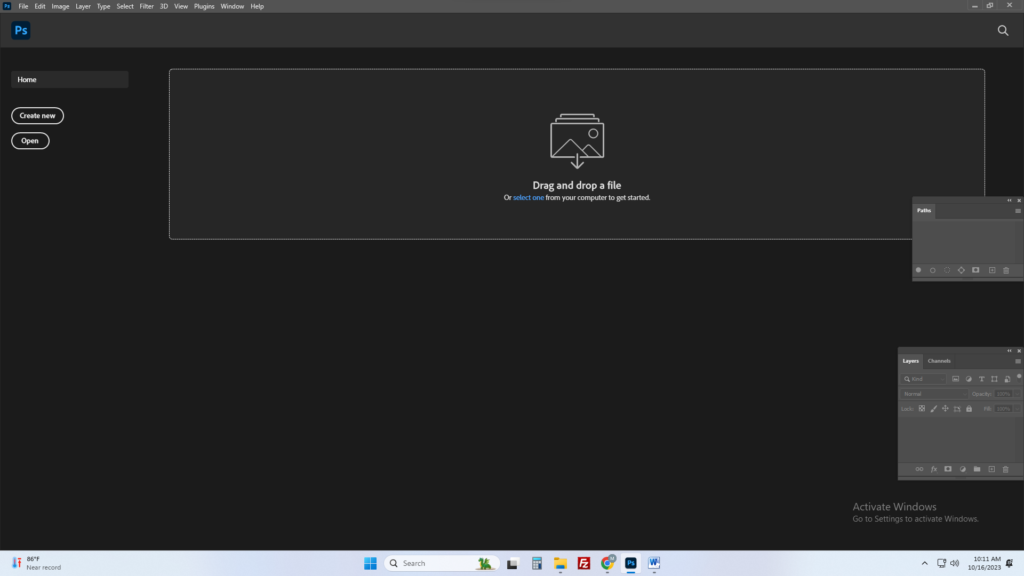
Importing the Image
Describe the steps for opening an image in Photoshop.
Show how to create a duplicate or backup of the original image.
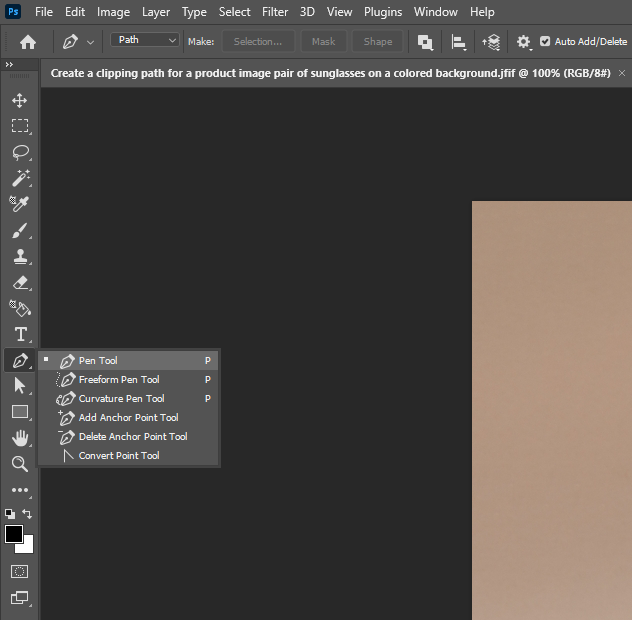
Selecting the Pen Tool
Explain the Pen Tool’s role in creating precise clipping paths.
Provide a brief overview of how to access and use it.
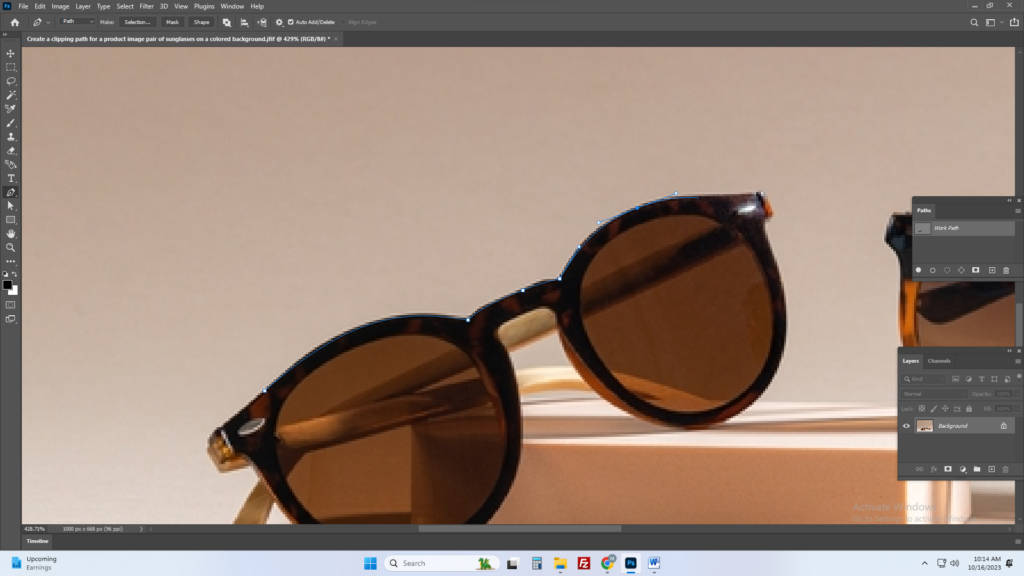
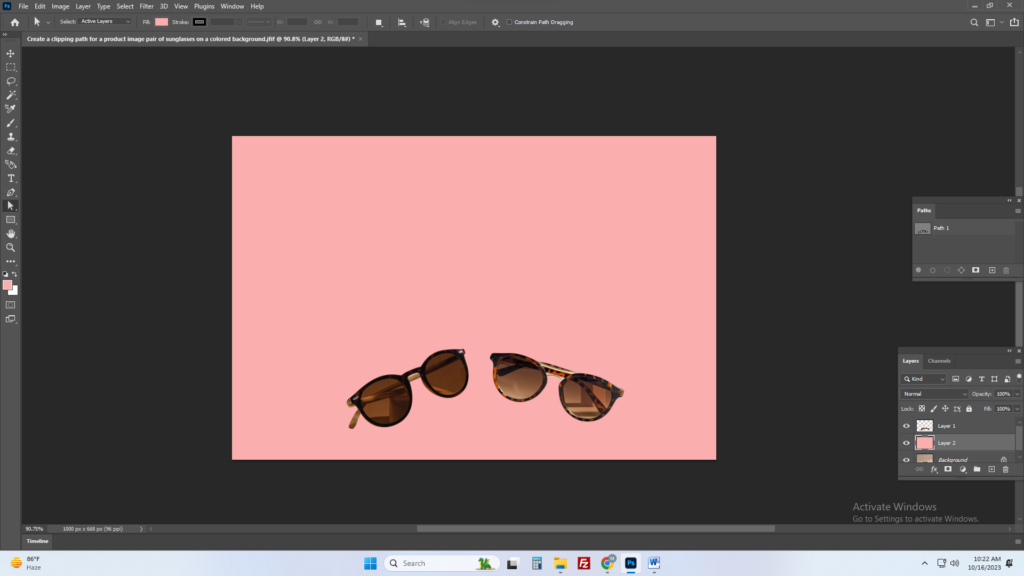
Creating the Clipping Path
Walk through a detailed, step-by-step process for creating a clipping path.
Offer examples and scenarios for different parts of the sunglasses, like frames, lenses, and arms.
Adjusting Path Settings
Describe settings for path color, stroke width, and other customization options.
Discuss the impact of these settings on the final result.
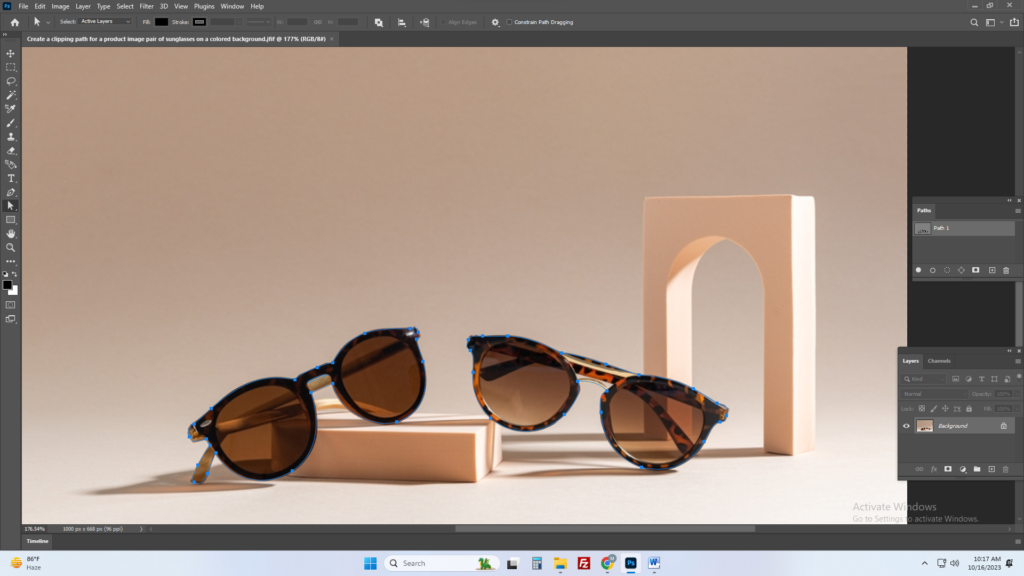
Refining the Clipping Path
Explore advanced techniques for fine-tuning your path, such as adding or removing anchor points.
Provide advice for handling complex shapes and irregularities.
Using the Clipping Path
Explain how to apply the clipping path to remove the background or add a different one.
Discuss blending modes, layer styles, and other adjustment options.
Exporting the Image
Describe the process of saving the edited image with a transparent background or changing the background color.
Offer insights into file formats, resolution, and compression settings.
Testing the Clipping Path
Emphasize the importance of testing the clipping path on various backgrounds to ensure it looks professional.
Share examples of before-and-after images with different backgrounds.
Troubleshooting Common Issues
Provide solutions and workarounds for common problems, like jagged edges, feathering, or color discrepancies.
Tips and Best Practices
Share advanced tips, such as batch processing for multiple product images.
Discuss best practices for maintaining consistency across a set of product images.
Conclusion:
Summarize the main points of the guide and reiterate the importance of creating precise clipping paths for product images.
References and Resources
Provide links to online tutorials, forums, and further reading on the topic.
Include references to books or courses related to image editing.
By expanding on each section and incorporating examples, you can reach your target for a comprehensive guide on creating clipping paths for product images, specifically for sunglasses.