Anyhow we are mixing photos or making designs in Photoshop, we often need to make a new document that will be the same as the size of our open document. By the name “size”, I mean that both two documents will need to split the same amount of width, height and resolution. Most Photoshop users will open the photo Size dialog box and write down the dimension of the recent document. Then, they will make a band new document and enter the same width, height and resolution values manually into the New Document dialog box.
That is the one of the ways to work, but there is a very fast way, and one of the ways that does not involve remembering or writing down numbers. The next time you need to make a brand new Photoshop document at the same dimension or size as your current document, here is how to do it! I will be using Photoshop CC 2018 but you can any recent version will work.
Where To Find Out Current Document Size
You will not need to do this step every single time, but just to make sure that the new document we will be making does match the dimension of the current document, let’s quickly check out our current document’s size.
The Photo Size Dialog Box
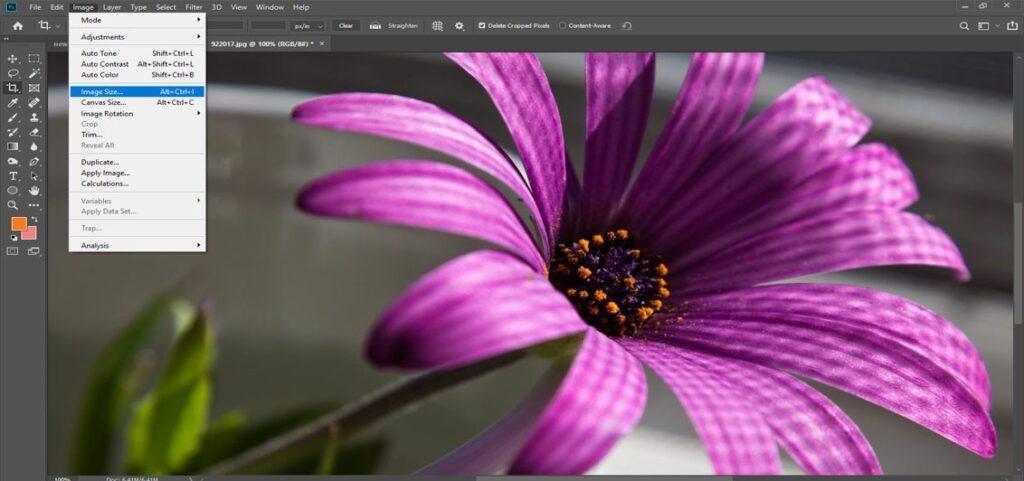
To view the document dimension , go up to the Image menu in the Menu Bar and choose Image Size. Going to Image > Image Size.
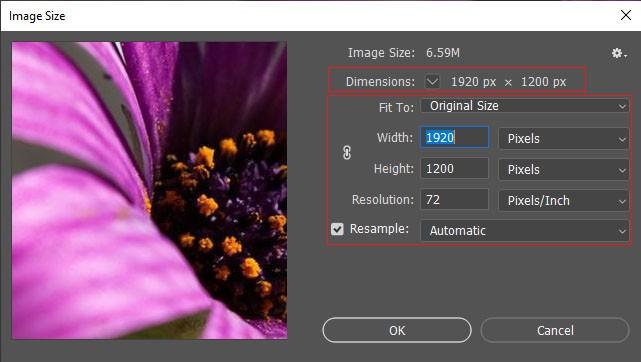
This sequence opens up the photo Size dialog box. There are at most two places where we can view the document’s dimension , width and height. One is next to the word Dimensions at the top side. If the Size of Photo in the dialog box is appearing the dimensions using a type of measurement other than pixels (like percent, inches, and so on), click on the small triangle button and choose Pixels from the list. The second thing to regard the size of the document is in the Width, Height and Resolution boxes. Here, we see the same values of width and height as the ones shown next to the word “Dimensions”, click Cancel to close the Size dialog box of the photo.
How To Make A New Document At The Same Size
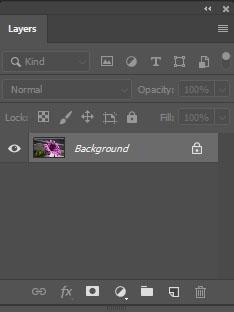
1.The Background Layer
To make a brand new Photoshop document that matches the width, height and resolution of your current document, first of all select the Background layer from the Layers panel. This will make sure that you are snatching the full dimensions of the document and not only the size of whatever happens to be on a different layer. If the Background layer is the only layer in your document ,you can skip this step.
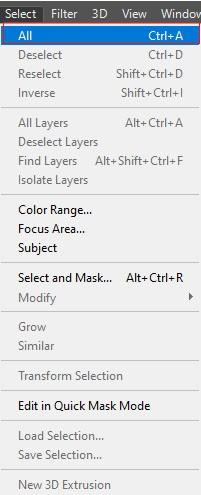
Go up side to the Select menu from the Menu Bar and choose All option. A selection outline shows around the photo:
Next thing, go up side to the Edit menu in the Menu Bar and choose the Copy option. This makes a copy of the Background layer to the clipboard.
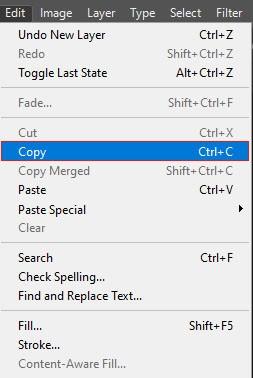
Edit > Copy.
To make the new document, go up to the File menu option and choose New.
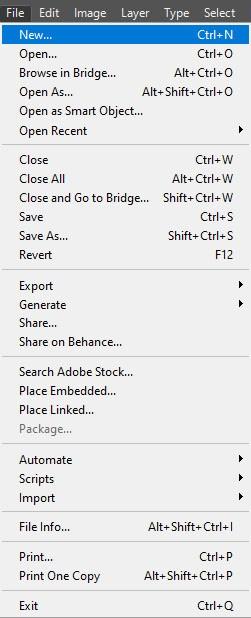
File > New.
In this New Document dialog box, look at the Width, Height and Resolution fields and you will see that Photoshop has automatically filled them up with the dimensions from your other document. Click Create or OK option to create your brand new document at the same size.
Tips
When you need a new Photoshop document the same size as the one you have open, you can use two ways to create one without actually checking the document size dialog box. First, you have to select all and then copy the background layer of the open document, click command + N for a new document. Here Photoshop will automatically set the size to whatever you copied to the clipboard. And the second way requires a trip to a menu, but it is very easy. If you have a document already open, click Command + N, while the new document dialog is open, then click the Window Menu in the menu bar and select the open document’s name.


