Enhancing the beauty of a single red rose in a photograph can be a captivating visual experience. But to make it even more stunning and versatile for different purposes, you may need to create a basic clipping path. This technique allows you to separate the rose from its background, providing flexibility in design and presentation. In this brief tutorial, we’ll show you how to generate a simple clipping path for your rose image.
Step 1: Prepare Your Tools
To begin, ensure you have the following:
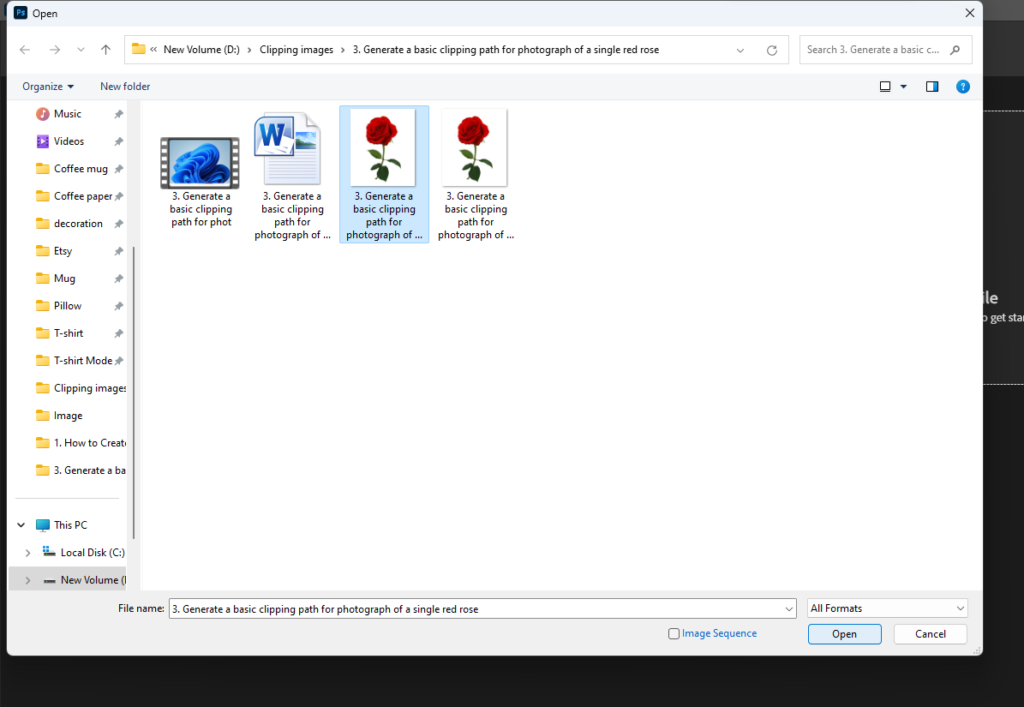
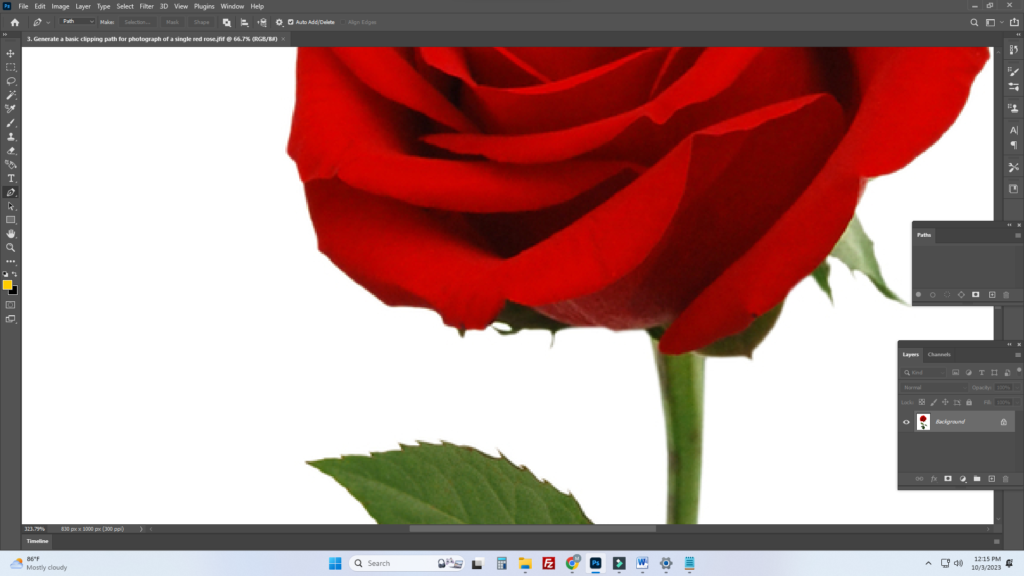
Step 2: Open Your Image
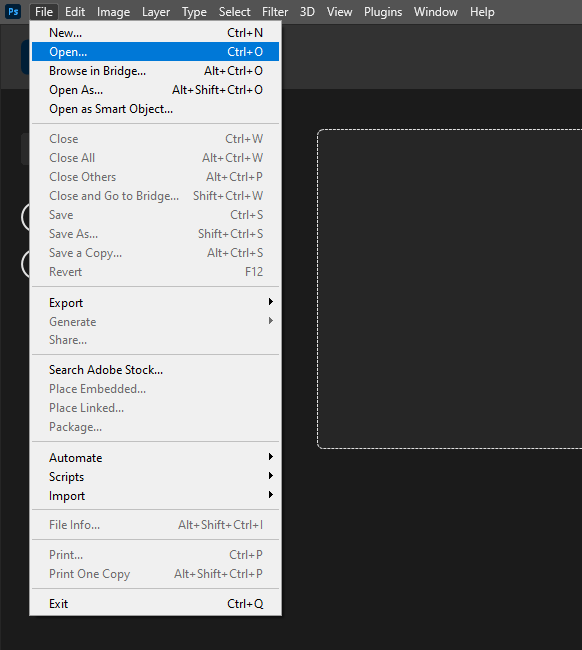
2. Navigate to “File” > “Open,” then select your rose image.
Step 3: Select the Pen Tool
Locate the “Pen Tool” in the left-hand toolbar (shortcut: P).
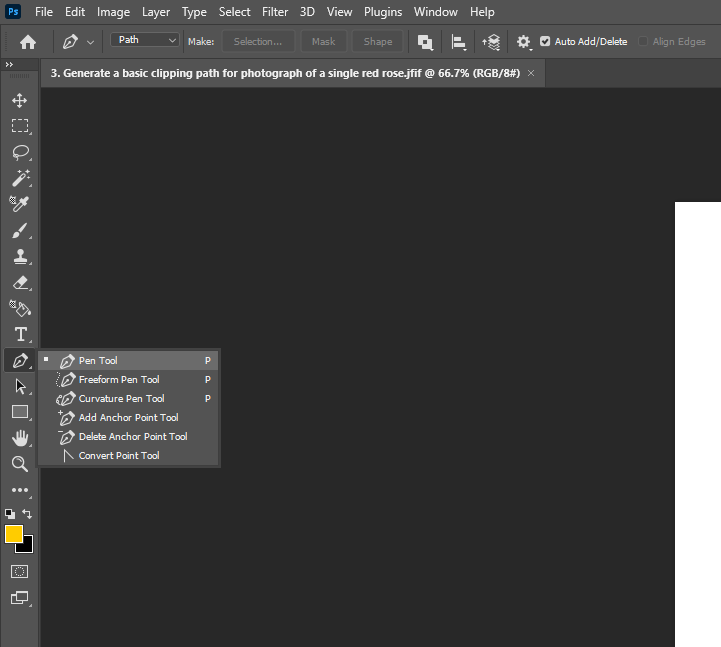
The Pen Tool is the ideal choice for creating precise clipping paths.
Step 4: Trace the Rose
2. Start tracing the outline of the rose using the Pen Tool. Click to place anchor points and adjust the path by clicking and dragging the handles.
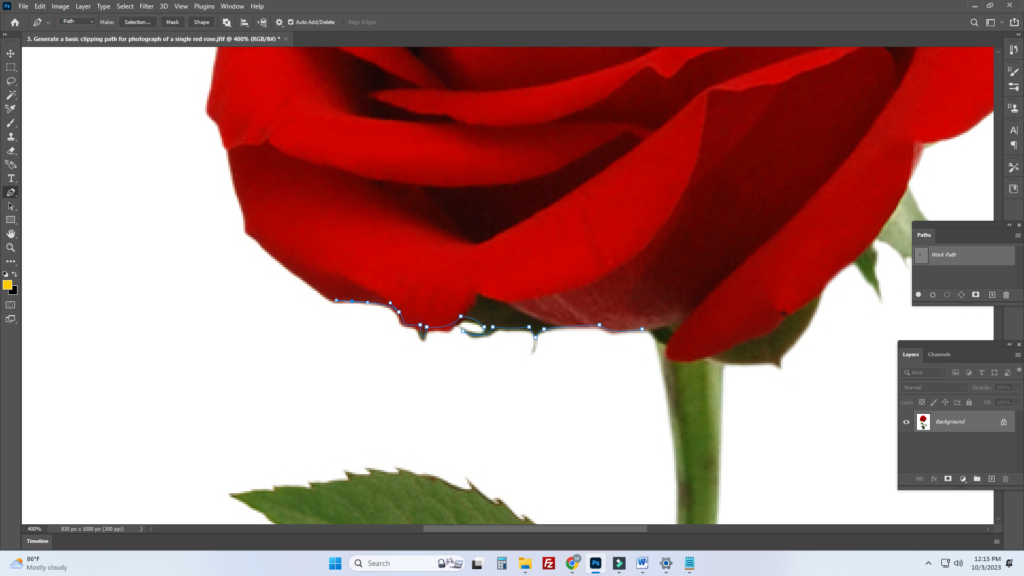
3. Ensure the path forms a complete loop, connecting the final anchor point to the first one.
Step 5: Fine-Tune the Path
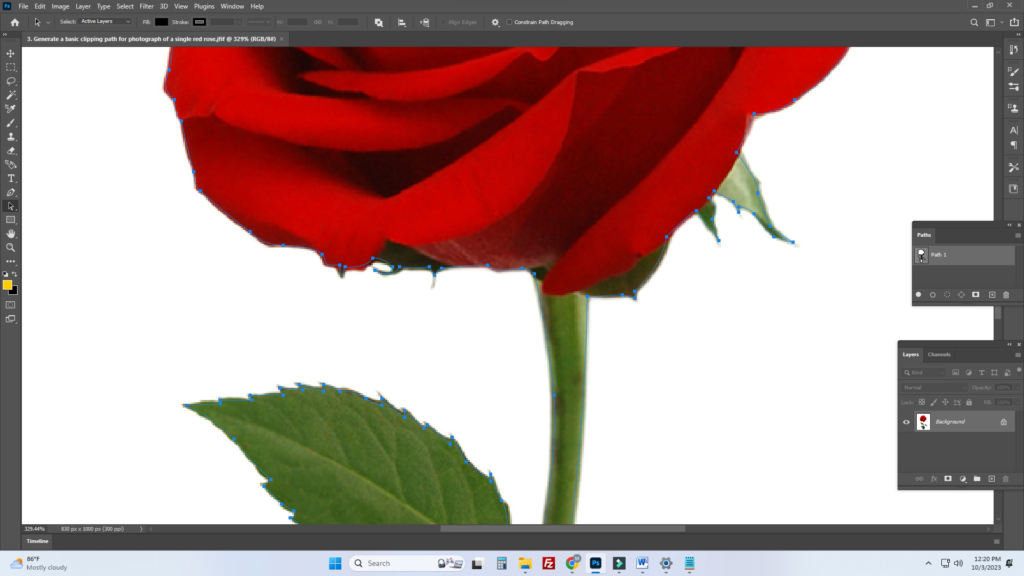
Step 6: Create the Clipping Path
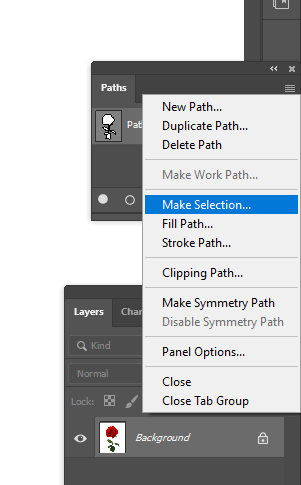
2. Head to the “Paths” panel, usually located near the “Layers” panel.
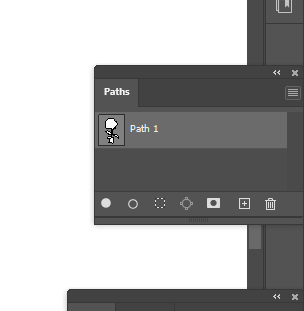
3. Click on the “Make Selection” button.
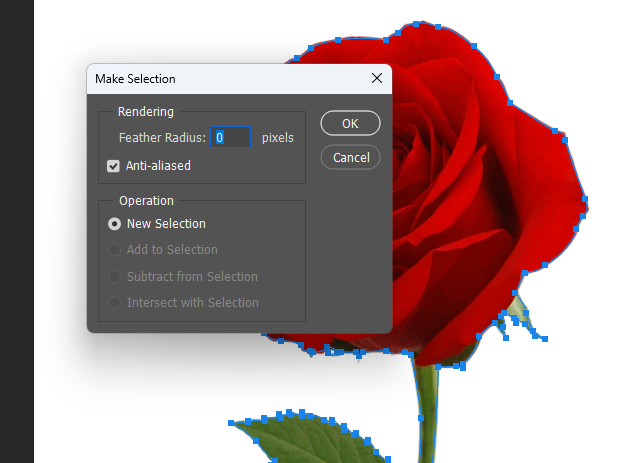
4. A dialog box will appear; set the Feather Radius to 0 (for a sharp edge), and click “OK.”
Step 7: Apply the Clipping Path
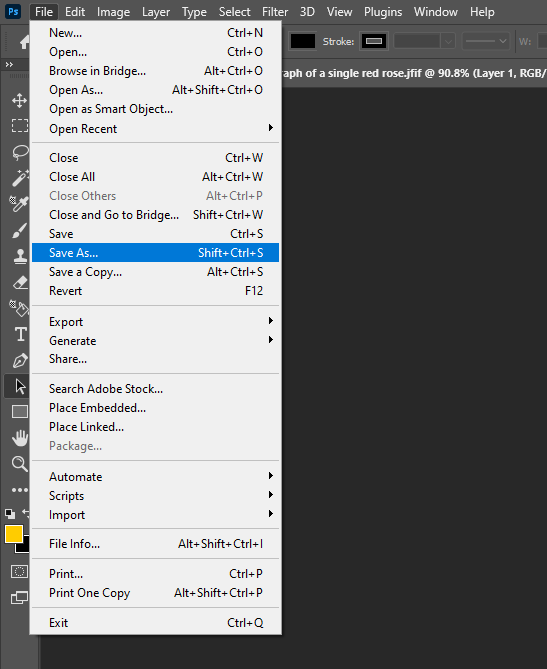
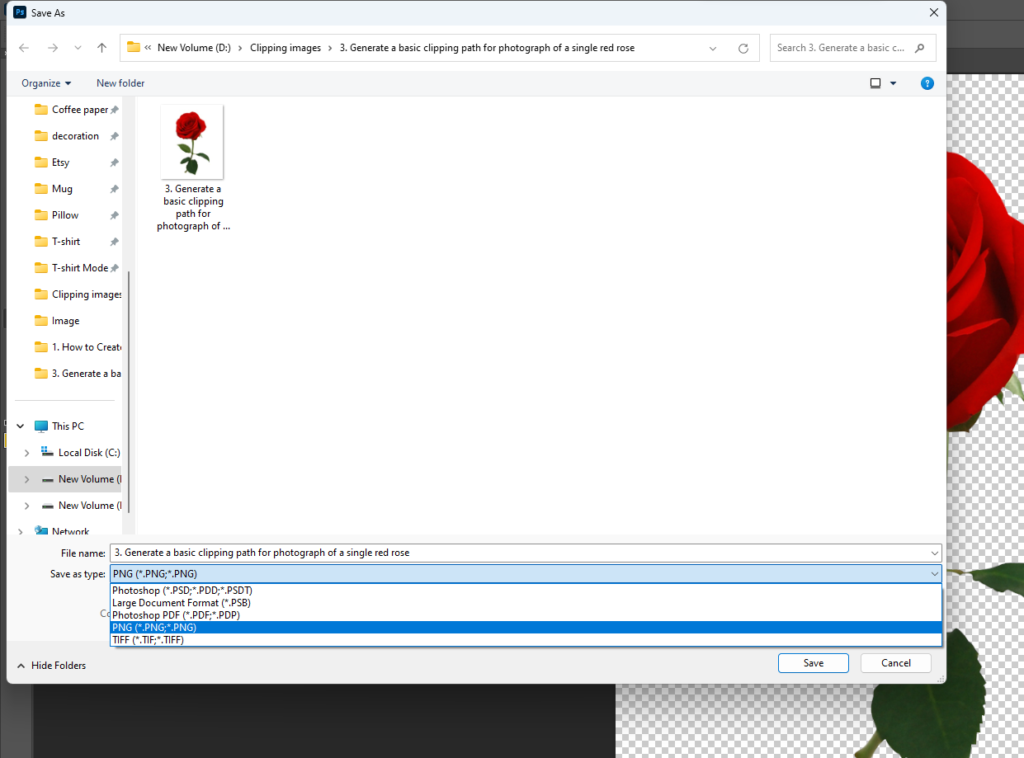
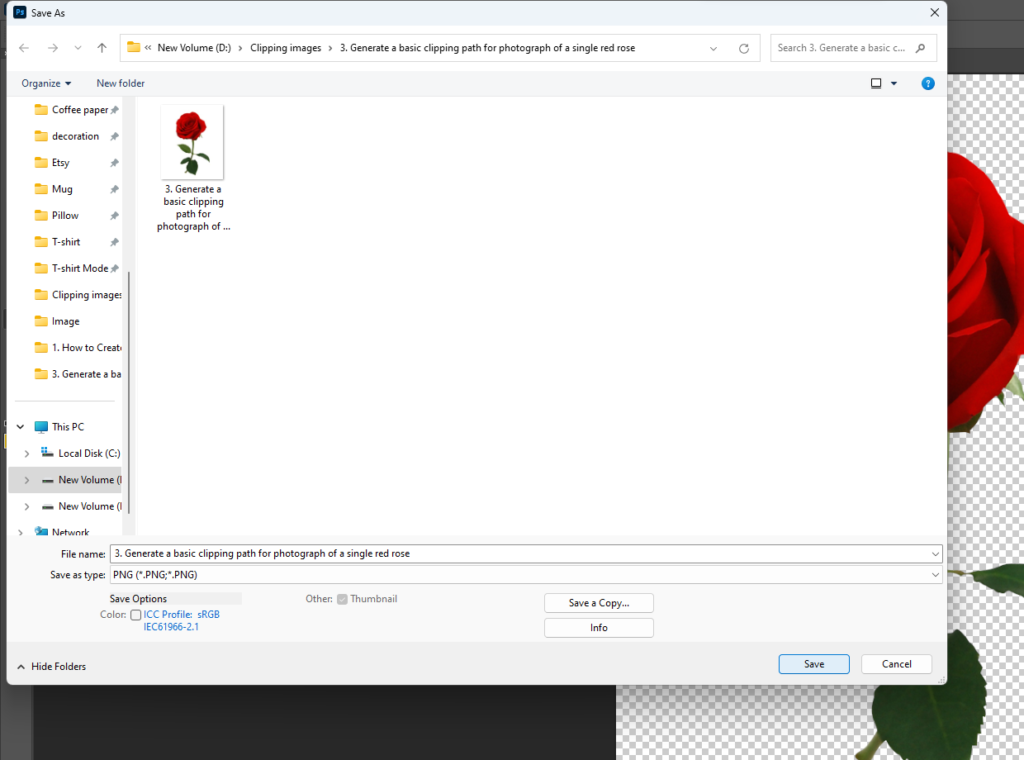
Step 8: Save Your Clipped Image
Congratulations! You’ve successfully created a basic clipping path for your single red rose photo. This simple yet powerful technique enables you to separate your subject from its background, offering endless possibilities for design and presentation. Whether you’re designing greeting cards, advertisements, or simply showcasing the beauty of the rose, a clipping path can enhance your creative possibilities.
Feel free to adapt this tutorial for your blog post, add visuals for clarification, and explore creative applications of clipping paths in your projects. Happy editing!


