Generally , when we crop our images we do it either rectangle or square way . We do not crop it in circle way basically . But cropping an image in a circle looks better than rectangle or square image . Photo-shop has every problem’s solution . With the help of photo-shop you can crop an image in a circle shape . You need not to so many things to crop a image in a circle shape . You will be needed elliptical marquee tool for cropping an image in a circle shape .
Step 1 : Open your photo-shop application . Load your desired picture .
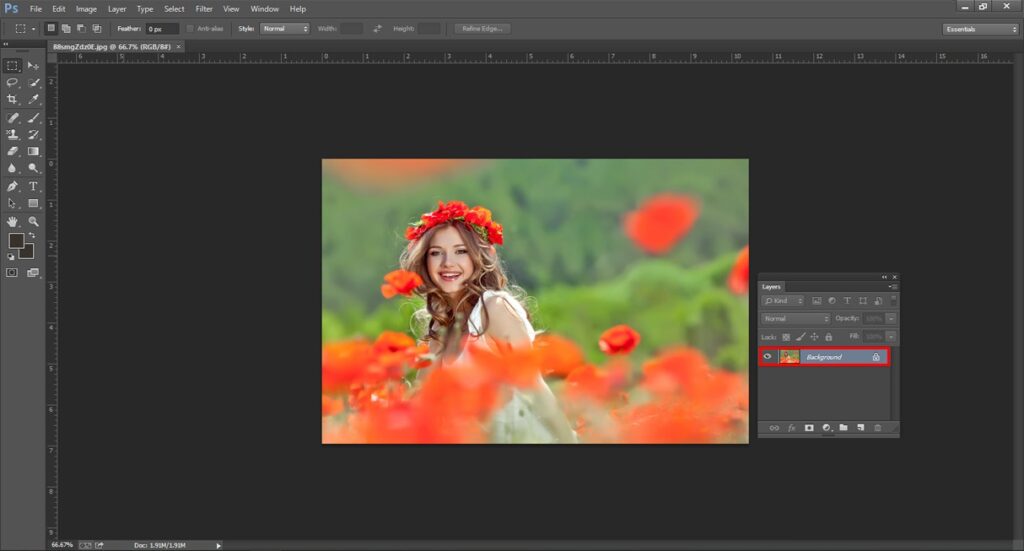
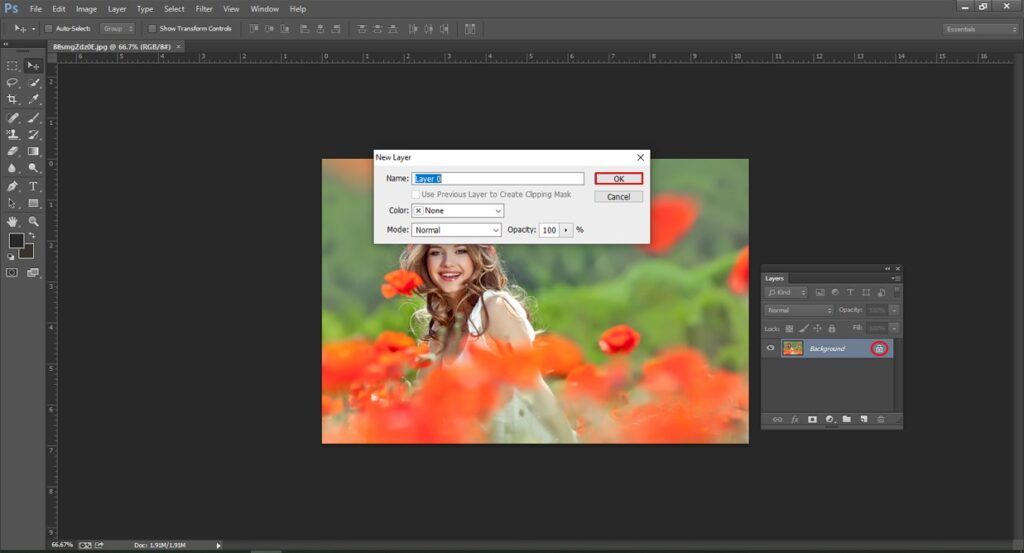
Step 2 : Open your background layer or turn on your background layer . Go to the layers panel , turn on your background layer . And one important thing you need to know that is background does not support translucency . And as you are supposed to do cropping , you will be needed transparent option for your image . So first of all you need to change the background layer into normal layer . Only after this you will be able to continue your whole work for cropping in a circle shape . How to change the background layer into normal layer ? To change the background layer into normal layer , Go to the right side in the background layer < there will be a lock icon < You need to press on that icon and unlock it . For older version of photo-shop , you may not find the lock option . Don’t worry , there is always some alternatives in photo-shop . For older version of photo-shop , Go to your keyboard < click and hold on the alt option for windows or options for mac platform and you need to press double on the background layer . Photo-shop automatically gives name the background layer as Layer zero (0) . Now it is the perfect time for cropping your image in a circle shape .
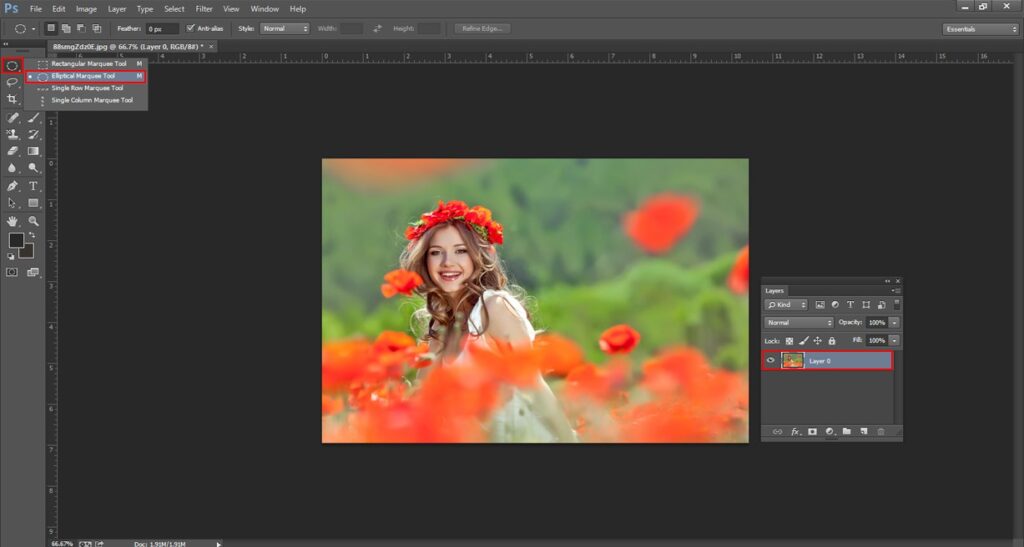
Step 3 :Choose the elliptical marquee tool from the toolbar : Go to the toolbar or menu bar < Choose the option which is named as Elliptical Marquee Tool . You will find the Elliptical marquee tool inside the Rectangle Marquee Tool . To get the Elliptical Marquee Tool , you need to press right on the rectangle marquee tool .
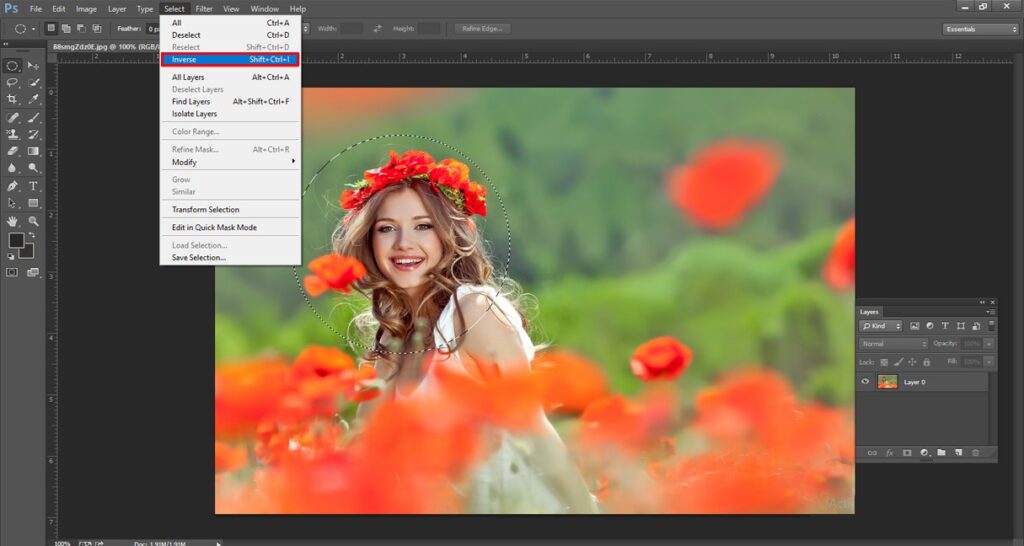
Step 4 :Draw out a circular shape layout : Hit on your desired image and start pulling out an elliptical shape layout .To make a perfect selection for perfect circle shape , you need to use the shift key option from your key board and you need to hold that shift key . Do not panic about the position of the circle . All you need to ensure that the circle is big and you are covering the important part into that circle outline . Make sure that the portions you are covering contains the important part of your picture . You need not to cover the unwanted parts . When you have selected the important part , then you can let go or leave the mouse button and also you can leave the shift key option too . Here is another important tips for you . First you need to leave the mouse button and after then you can leave the shift key option . Otherwise , the layout you have created will go back into its previous situation and your selection will be gone .

Step 5 :Relocate the selection you have made : Sometimes , it turns out that the selection we have done may not look good the way we wanted . So you need not to worry . Do not panic in such cases . You can reposition the whole selection . If you want to relocate the selection throughout your subject , then you need to press inside the layout and pull out it into the perfect position . If your subject is in the left or right side , then drag the subject into the center so that it looks great . It depends on you how you wan to represent your picture. If you do not like the center position , then you can drag your subject into left side or right side as per your requirements . When you have done cropping , the other portion which are not in the selection they will be cropped out . Whatever inside in the selection , only that part will be remained . So you need to ensure that you have selected the right part .

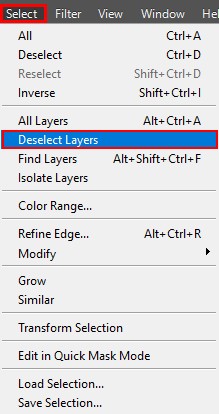
Step 6 :Apply the Inverse selection Option : when the circle is created , then you need to use the inverse option . This option will allow you to cut the unwanted part from your picture . From the option bar , Go to the option which is named as select < Choose the option which is named as Inverse .
Step 7 :Delete or remove the picture which is outside the selection : After clicking on the inverse option, delete the portions which is located outside of the selection . To do this , Click on the backspace key for windows or use delete key for mac version . The portions you have deleted , now that area will be looked like a patch work type or transparency style . If the area you have deleted does not look like transparent , then you may be forgot to unlock the background layer . To remove the selection layout , go to the option named as Select < Select the option which is named as “Deselect”.
Step 8 :Detach or remove out the extra translucency part from your image : To cut the extra transparent part from your picture , go to the image option < Choose trim . A window will be appeared then . Many options will available there. You need to set those options perfectly for your picture . Select the transparent pixels option and select the options which are named as left , right , top , Bottom . You need to select these options for your picture . Hit on the OK button and close that window . Also you can go to the option named as image < Choose the option named as Crop . This will detach the extra transparent part from your image . Photo-shop immediately trims that transparent portion and it will release the image as a circle shape . Only the corner of the image will be transparent and your actual image will be in a circle shape .

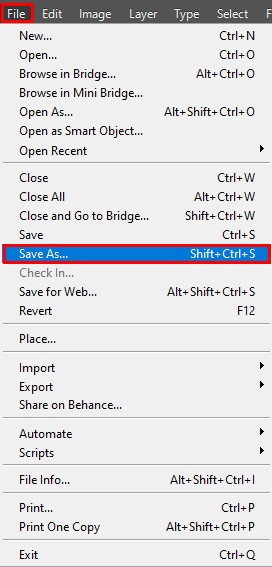
Step 9 :Save your whole work : If you want to keep that corner transparent , you are required to save that image in a format which supports the translucency format. There are so many image formats are available but all of them does not support transparency format . JPEG file format does not support transparent format but .PNG format support transparency format. So , you need to go to the option which is named as File < Select the named as “Save As ”. There will be drop-down button , choose your PNG format . Save your whole work .
In latest versions of photo-shop , there are so many options are available where you want to save your work . You can save your whole work on your computer or you can save your whole work on cloud as well . Give a name for your file , set your file format as PNG , give a location where you want to save your work. Give the location either cloud or your local computer . After that , there is another options which is named as “Smallest file size ” . Hit on that option and save your work . Well , this option is available for latest versions of photo-shop. You may not find this option in older version of photo-shop . Do not worry . It is not that much important . All you need to do is to save your work as a PNG format. Now it is ready . This the whole procedure how you can crop an image in a circle shape with the help of photo-shop .

Lastly all I can say is that , Photo-shop is like a blessing for all of us. It has almost everything what we want . And cropping an image in a circle way is a great work . It brings the elegant looks in a picture . You can try this cropping option for your picture and see how gorgeously it works .


