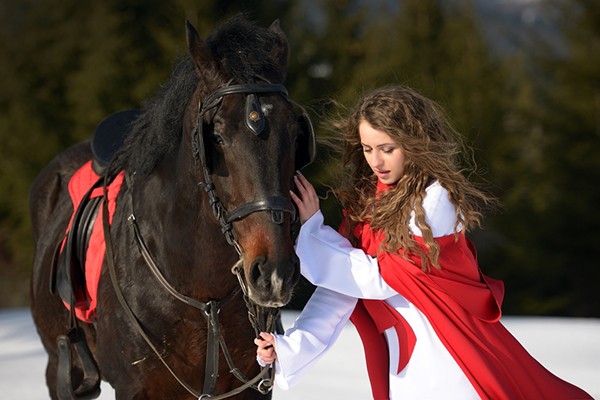
Winter is an amazing time of year. Specially for snowfall. But winter photography can be a challenge, it’s getting too tough because the cold plays havoc on your camera batteries. Nothing increases the beauty of a winter scene quite like falling snow. But what would you do if it wasn’t snowing? Don’t get anxious, here we will talk about how to add realistic falling snow to your photos with Photoshop step-by-step. This will work for Photoshop CC 2021 and any recent version. Let’s start. First thing is the document setup. In the original photo, the Layers panel, the photo appears on the Background layer, currently will be the only layer in the document:
Step 1: Add a new blank layer above the image
We’ll create the snow effect on a separate layer to avoid making permanent changes to the original photo. Now click the Add New Layer icon at the bottom of the Layers panel.
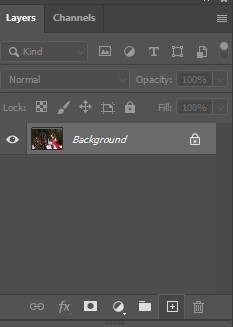
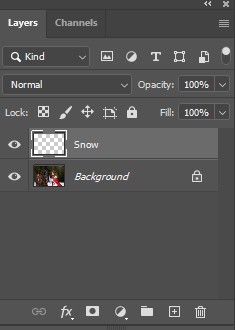
A new blank layer named Layer 1 will appear above the background layer. Then double-click on the name Layer 1 and rename it Snow. Press Enter for windows user / Return for Mac user on your keyboard to accept it.
Step 2: Fill the new layer with black
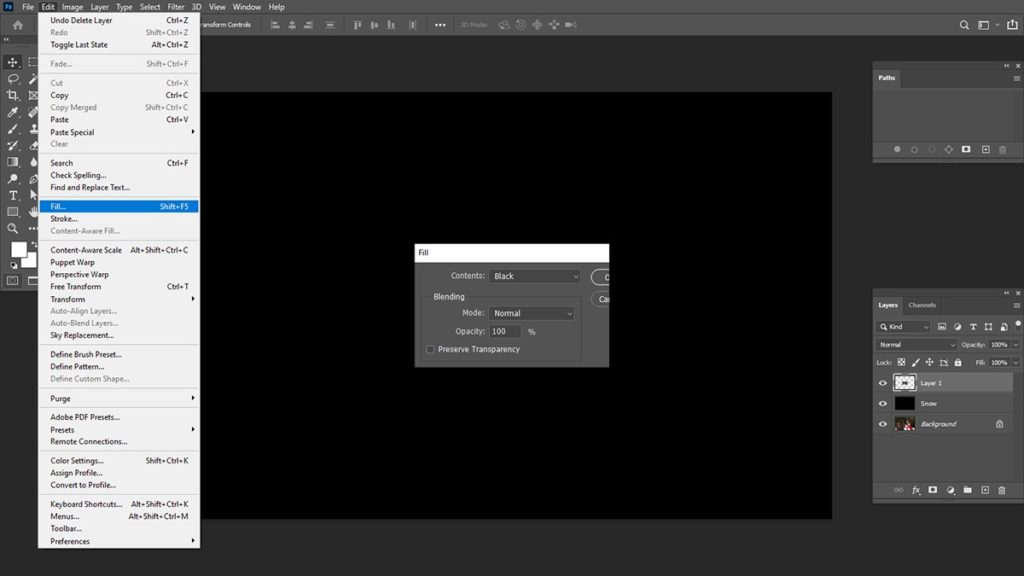
Next, you need to fill the new layer with black. Go up to the edit menu in the menu bar along the top of the screen and choose Fill. Now in the Fill dialog box, set the contents to black, and then click OK. Photoshop will fill the Snow layer with black. Because the Snow layer is sitting above the background layer, it temporarily hides the image from view.
Step 3: Apply the Add Noise filter
We’ll start with Photoshop’s add noise filter to create the falling snow. In the layers panel, make sure the snow layer is selected. Go up to the filter menu in the menu bar, choose noise, and then choose add noise.
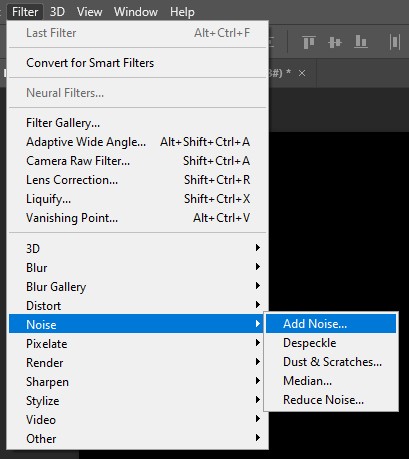
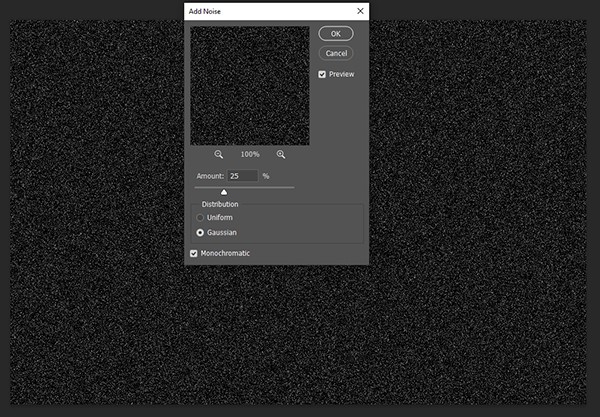
The add noise filter adds random dots, or noise to the layer. Our work is to turn these dots into our snowflakes. Now set the amount value to 25% and choose Gaussian. Then limit the color of the noise to black and white by selecting monochromatic at the bottom. Click OK to close the dialog box. Photoshop will fill the snow layer with noise. The noise looks too faint but it can brighten it up in a moment.
Step 4: Increase the size of the noise
See along with being too faint, the dots are also too small. So you need to make them bigger using the Scale command. Go to the Edit menu in the menu bar,
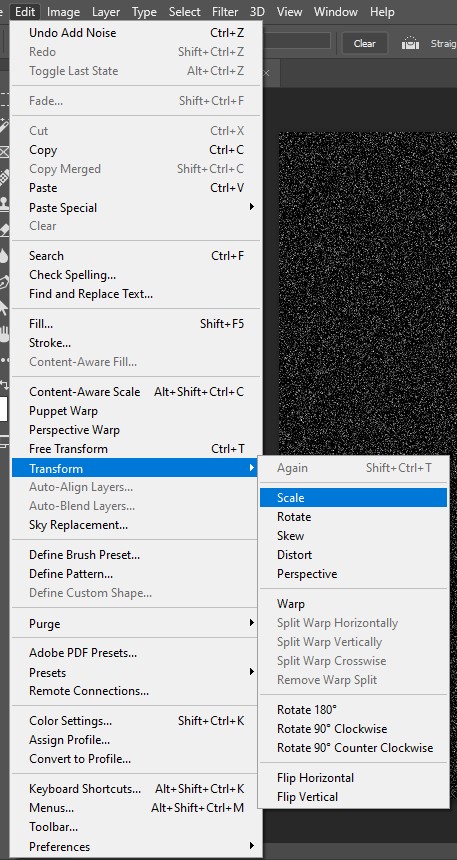
choose Transform, and then choose Scale. Make sure the link icon between the Width (W) and Height (H) values is selected in the Options Bar.

Now change either the Width or Height value to 400%. Photoshop sets the other to 400% to match. Click the checkmark to accept it. The dots are now much bigger, and they’re starting to look more like snow.

Step 5: Crop away the hidden areas of the Snow layer
The only problem with scaling the snow layer so much larger is that you have also made the document’s file size larger. Depending on the size of your image, this could slow down Photoshop’s performance as you continue through the steps.How to view the layer’s actual size
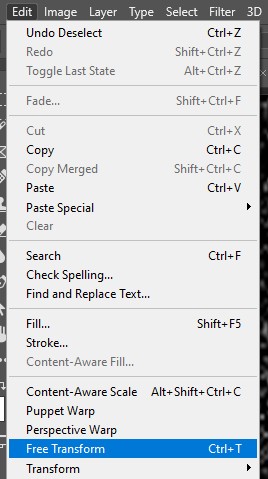
If you go to the Edit menu in the menu bar and choose Free Transform.
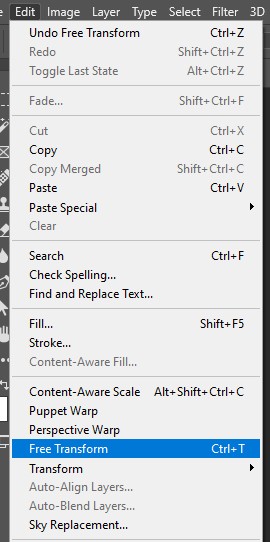
Including any hidden areas, Photoshop displays the transform box and handles around the contents of the Snow layer. If you can’t see the box and handles, go to the View menu and choose Fit on Screen.
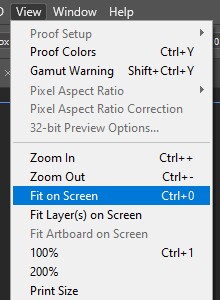
Now you can notice how large the snow layer actually is. The only part you see in the document is the small area in the center, while the majority of it extends well into the gray pasteboard area. Including the hidden area, is adding to the file size. So before you go any further, you will crop away everything you don’t need to bring your file size back down.
Cancel Free Transform by clicking the Cancel button in the Options Bar.

Zoom back in on your image by going up to the View menu and again choosing Fit on Screen.
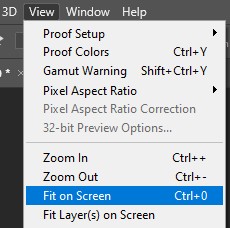
Or press and hold the Ctrl for windows user / Command Mac user key on your keyboard and press the plus sign (+) a few times to zoom back in. The minus sign (-) will zoom you out.
How to crop away the hidden areas of the layer
To crop away everything on the snow layer that extends outside the viewable area of the document, go to the Select menu and choose All.
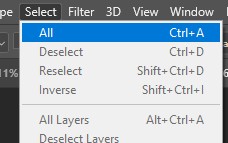
A selection outline appears around the document edges. Go to the image menu and choose crop.
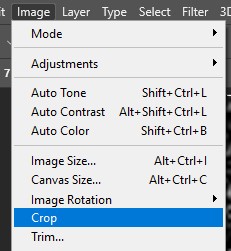
Then remove the selection outline by going back to the select menu and choosing deselect.
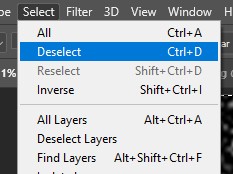
It may look like nothing has happened. But if you reopen Free Transform by going up to the Edit menu and choosing Free Transform.
The transform box and handles appear only around the viewable area of the document. Everything that was surrounding it in the pasteboard area has been cropped away.
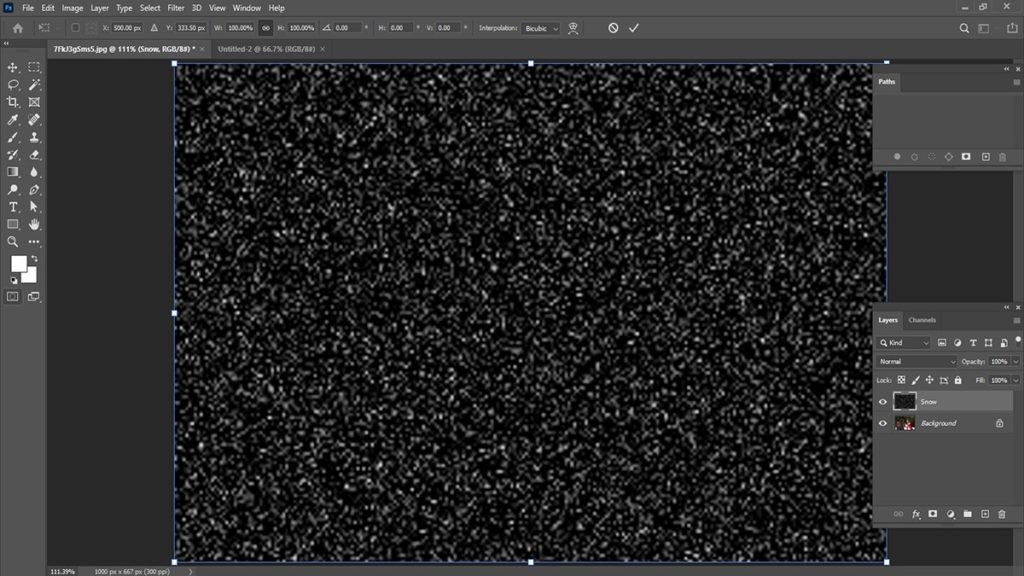
Then Click the Cancel button in the Options Bar to cancel and close free transform, and you are ready to move on to the next steps:

Step 6: Convert the Snow layer into a smart object
You will convert the snow layer into a smart object. That way, any filters or image adjustments you apply to the layer will remain editable in case you want to go back and make changes. In the layers panel, make sure the snow layer is selected. Click the layers panel menu icon.
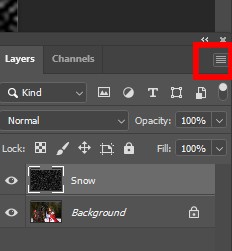
Choose Convert to Smart Object from the list:
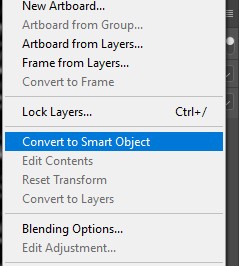
A smart object icon appears in the layer’s preview thumbnail, telling you that the layer is now inside a smart object.
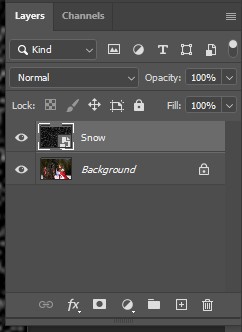
Step 7: Change the layer blend mode to Screen
To blend the noise from the snow layer in with the image, change the smart object’s blend mode from Normal to Screen.
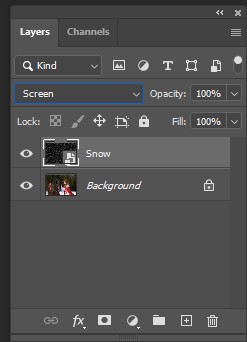
Then the Screen blend mode hides all the areas of black, leaving only the white noise visible.
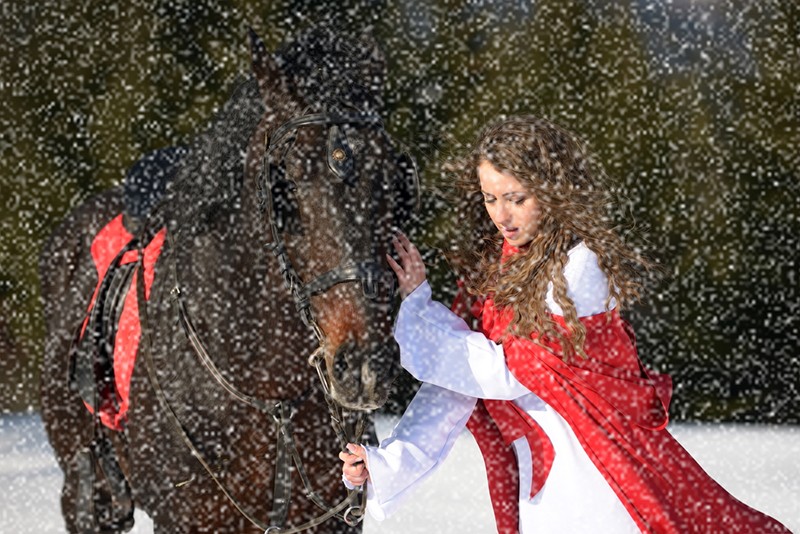
Step 8: Apply the Motion Blur filter
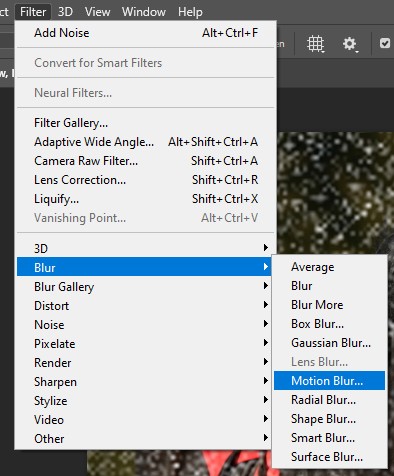
Now it’s time to make the snow look like it’s falling, not frozen, you need to add a bit of motion to it using Photoshop’s Motion Blur filter. Go to the Filter menu, choose Blur, then choose Motion Blur.
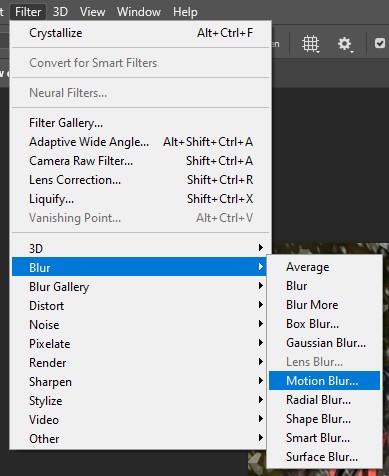
In the Motion Blur dialog box, first set the angle to the direction you want the snow to be falling from.
You can enter a value directly or rotate the dial. Distance controls how much motion is applied. Setting the distance too high will make the snow look more like rain, that’s why use a low value of between 8 to 12 pixels depending on the size of your image.
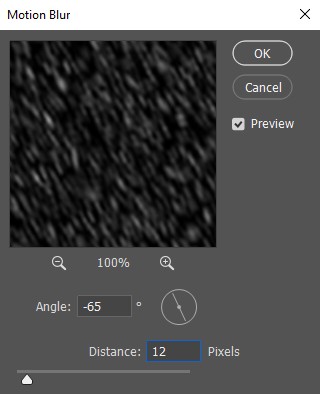
Click OK to close the dialog box.
Viewing and editing smart filters
Since you added the motion blur filter to a smart object, Photoshop applied it as a smart filter. By double-clicking on its name, you can reopen and edit a smart filter’s settings at any time But even if you don’t need to edit the settings, it’s still nice to see a list of all of the filters we’ve added.
Deleting the filter mask

By default, the Layers panel adds a filter mask for the smart filters, indicated by the white thumbnail to the left of the word Smart Filters.
A filter mask is the same as a layer mask except that instead of hiding the contents of a layer, the filter mask can be used to hide the effect of the smart filter from different parts of the image.
To delete the filter mask, right-click for Windows user / Control-click for Mac user on the mask thumbnail and choose Delete Filter Mask from the menu. Now with the mask thumbnail gone, we have more room to see the other smart filters we’ll be adding next.
Step 9: Add a Levels image adjustment
Use a Levels image adjustment, to reduce the amount of snow, and brighten it up at the same time. Go to the Image menu, choose Adjustments, and then choose Levels.
Step 10: Drag the black point and white point sliders
In the center of the Levels dialog box is a histogram which is a graph that shows the current tonal range of the image. And below the histogram are three sliders. There is a black point slider on the far left, a white point slider on the far right, and a midtones slider in the middle. You can ignore the gray midtones slider, you just need the black and white ones. Click on the black slider and slowly drag it to the right. Keep an eye on your image as you drag and you’ll see the darker areas of snow becoming even darker, and eventually disappearing completely. To brighten up the remaining snow, click on the white slider and drag it to the left. When the snow will look good, click OK to close the Levels dialog box.
Step 11: Duplicate the Snow smart object
Add some depth to your falling snow by creating a second layer of it, this time with bigger snowflakes so they’ll look like they were closer to the camera. In the Layers panel, click on the smart object and drag it down onto the Add New Layer icon. Notice that it also includes a copy of the Motion Blur and Levels smart filters, so you are getting the same effect duplicated:
Step 12: Rotate the copy 180 degrees
Rotate the copy so that these new snowflakes are adding to the amount of snow in the photo, instead of just sitting on top of the original snowflakes. With the Snow copy smart object selected in the Layers panel, go to the Edit menu, choose Transform and then choose Rotate 180°:
Step 13: Apply the Crystallize filter
To make these snowflakes bigger than the originals, use Photoshop’s Crystallize filter.
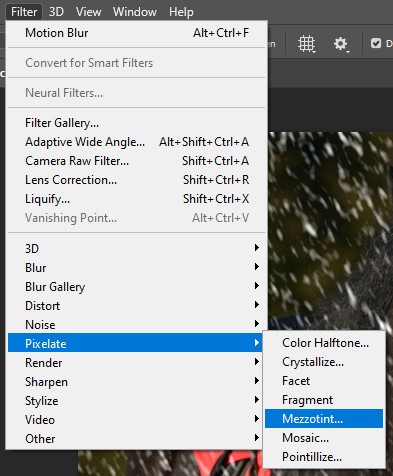
Go to the Filter menu, choose Pixelate, then choose Crystallize. And you can see the new snowflakes are now larger.
Step 14: Apply the Motion Blur filter again
To add motion to the larger snowflakes, apply a second Motion Blur filter.
Go back to the Filter menu, choose Blur, and once again choose Motion Blur.
Step 15: Fine-tune the effect with a second Levels adjustment
Finally, it’s time to fine-tune the appearance of the larger snowflakes, add a second Levels adjustment by going up to the Image menu, choosing Adjustments, and again choosing Levels. Drag the black point and white point sliders to make any adjustments you need. Use the black point slider to reduce the number of larger snowflakes, and the white point slider to increase their brightness. Then click OK when you’re done to close the dialog box.
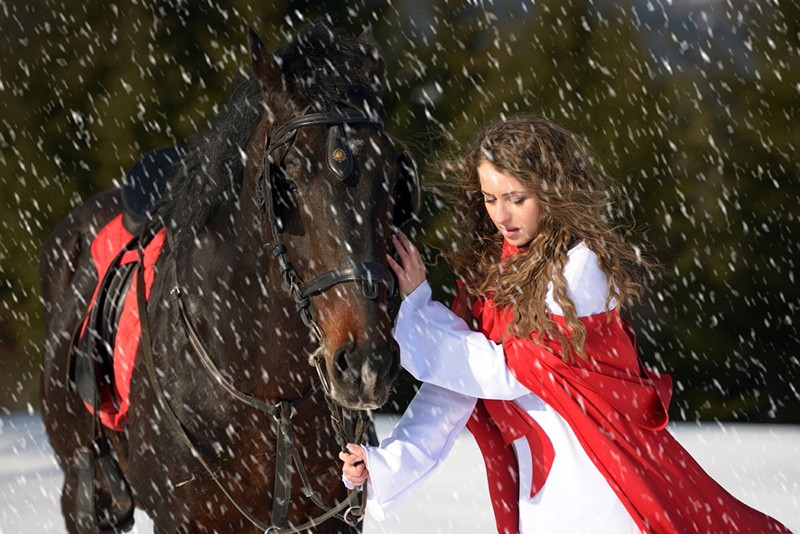
And get ready for the final Photoshop snow effect.