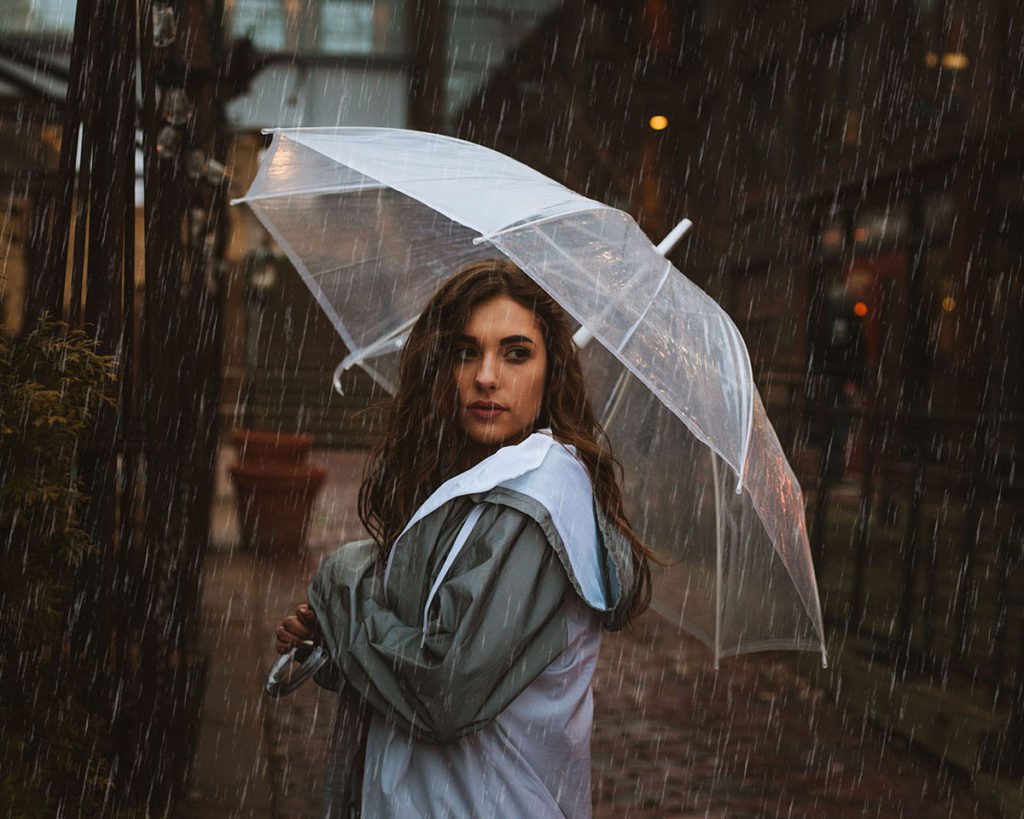
Capturing rain in a photograph can become very tricky. Without the right lighting and camera settings, your photo will still look wet, but any of the actual rain drops will not show up. To enhance the mood of a photograph, Photoshop comes in rescue. There are many video tutorials on YouTube cover this topic. Today we will teach you a very simple and easy method of boosting your rain drop photo by using Photoshop.
It is important to create realistic looking water drop otherwise the image will look fake and cheaply done. With some practice anyone can edit raindrop on an image. If you still struggle reach out to clippingimages.net for professional help. Now, let’s get started:
Step 1:
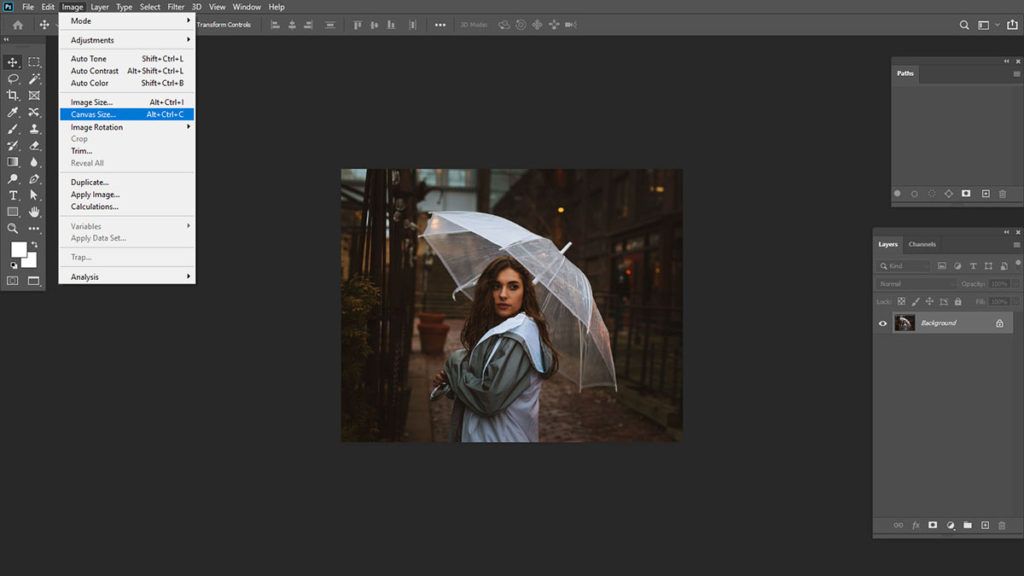
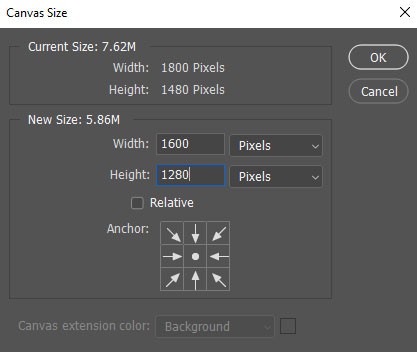
Open your image in Photoshop, then click Image > Canvas Size. Add 200 pixels to the height and width of your canvas and next click on OK.
Step 2:
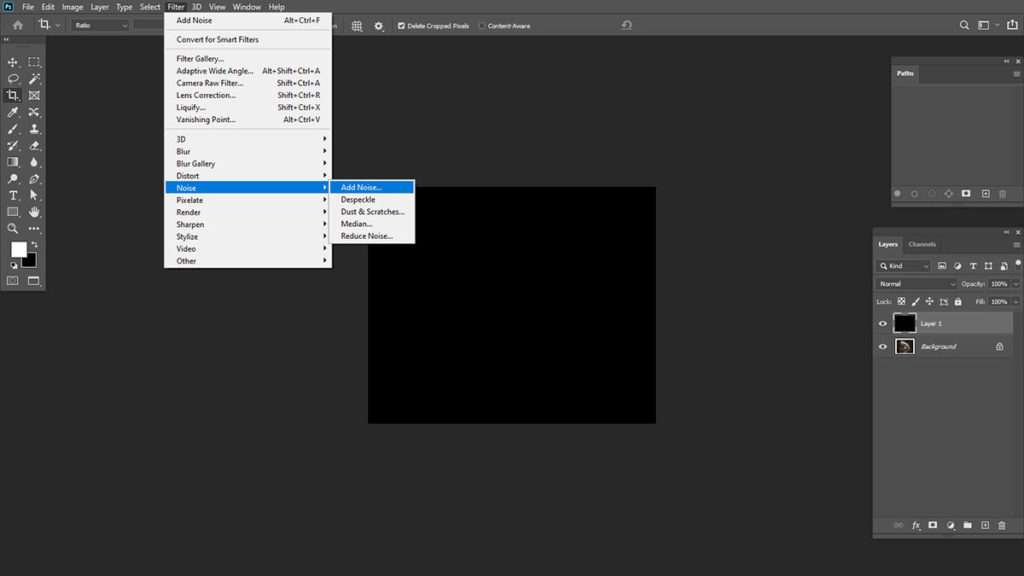
Create a new layer. Thenname the new layer as “Rain”. Fill the “Rain” layer with black.
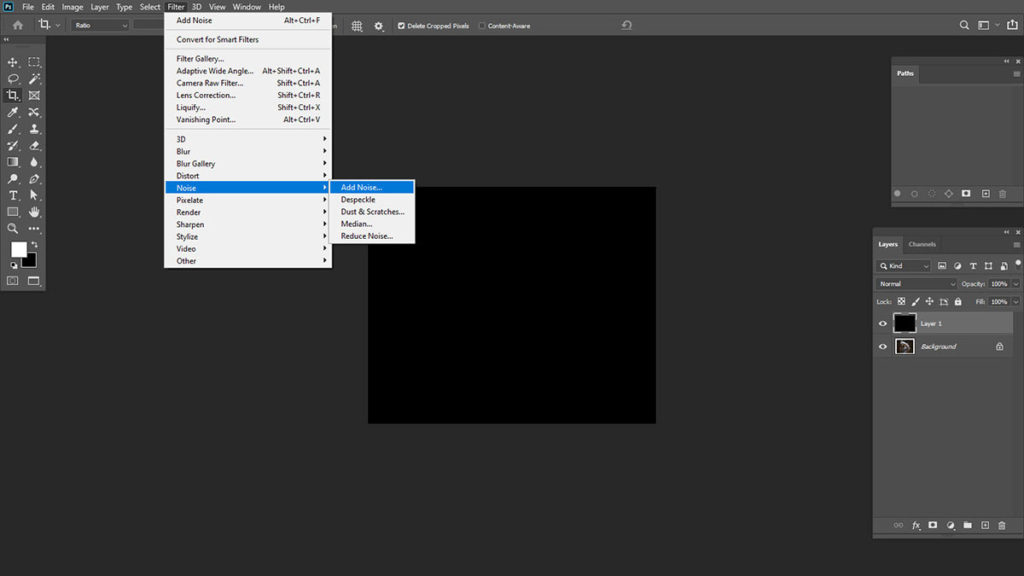
Tips: If you want to edit your rain drop later, make sure you right click your black layer and convert it to a Smart Object before on to the next steps.
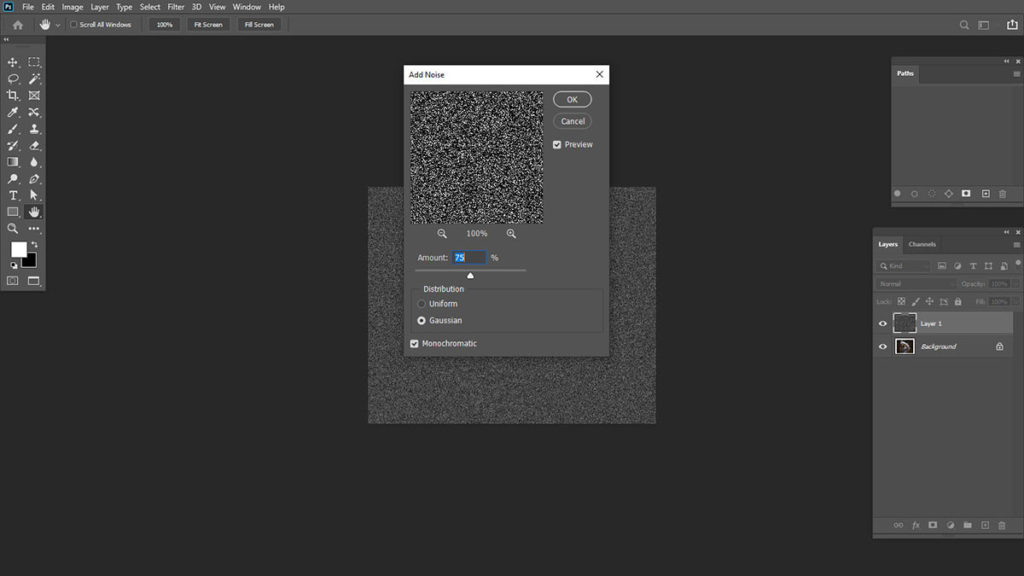
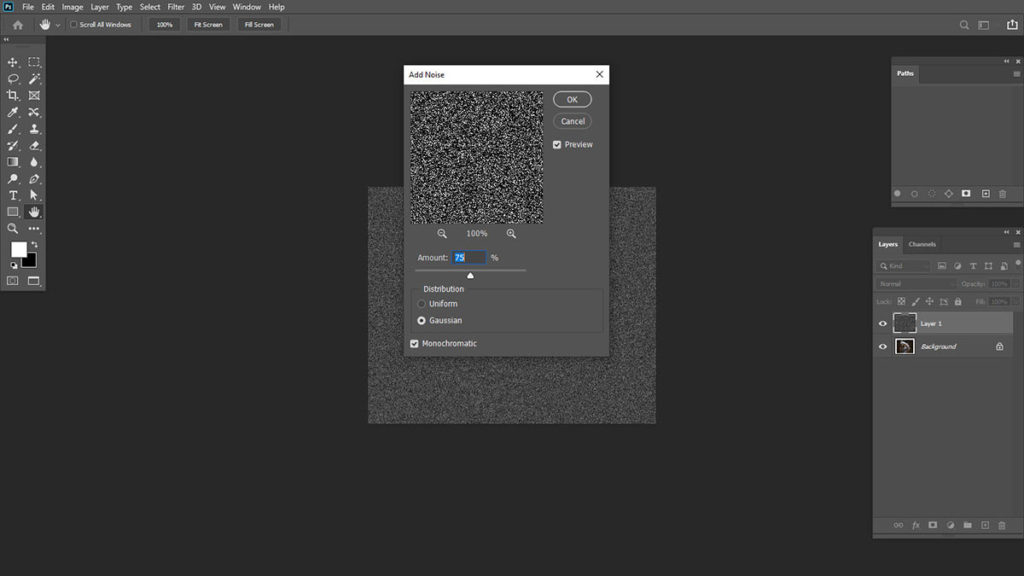
Click Filter > Noise > Add Noise. Set the range to 75%, the distribution to Gaussian, and remember to tick on the monochromatic check box.
Step 3:
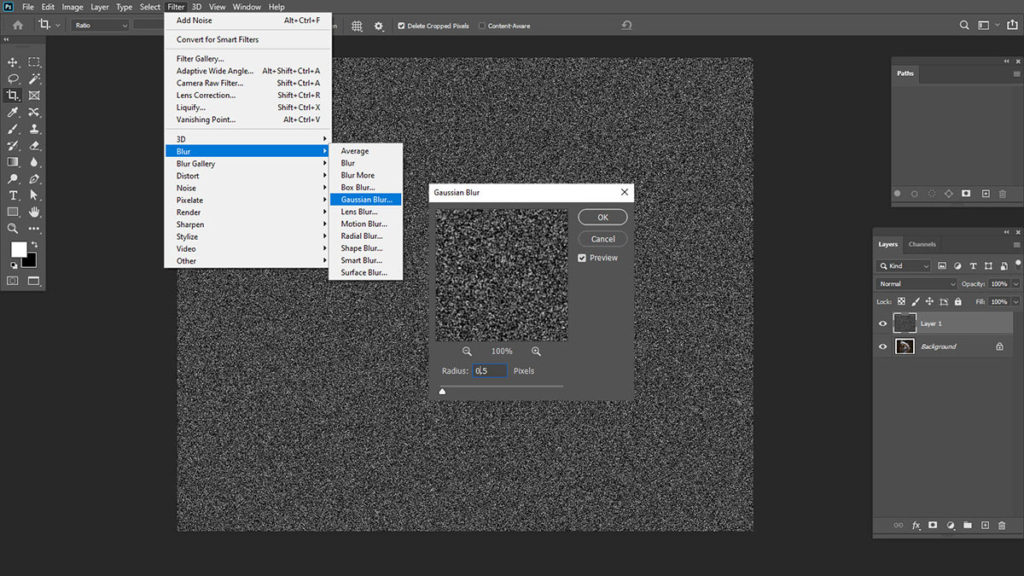
Click Filter > Blur > Gaussian Blur and set this scale at 0.5 pixels.
Step 4:
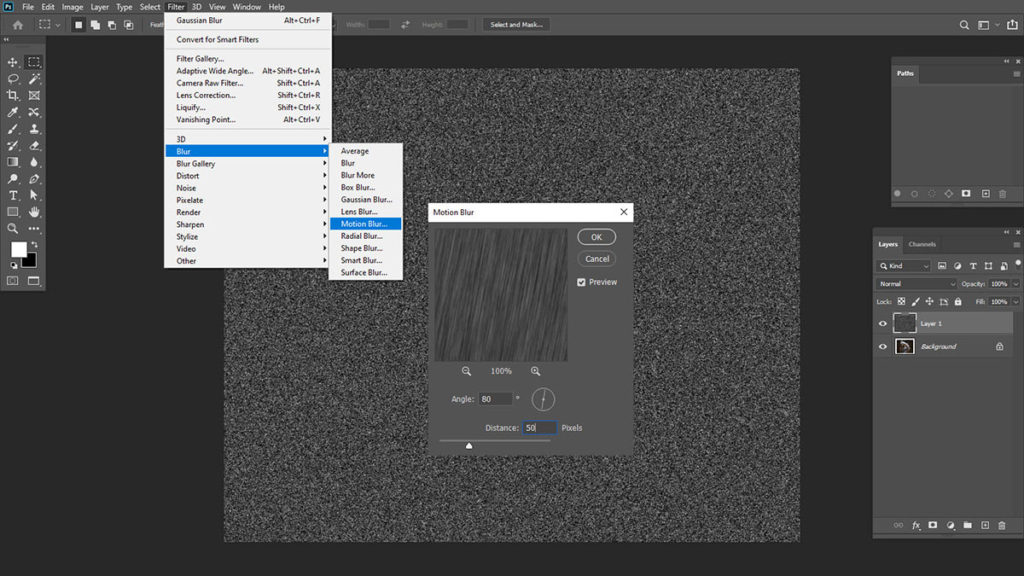
Click Filter > Blur > Motion Blur. Now, choose the angle to be 80 degrees and the distance shouldbe 50.
Step5:
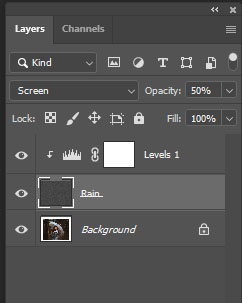
You needto add a new Levels adjustment layer. Also, now you should set the black stop to 75 and the white stop to 115.
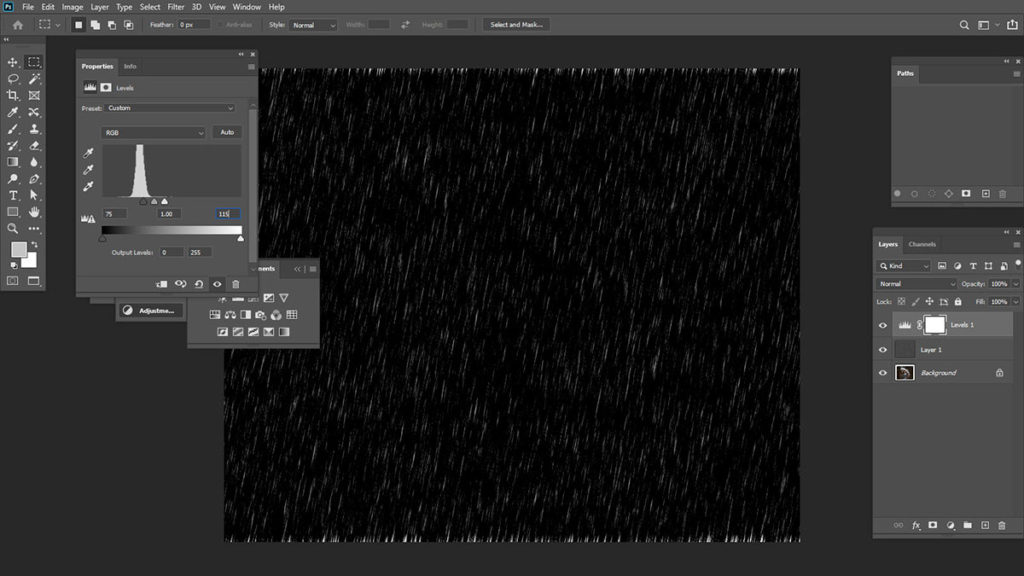
Next, right click the Levels adjustment layer in the Layers panel and select Create Clipping Mask to apply the Levels adjustment only for the “Rain” layer.
Step 6:
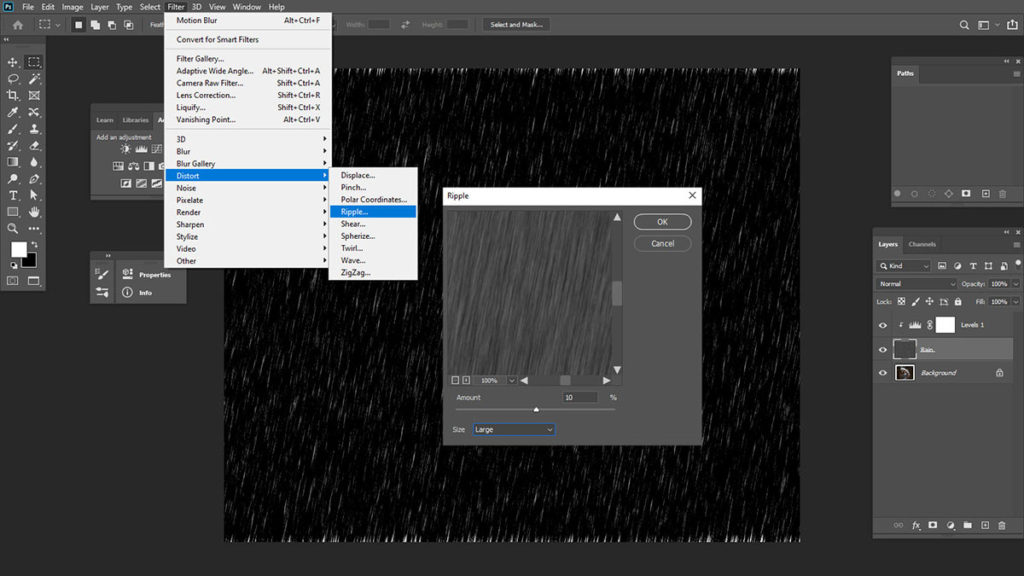
Now select the “Rain” layer, next click on Filter > Distort > Ripple. Set this range to 10% and the size should definitely be Large.
Step 7:
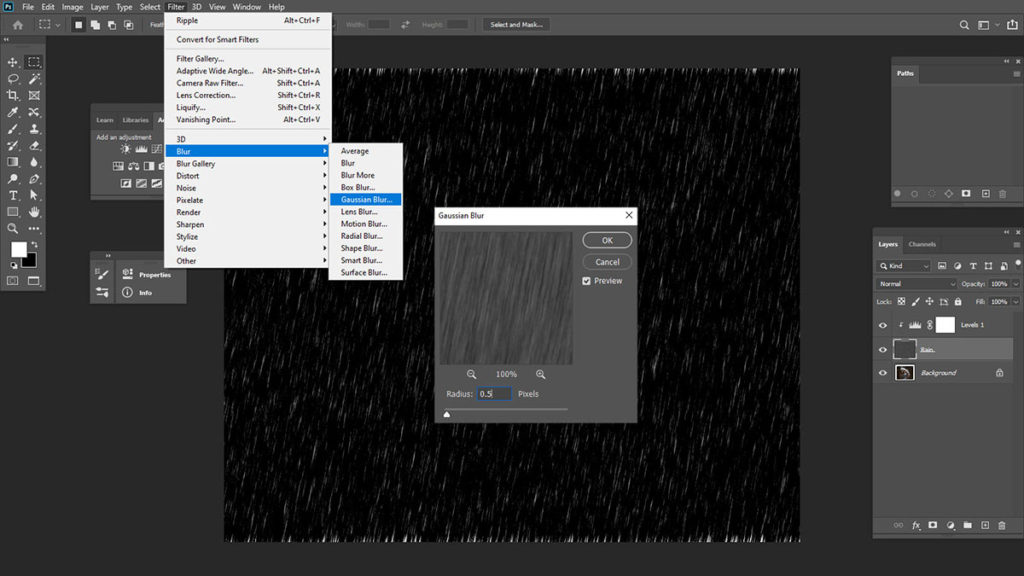
Now, click on the Filter > Blur > Gaussian Blur, and again, set this radius range to remain at 0.5 pixels and press the OK.
Step 8:
Next all you need to do is set the Blend Mode of the “Rain” layer to Screen also, the Opacity at a level of 50% in the Layers panel.Next,Click Image > Canvas Size, and crop your image back down to its actual dimensions which it have originally.
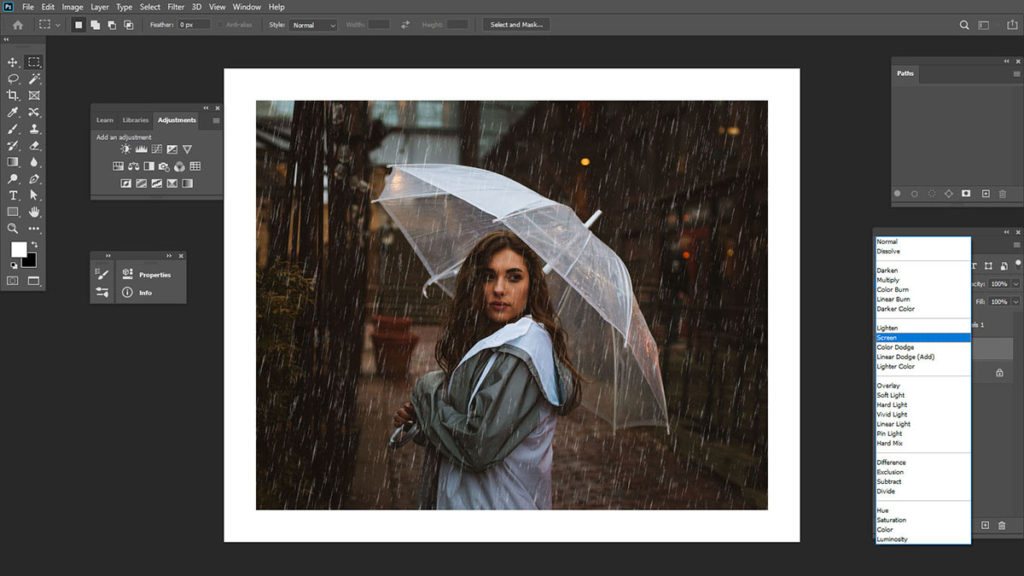
As suggested earlier, you must have transformed your “Rain” layer to a Smart Object. Now, you can now go back and adjust the Motion Blur to create shorter or longer rain drops! Voila!
Have you evertried any other easy method than this one? This is the easiest and simplest way of creating rain drop on your image. If you are still not confident yet to do this by yourself, you can get professional help from clippinimages.net
