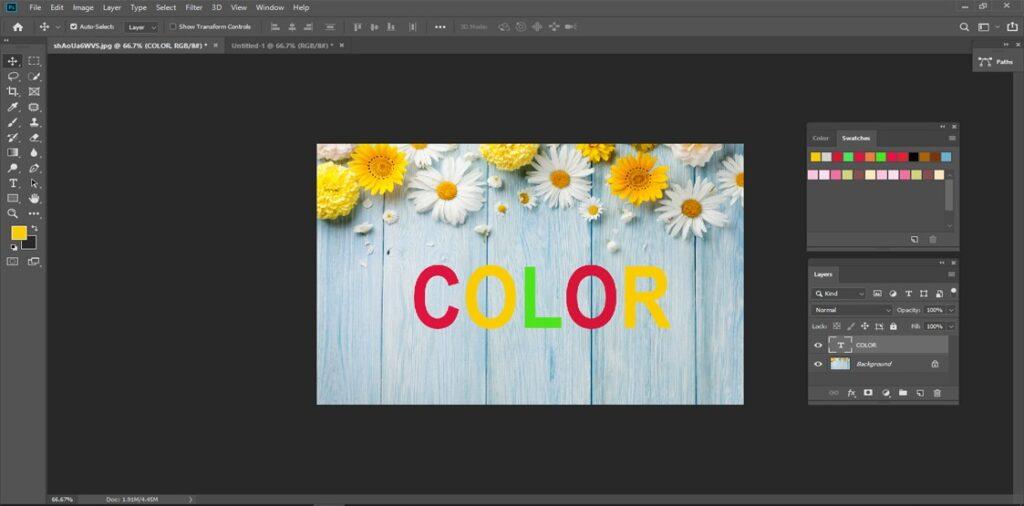
In our real life sometimes we want to make some experiments with the colors. That is pretty much important when we are making a colorful image. The combination of colors has to be good and eye-soothing to attract potential clients. Adding text to Photoshop is an easy task and now recolor the text according to your image color is kind of a challenging task. Today we will solve this issue and hopefully, you will enjoy our article.
Different types of colors create a romantic feeling among us. We can feel the vibe of diversity and move out from our regular simple life. When we will try to decorate something for our blog or social media post different color combination is necessary. It will simply create a new vibe among the users.
For making this experiment, we must need a colorful image that contains several colors, and later on, we can simply implement those colors on the text. So we begin them by uploading such images to Photoshop. From the menu bar click File and then open. Now choose this image from your computer.

Now, from the icon bar, you need to select the text icon and mouse over it to the image. It is a very simple task you can easily have that icon and later on start typing for this project. Type anything as you wish. As we are making an experiment, just typing Color. Here we have 5 letters and we will try to make them colorful as we wish. Have you done the typing? Okay, now let’s move on and start this experiment.
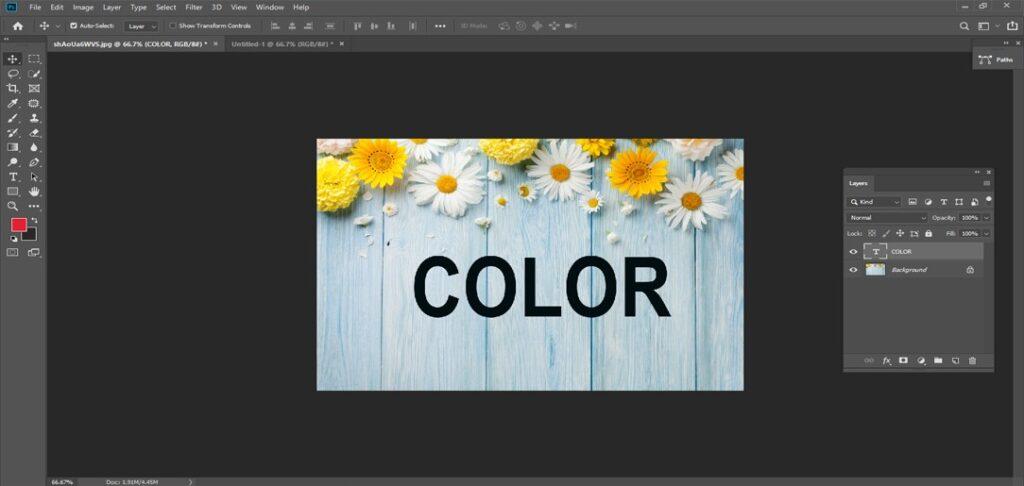
Now our task is to select the type color and later on the swatch it for changing this color to another one. From the layer panel, it is located right downside of your Photoshop window. Select the color layer from there and now you have to click color swatch on the options bar. It is a very easy task. You can have it from the options menu. Now color picker option is available for you. We can directly choose one from there but in this case, we will not do that. So we will pick one from the image. To do that we have to move the cursor to the selected portion of the image. We choose the red section in that case. There is an eyedropper tool icon. Please click it. Instantly we can see the change and here all the colors become red.
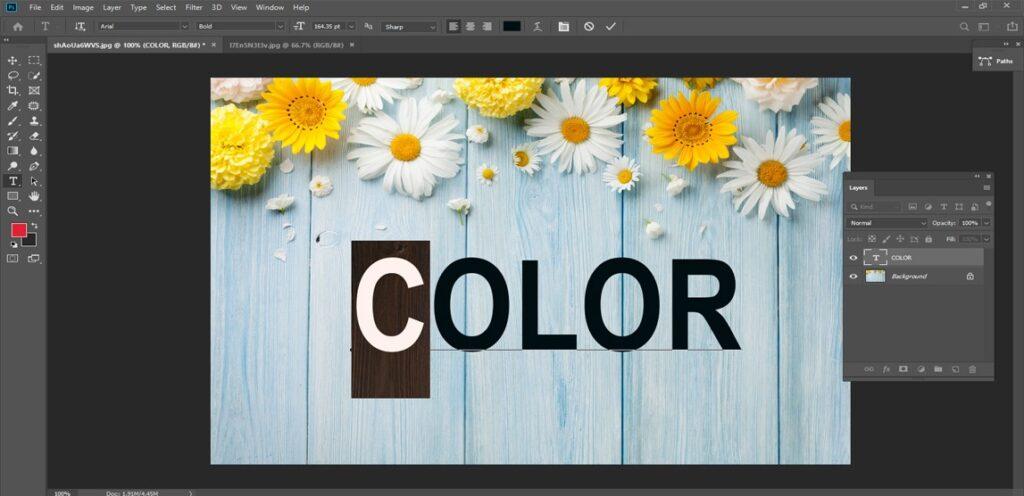
Till now, we have successfully changed the color and like to continue some other experiment here. Now click another letter from this text and we will make it different from the others. Now again we will follow the same procedure that we have done before. Click the color swatch tool and this time we have to pick up a new color as we like to make this letter different from others. To do that, we can select now we will choose the yellowish color from there and now see the magic. All theThere is an eyedropper tool icon where the first “O” represents yellow.
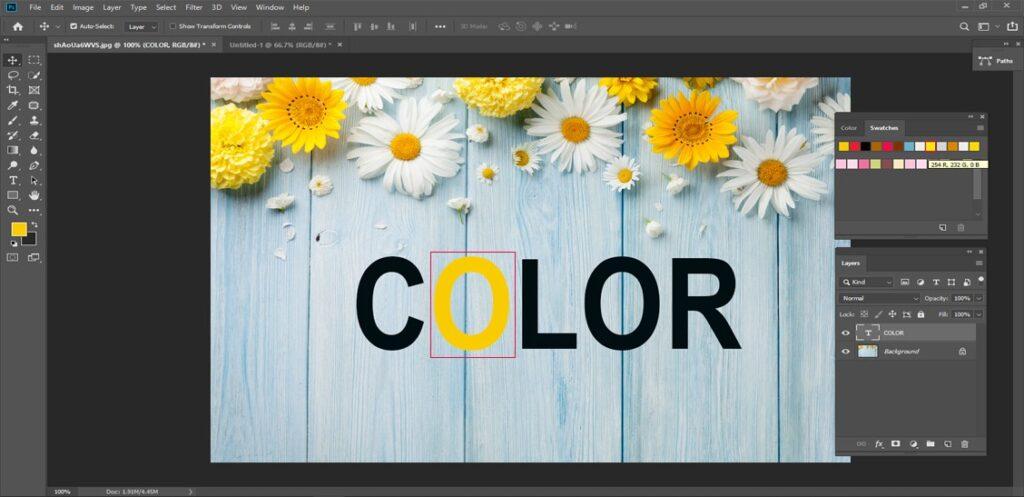
Till now, we have discussed the basics of color picking and later on implementing them on our targeted text. By following this procedure, you can simply change the color of them. Just choose your favorite color and eventually implement them by selecting them. It is not a hard task now. So far, we have changed two colors from the given text and here one is red and another one is yellow.
There are several colors within this image and you can choose any of them. If you like to make it more colorful compared to the present situation, then try picking another color and implement them on the letter “L”. The process is the same and you can follow them from the very beginning. Follow these tricks and reorder them as your wish. That’s all for editing purposes. I hope you got the point.
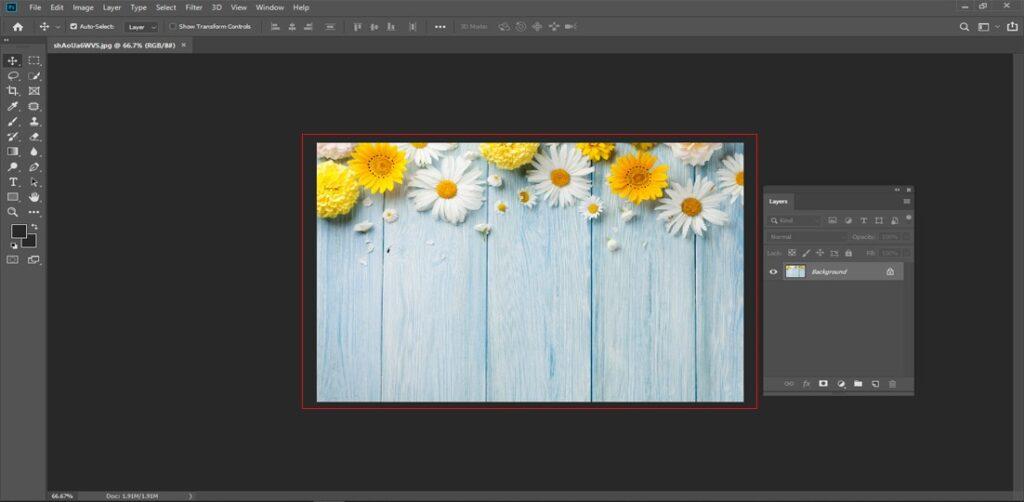
Figure: Using different colors on text in Photoshop
