Are you looking to enhance your product images for your e-commerce website or promotional materials? Creating a clipping path around your product can help you isolate it from the background, providing a clean and professional look. In this tutorial, we’ll walk you through the steps to create a clipping path around a coffee mug image using Adobe Photoshop.
Step 1: Gather Your Resources
Before we begin, make sure you have the following:
– Adobe Photoshop (or a similar image editing software)
– High-resolution coffee mug image
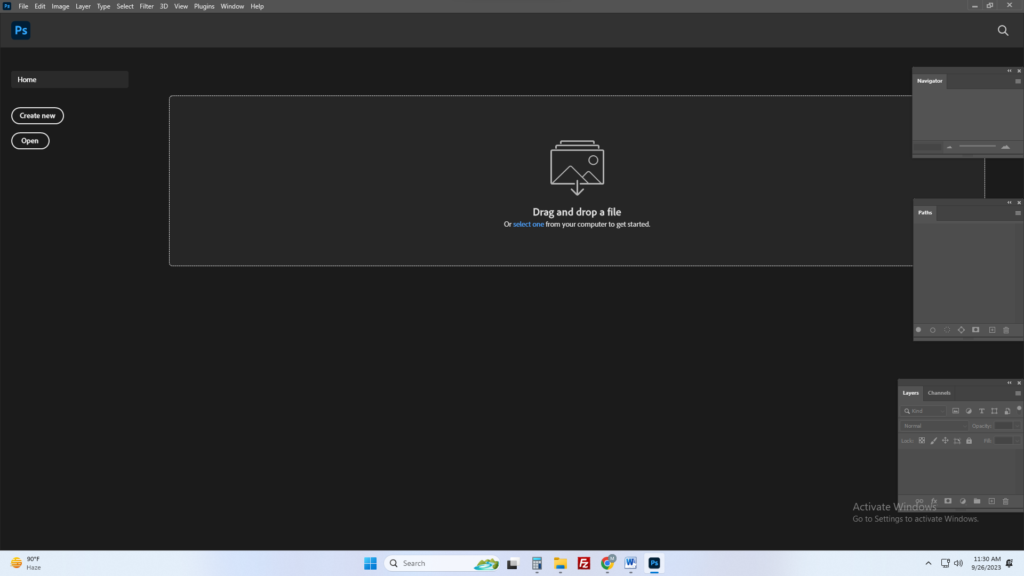
Step 2: Open Your Image in Photoshop
1. Launch Adobe Photoshop.
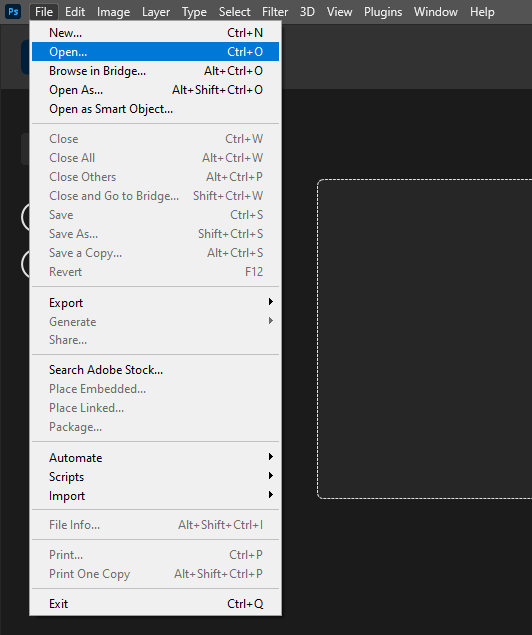
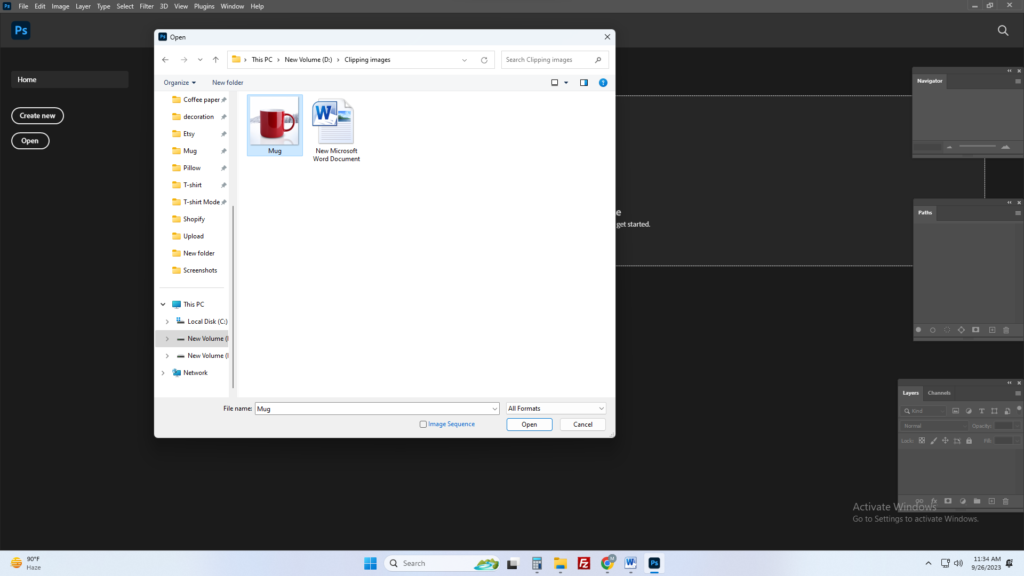
2. Go to “File” > “Open” and select your coffee mug image.
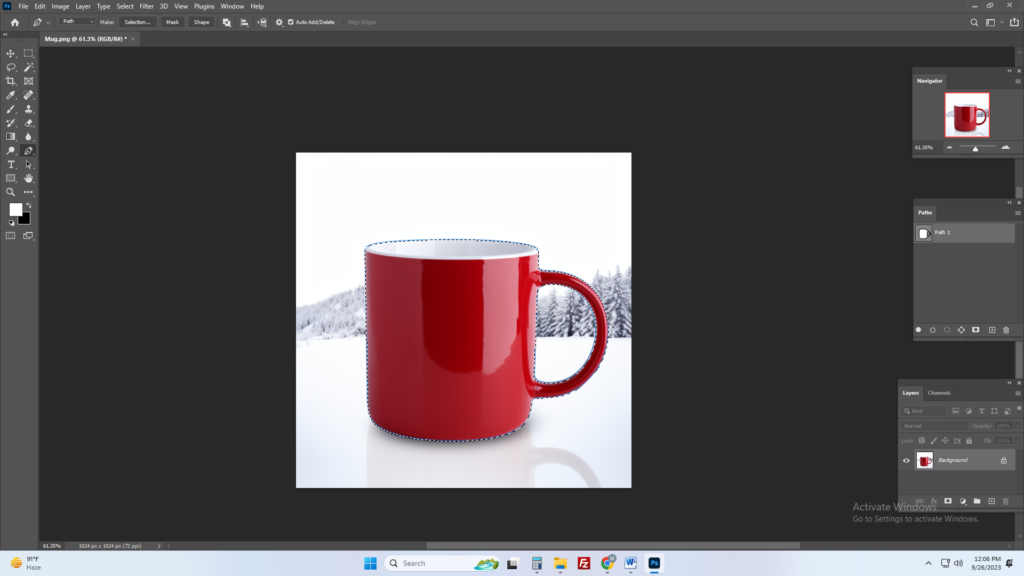
Step 3: Select the Pen Tool
1. In the left-hand toolbar, select the “Pen Tool” (shortcut: P).
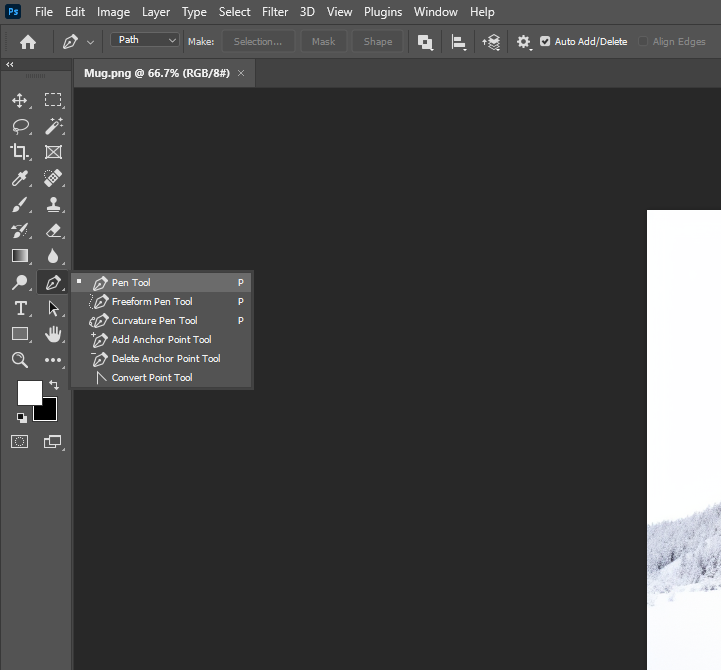
2. This tool allows you to create precise paths.
Step 4: Start Drawing the Clipping Path
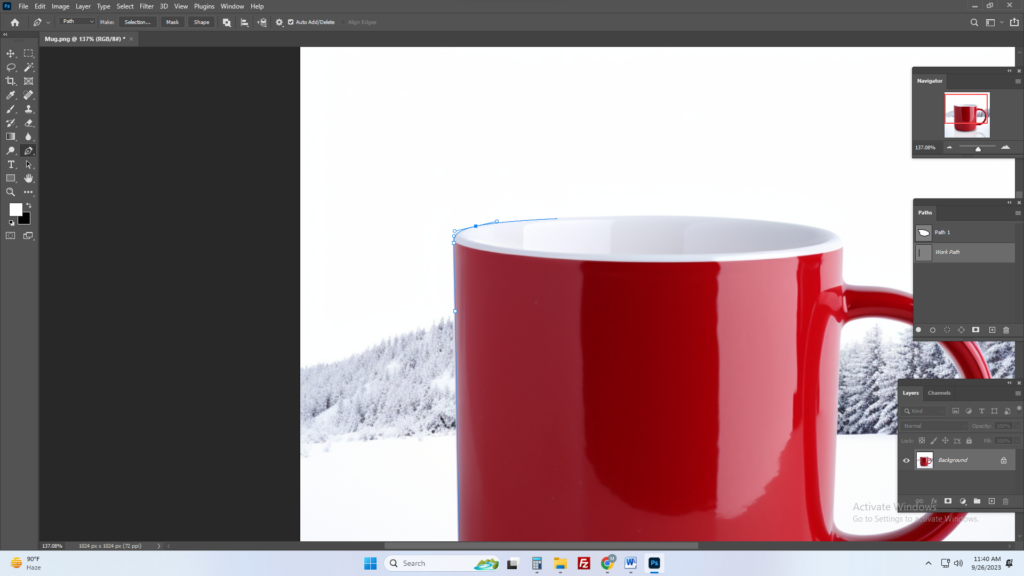
1. Zoom in on your image for better accuracy (Ctrl + + on Windows / Command + + on Mac).
2. Begin tracing the outline of the coffee mug with the Pen Tool. Click to create anchor points and adjust the path as needed by clicking and dragging the handles.
3. Make sure to close the path by connecting the last anchor point to the first one.
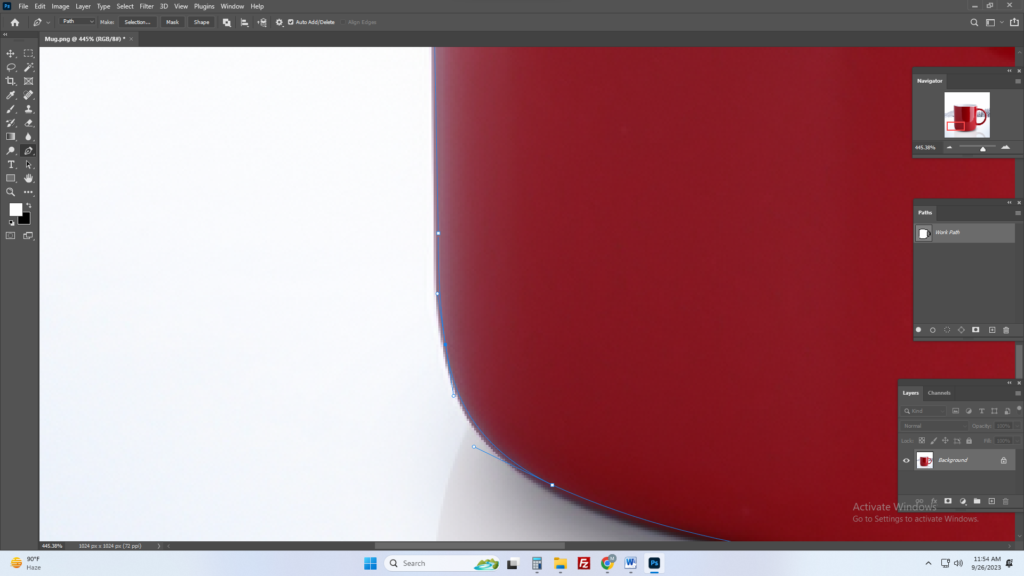
Step 5: Adjust the Path
1. After creating the path, you can adjust it by selecting the “Direct Selection Tool” (shortcut: A).
2. Click on any anchor point or handle to modify the path until it perfectly outlines the coffee mug.
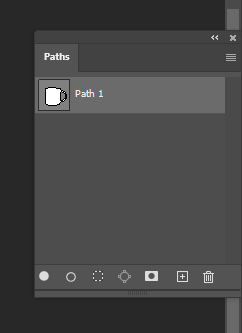
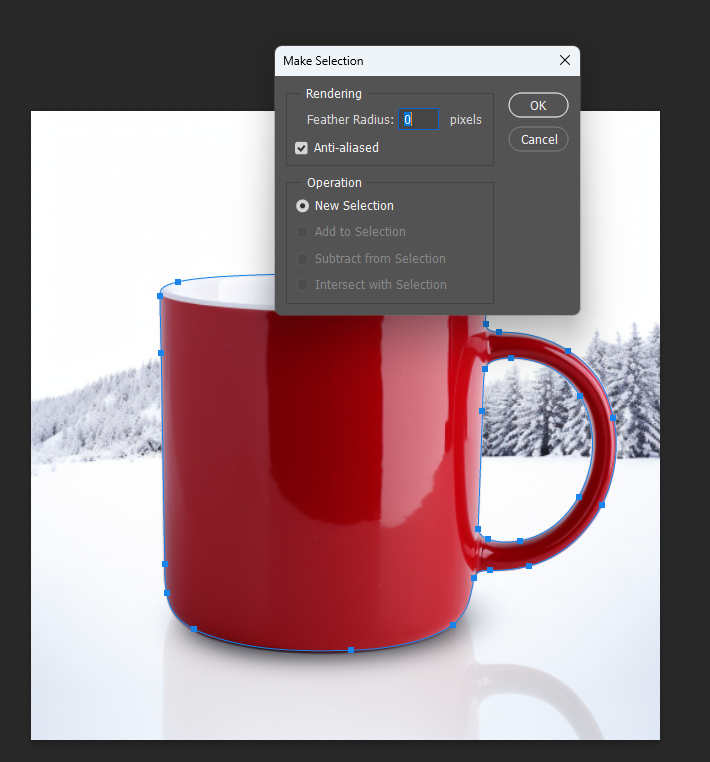
Step 6: Create a Clipping Path
1. With the path selected, go to the “Paths” panel (usually located beside the “Layers” panel).
2. Click on the “Make Selection” button.
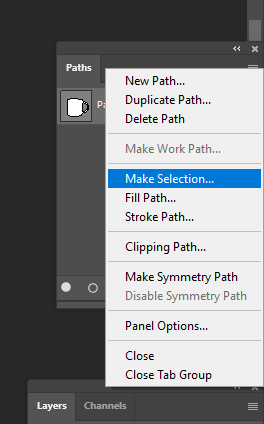
3. Set a Feather Radius if necessary (0 for a sharp edge), and click “OK.”
Step 7: Apply the Clipping Path
1. Go back to the “Layers” panel.
2. Right-click on your image layer and choose “Layer via Cut.” This will create a new layer with only the coffee mug.
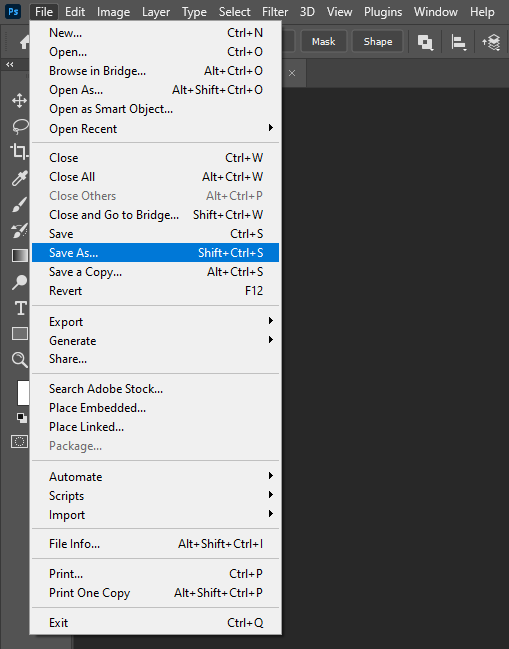
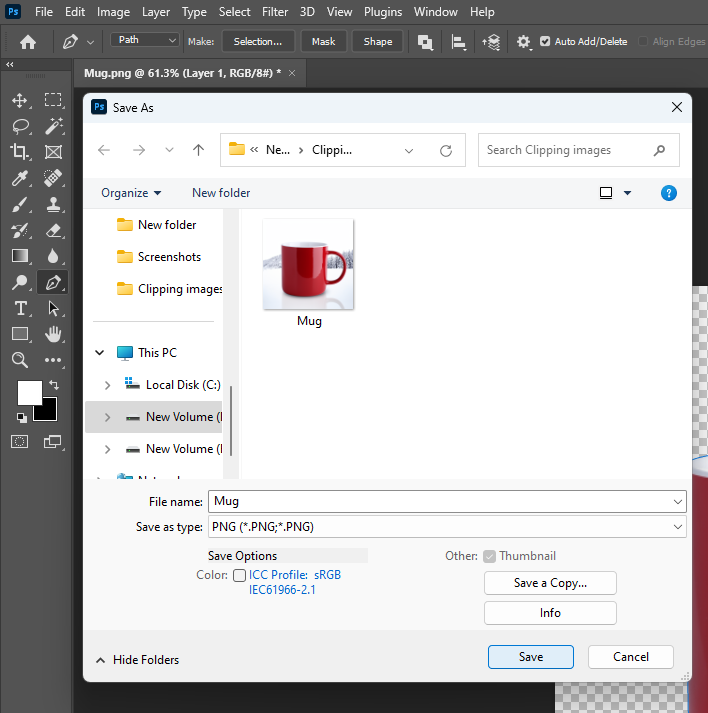
Step 8: Save Your Clipped Image
1. To save your image with the clipping path applied, go to “File” > “Save As.”
2. Choose a file format that supports transparency, such as PNG.
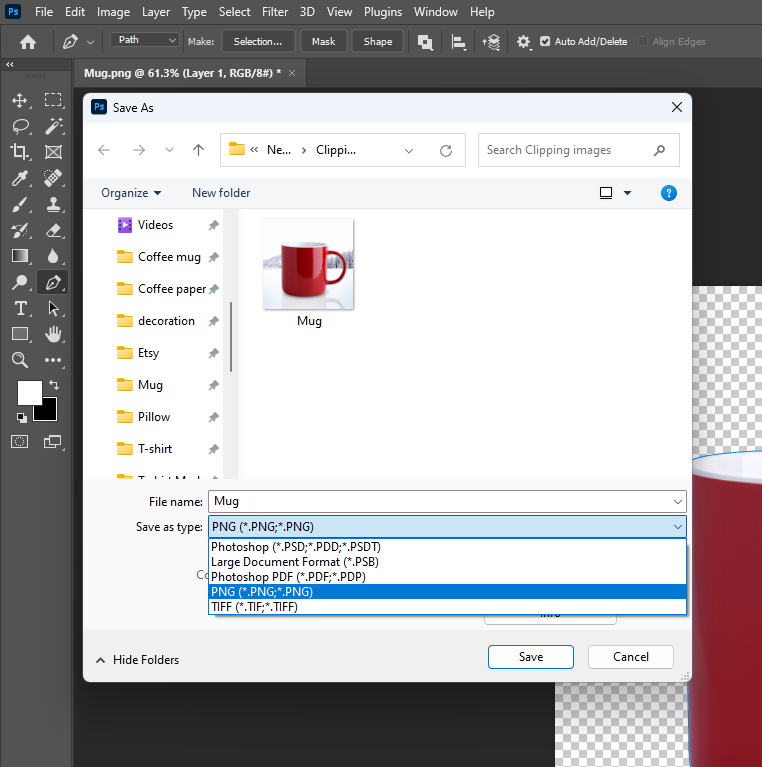
3. Click “Save.”
By following these steps, you’ve successfully created a clipping path around your coffee mug image. This isolated image can now be easily placed on various backgrounds or used for marketing materials, helping you present your product in a polished and professional manner.
With this newfound skill, you can enhance your product images and make them more appealing to your audience. Happy editing!
Feel free to modify and expand upon this script as needed for your blog post. Additionally, you can include images or screenshots to illustrate each step and make the tutorial even more user-friendly.


