Old photo effect take us back in time to a whole different world. To create the “old photo” effect, you can start by turning your original color image into black and white, then you need to add a sepia tone for an old fashioned look. After that, you have to add grain and a vignette effect, and it will make the image look like it has faded over time by toning down the highlights, reducing contrast and lightening the shadows in the midtones. You can create the entire effect from start to finish using just Photoshop’s Camera Raw Filter.
The first step in the Layers panel where you will see our newly opened image on the Background layer
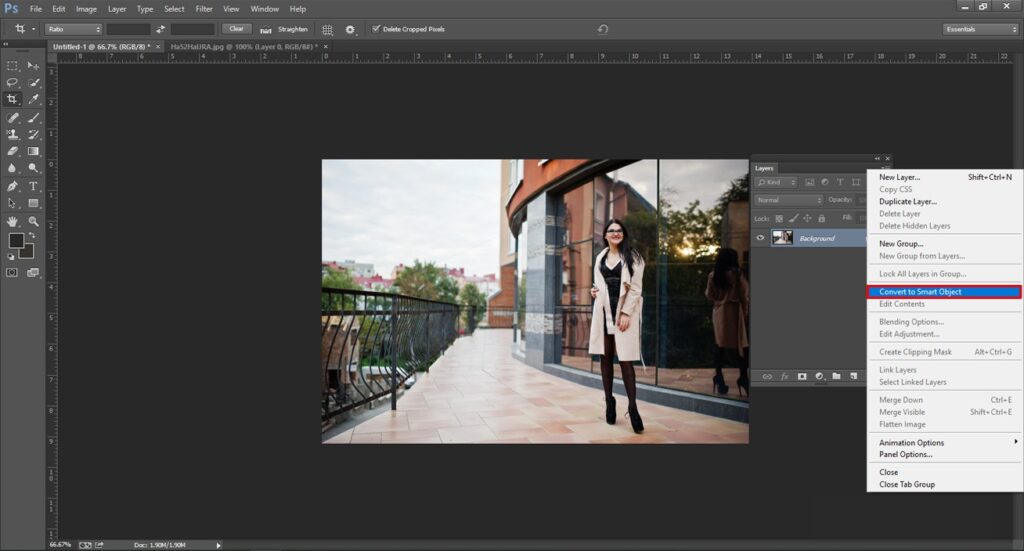
Use Photoshop’s Camera Raw Filter to create your “old photo” effect. If you want to keep the effect non-destructive, you will need to apply the Camera Raw Filter as a smart filter. To do that, first you need to convert the background layer into a smart object. Then click on the menu icon from the top right corner of the Layers panel. Choose Convert to Smart Object. You can see a smart object icon appears in the lower right of the preview thumbnail, letting you know that Photoshop has converted the layer into a smart object.
Step 2 is selecting the Camera Raw Filter by go to the Filter menu in the menu bar and choosing Camera Raw Filter
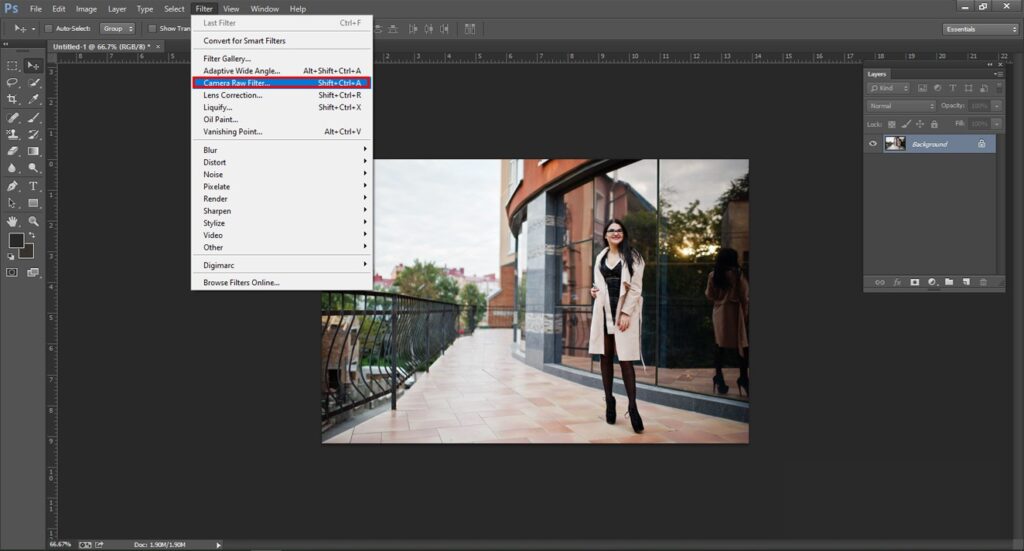
Go to Filter > Camera Raw Filter.
This will open the Camera Raw Filter dialog box, with the photo appearing in the main preview area.
If you find that your dialog box is not appearing in full-screen mode, you dont need to anxious. Just click the Full Screen Mode icon in the upper right, it is just to the left of the histogram. This view is definitely better. Also you cantoggle the Full-Screen Mode on and off by pressing the letter F.
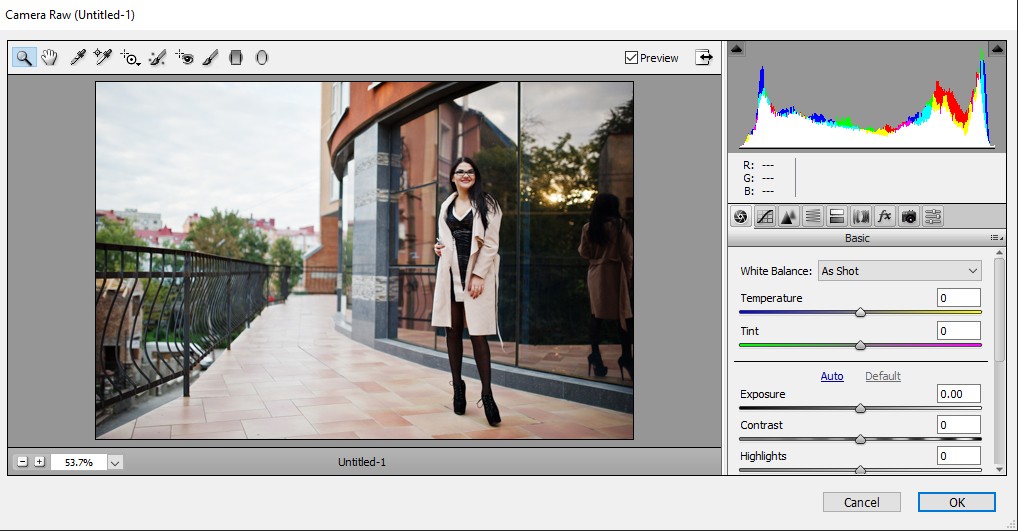
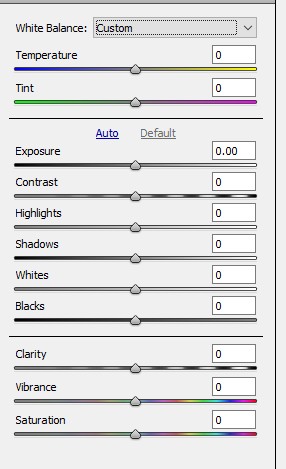
By default, the basic panel is the one which opens first. To convert your color photo into black & white, you should start by changing the treatment option in the bsic panel from color to black & white. Your image will get an initial black & white version
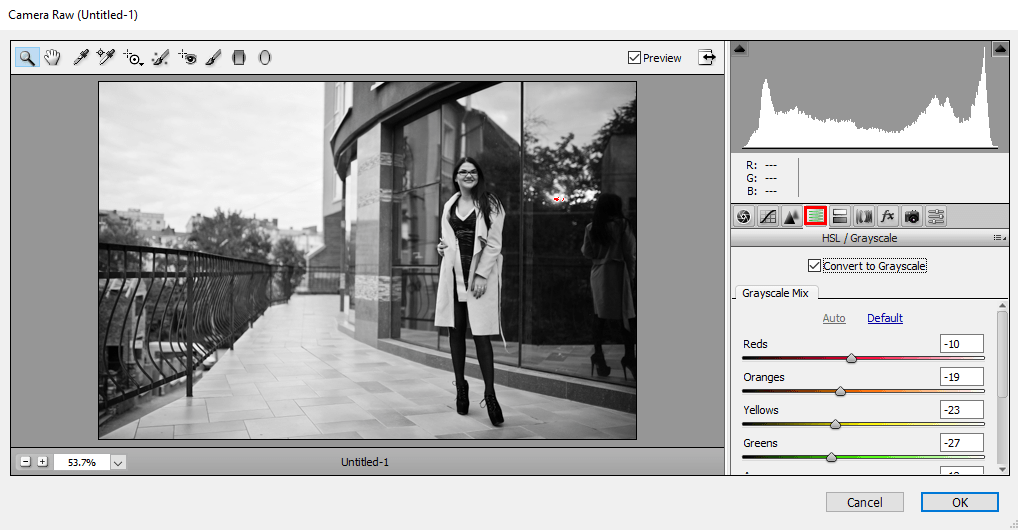
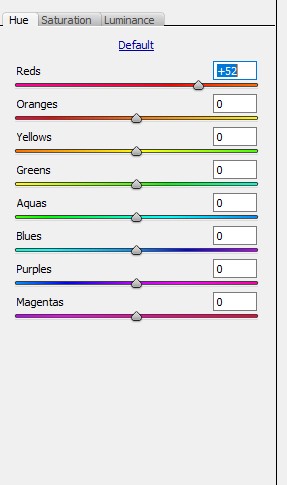
To customize the black & white version, click its tab to open the Black & White Mix.
Now, use the color sliders like Reds, Oranges, Yellows, Greens, Aquas, Blues, Purples, Magentas to lighten or darken any areas in the black and white version that contained those colors originally.
Open the Split Toning panel by clicking its tab or directly to the right of the Black & White Mix tab.
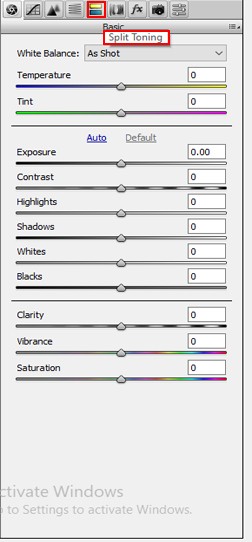
With the Split Toning panel, you can add a sepia tone to your black and white photo, using the hue and saturation options. Keep in mind that there are two sets of hue and saturation options, one for the highlights and one for the shadows.
For the highlights, just set the hue value to 40 for a nice orange-yellow look. Then increase the saturation value to 20. But you won’t see any change in the hue until you increase the saturation from its default value of 0.Now use a slightly different hue value of 45, and increase the saturation value to 50 for a more intense color effect in the shadows.
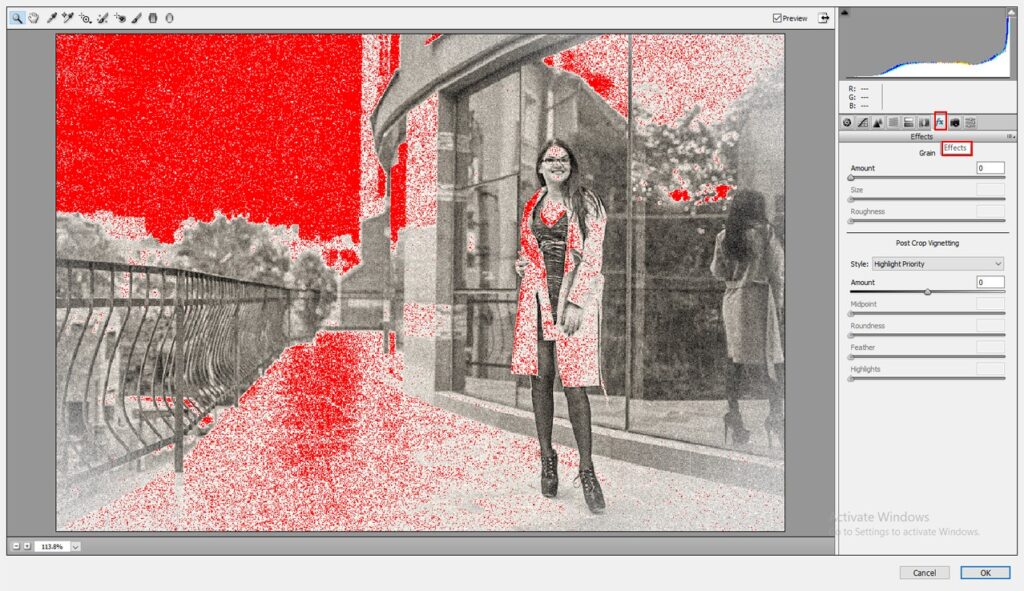
It’s time to add some grain. This three sliders in the Grain section let you adjust the amount, size and roughness of the grain. You can also experiment with these sliders on your own to find the settings you like best.
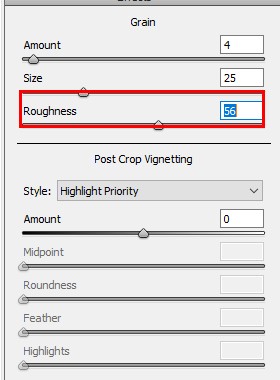
You need to add a vignette effect using the Post Crop Vignetting section. Here the main control is the amount slider at the top. Drag the amount slider to the right.
Step 11: Reopen the Basic panel
Okay now reopen the basic panel by clicking its tab.
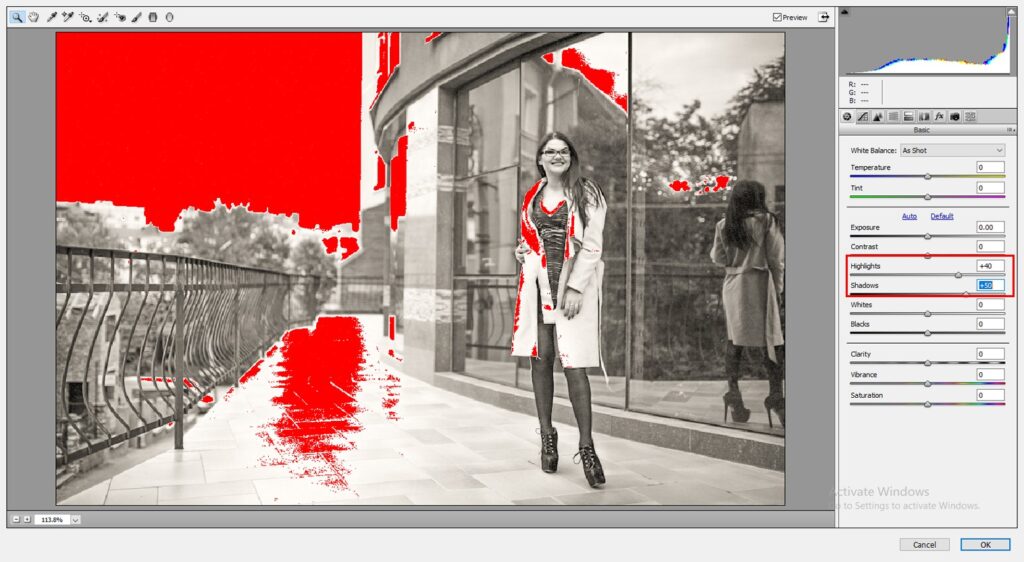
To tone down the highlights, lower the highlights value by dragging the slider to the left. After that lighten the shadows by dragging the Shadows slider to the right. Click on the Clarity slider and drag it to the left to reduce the contrast in the mid-tones.
Step 13: Close the Camera Raw Filter Click OK
Time to final result, click OK when you are done to close out of the Camera Raw Filter’s dialog box.
By clicking its visibility icon you can temporarily hide the old photo effect and view your original photo. Now turn the Camera Raw Filter off.
Now click the same visibility icon to turn the Camera Raw Filter back on and view the old photo effect.