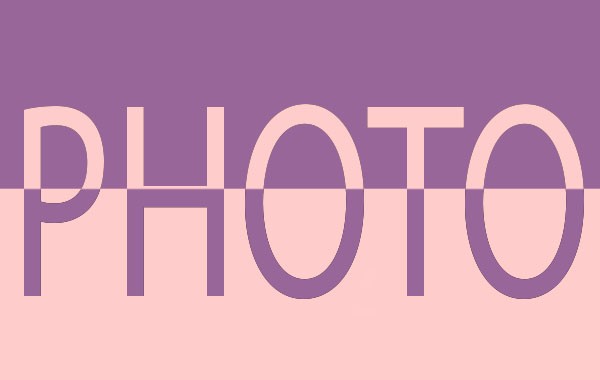
There are several ways to create Split-Color Text in Photoshop using a gradient. Because you can get the best result using Gradient tool. We can save and reuse the gradient to enhance the effect even further in future as well. So here we will simply learn how to do split-color, or half-color text in Photoshop where the top half and the bottom half of each letter is filled with two different color. We can also create solid color gradients that split the colors down the middle. We’ll start with the split-color gradient and how to apply it to the text. Then we will move to two different ways to enhance the effect. Let us take a look at how to apply the split-color gradient to a stroke around the letters, we will then see hoe to add the split-color gradient to the background which will create mirror effect to each other.
First of all let us open a new Photoshop document with white background, and add some text with type layer on it.
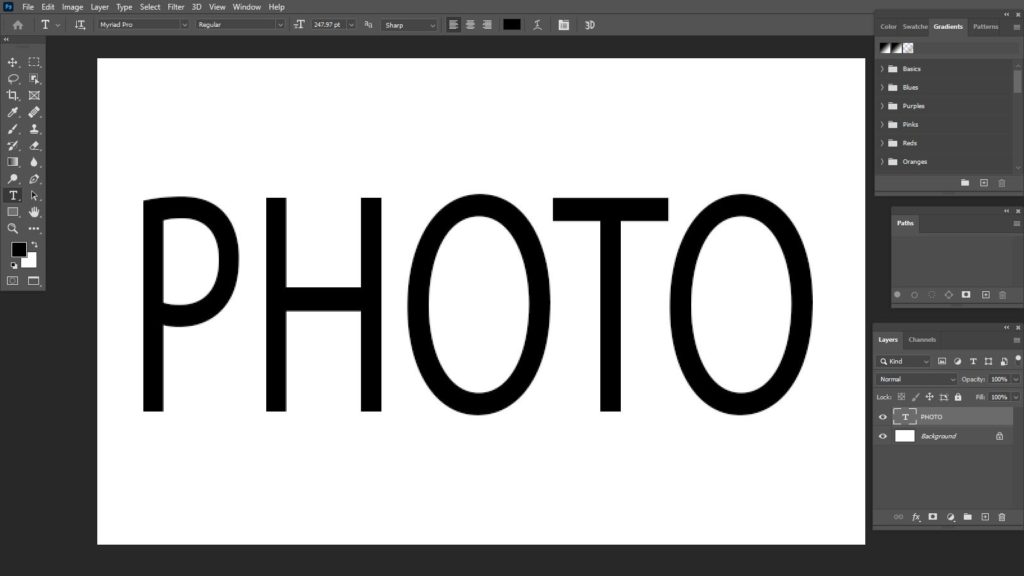
For this the color of the text really does not matter as we will be changing it anyway, also any font will work.
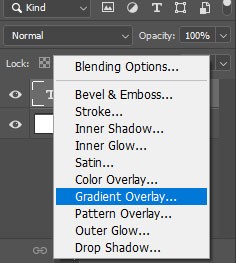
First we need to we’ll use a Gradient Overlay layer effect to add gradient to our text. So we need to select type layer form layers panel and click on ‘fx’ Icon

at the bottom and choose Gradient Overlay from the fx.
The next step is to choose the Black and white Gradient. Since we’ll edit the colors to create our own custom gradient, we will choose Photoshop’s standard black to white gradient.
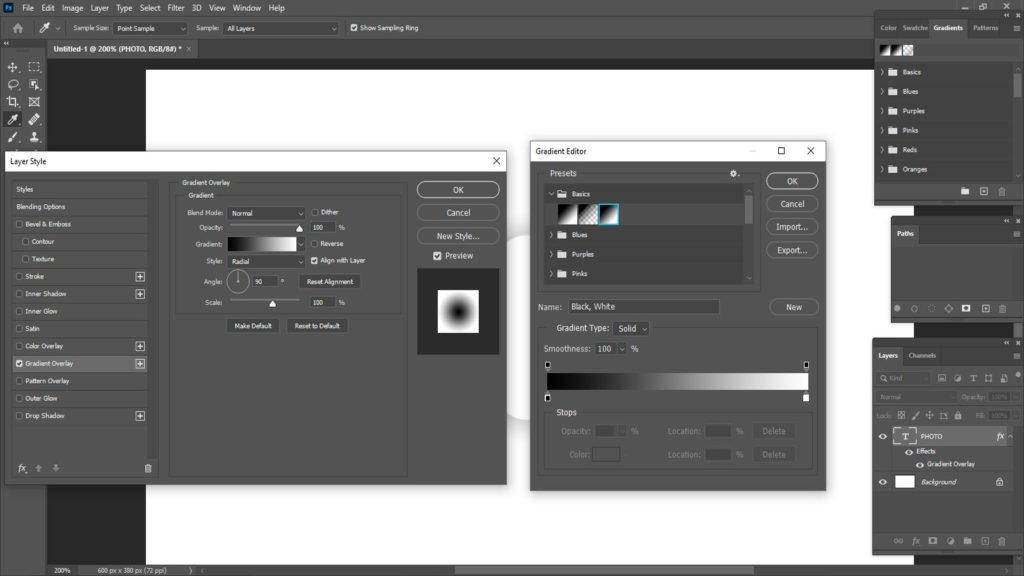
Now we will be clicking on the current gradient’s color swatch. Now choose the Black, White gradient from the Presets section at the top of the Gradient Editor.In Photoshop CC 2020, gradient presets are grouped into folders and the Black, White gradient is found in the Basics folder.
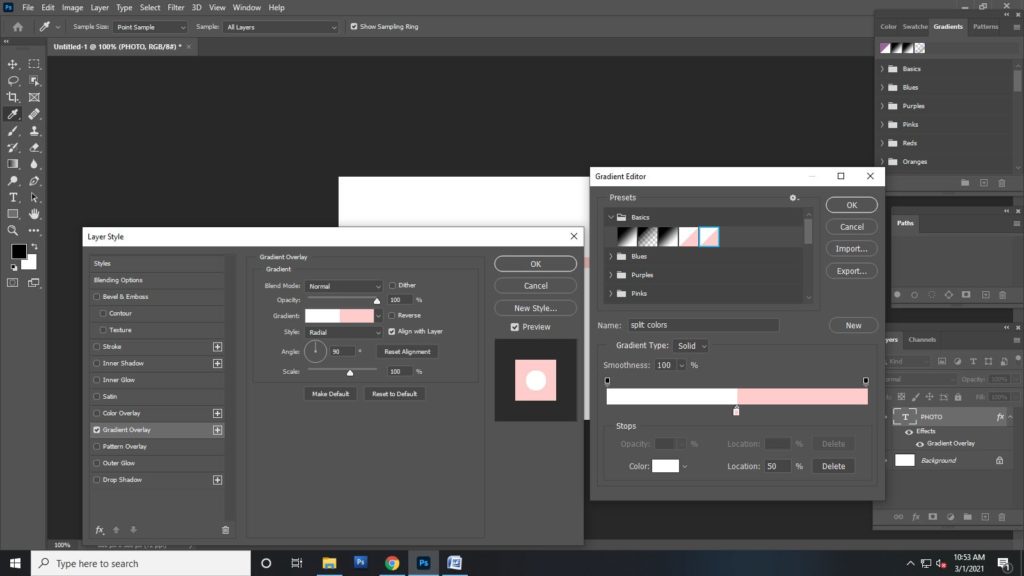
The next step would be editing the gradient colors. We can edit the colors using color stops, to change the color form black to any new color, we have to double click on the Black color stop below the left side of the preview bar. To change the color white to something else, double-click on the white color stop below the right side of the preview bar. Now that we are done with the editing the both colors, we have a new custom gradient.
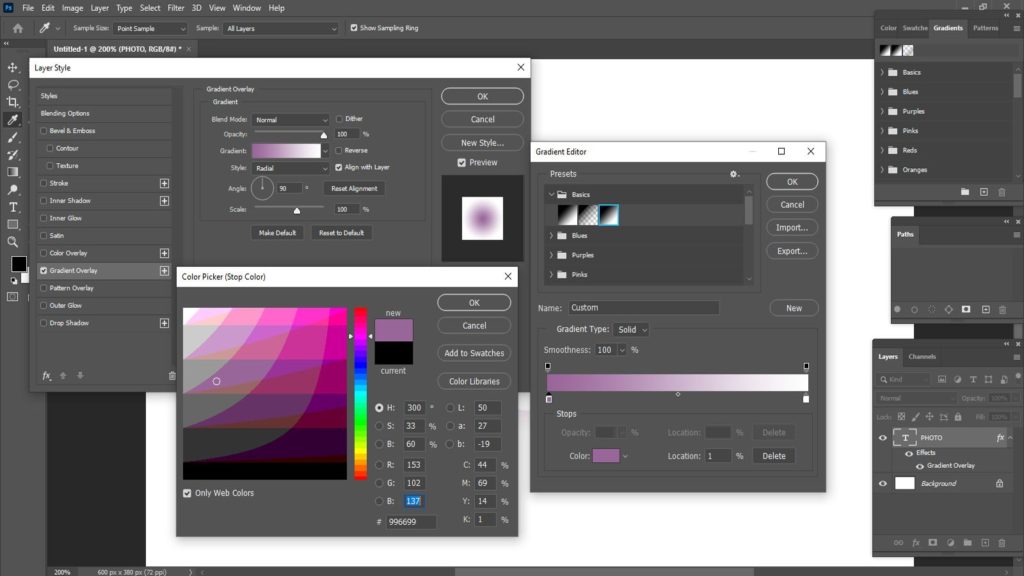
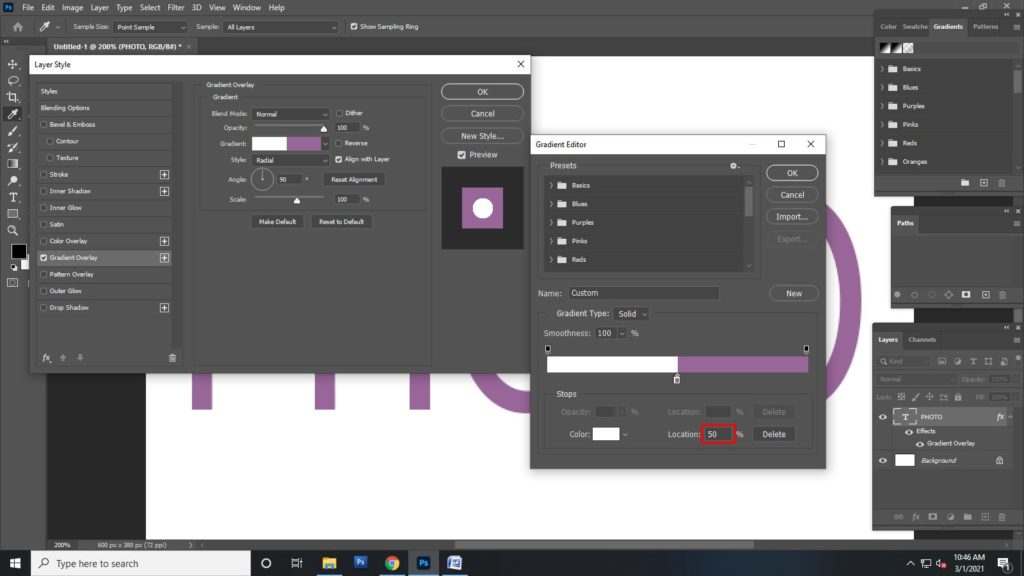
The colors in the gradient gradually transition from one to the other. To create a solid color gradient that splits the two colors down the middle, simply change the Location value for each of the color stops. In doing so, click on the left color stop to select it. Remember not to double click on it. Now change the Location value from 0% to 50%, it will make the color stop moving below the center of gradient. Do as same for the right color stop. These two color stops now overlap the center and each half of the gradient is filled with a solid color. Now if you want to swap the order of the colors, just click on whichever color stop is visible below the center of the preview bar.
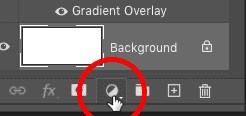
You may now save your gradient to use later for not only to your text but also to any background or stroke, and then you need to save it before closing the gradient editor as a new preset. Give it a new name, and save it with a new button. This will appear as a thumbnail below the other gradients
By so far you will get to see your text filled with two different colors as per your editing and color choice. But if you want to reverse it, select the Reverse option in the Layer Style dialog box. It will do the opposite to the previous effect.
As I told earlier, you can use this not only for text, but can also do any background or a split color stroke around the text. And this is why we saved our new gradient, remember?
For adding any stroke layer effect to any text, click on the word Stroke in the list of effects along the left and change the stroke’s Fill Type from the color Gradient & click the small arrow next to the gradient swatch.
Then double click on split-color gradient’s thumbnail to select it.

Now, what we have done with Reverse option for the text itself (the Gradient Overlay), we have to do the opposite while creating stroke. This will make the strokes appear around the strokes opposite order of the text. From here, you can also change the position of the strokes either inside or outside by appearance around the letters. Also you can make stokes wider. Use the Size slider to increase the stroke’s width.
We can now close the Layer style Dialog box as for now if we are working with text split-color effect creation.


