Have you ever make some experiments with different Photoshop tools? It is fun and at the same time, you will able to discover your images in different shapes. Are you ready to make those experiments? Let’s go for some experiments now! Today we will discuss a necessary tutorial that is “how to make a square brush in Photoshop?” We will find out the ins and outs of the topics.
In Adobe Photoshop, we can describe the square brush as a special brush that is using for different photo editing purposes. It is square-shaped and this brush will help you to remove a particular portion of the image in a square shape. It can be used for some other shapes also. This is a special type of tool that we often used for creating some new effect on the images.
We can find a set of 24 brushes in the advanced version of Photoshop. Now, the interesting thing is each of them is being introduced by their number and shape and they have different perspectives to serve here. Now, if we like to decide which one is smaller and bigger? The answer is number 1 is described as the smallest while 24 is the biggest position here as it contains a mammoth size.
In a broad sense, if we think about the design no such tool is being made without any reason. So, the square brush has a specific intent to serve. There are several reasons that you will have here. The square brush tool will help you to create an outstanding square tool that is very hard for a novice designer by using any other tool.
The necessary term that we can describe to you is this tool is being used for drawing pixel arts. That is an amazing thing to discover. The small square dots will help you to generate a giant pixel art eventually. This tool is widely using among several designers around the world for designing a square object or different types of object which should be like a square object later.
In general, when you will install Photoshop the square brush tool is automatically installed there. The interesting thing is, the user has to search for it as by default the shape is like a circle. Let me tell you the necessary steps that will aid you to do that.
Firstly, you have to select the brush tool from the menu bar. It can be done easily and just from the toolbar select this option.

When you will have the brush tool option, you have to right-click there for opening the option. Now, what are you watching there? A plethora of round shaped brush tool. Are you bored? Stay with us! We will send you in the right direction.
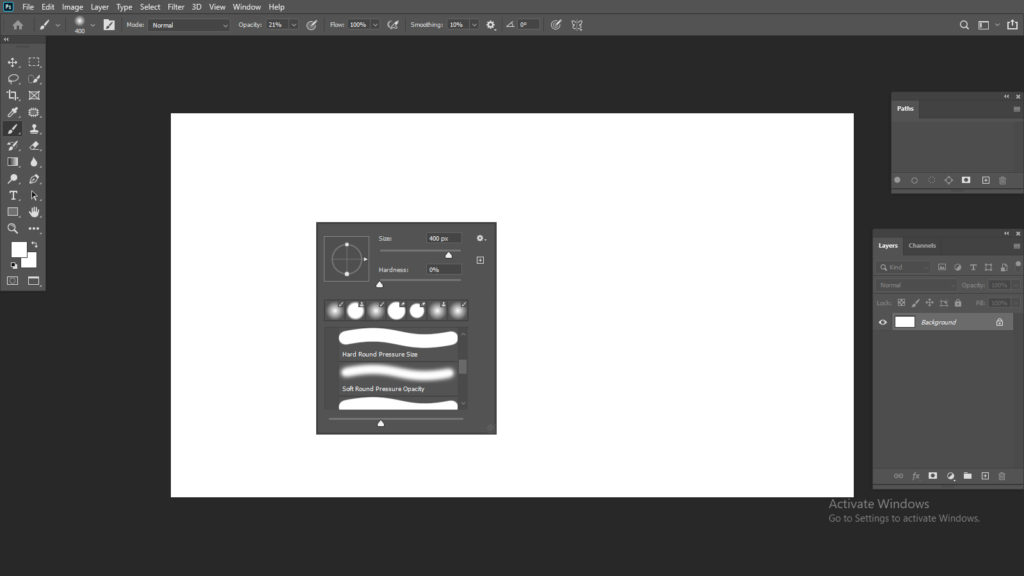
Please open the brush list from there. Did you find an arrow on the right corner there? Please click the arrow button from there. You will see magic now a list of the brushes is available for you.
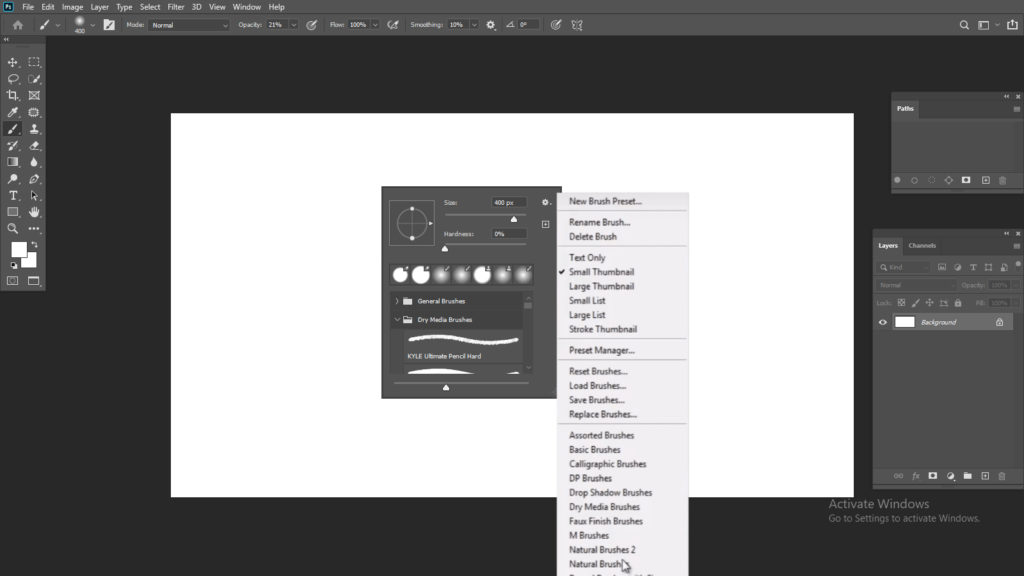
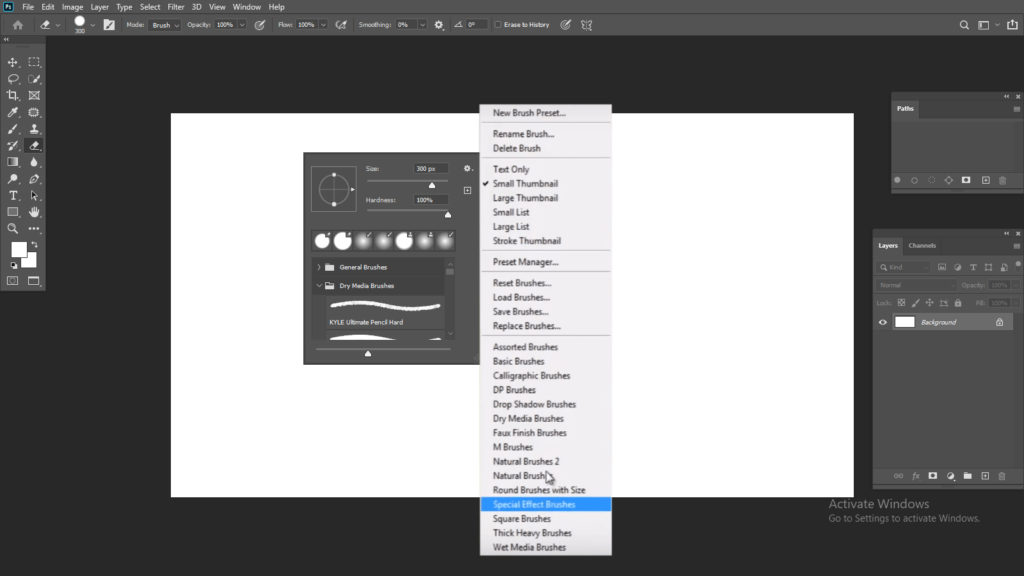
Scroll down the menu and at the bottom part of it, you will have the square brush option. Now choose it from there.
You can make the square brush as your wish. It is very easy now. Let’s follow the detailed procedure.
Open a brand new window in Photoshop and please choose the “rectangular marquee tool” from there.
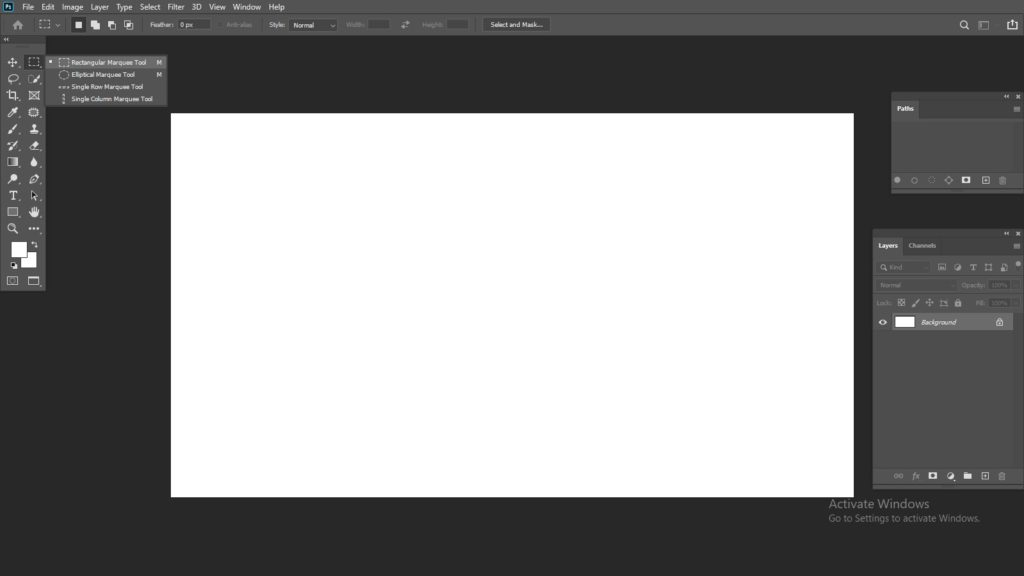
Now you must make a blank section there. You can do that by simply pressing shift and dragging it.
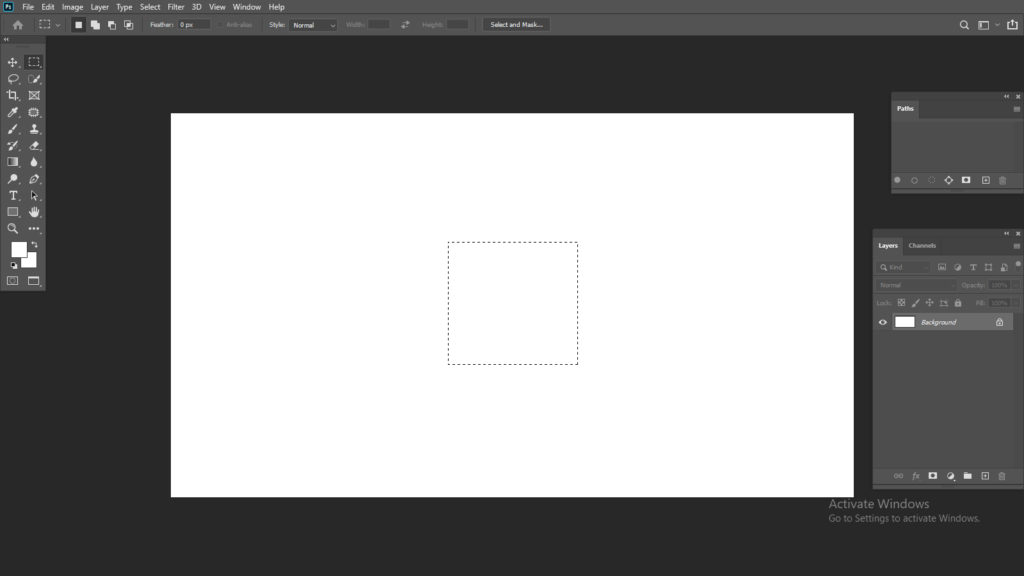
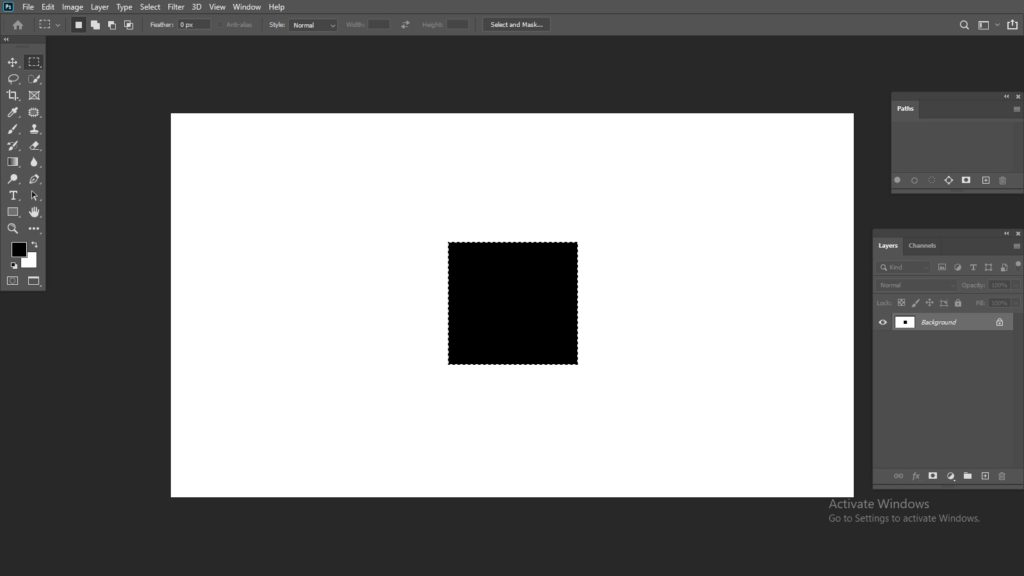
For professionalism, now you must make them black. For doing this please press (SHIFT+DELETE). Now it will convert to the black color.
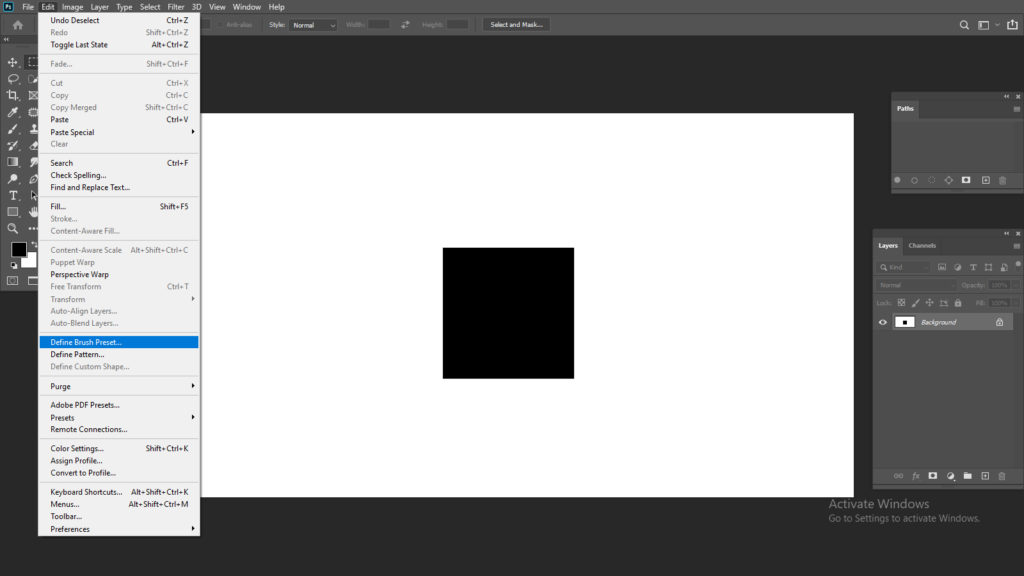
Now please find out the edit option. From there you will have an option called “Define new brush preset”. Now by clicking that option you will be able to establish the square brush there.
That’s it. By following this strategy, you will be able to establish it within Photoshop.
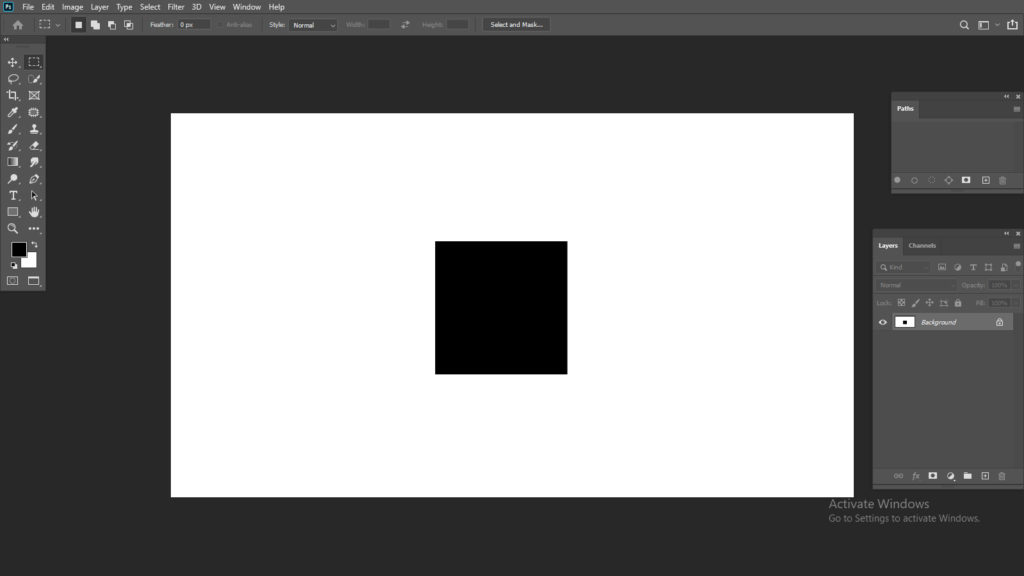
This is one of the easiest tutorials to make the square brush within a few minutes. Stay with us to get more tutorials regarding this topic. Have a great day!