We are very lucky as we are living in an ultra advanced and technology based world . And luckily technology offers us a lot of things that makes our life easier . There are so many tools that technology offers for designing and re-decorating our images. There are so many software which are very costly and many of us can not install or use those software. But there are some software that are already installed in our computer . Power point is one of them .
In this modern world , photo editing is very popular. And photo-shop is the most widely used software for modifying the pictures. But many of us can not afford photo-shop to use . So , we can use power point instead of using photo-shop . Power point contains many features and it is very beneficial for making standard presentation too.
What is Background removal technique in power point?
Now a days background removing technique is very much popular. In every platform we use background removing technique. We use this technique for many purposes Such : to make an image more eye-catchy , beautiful . We use this background removing service in photo-shop too much . But we can remove the background in Microsoft power point platform too . In power point , the background detaching technique is quite easy. All we require to do is , Choose the background appearance and press on the button which is set as “Delete” button and delete it easily.
The background removing option allows us to remove the background of the placed picture. With the help of this option we can remove the unwanted object from an image. For example: If we want to remove the sky or tree or wall from a picture , then we can make it by the help of background removal technique.
There are so many reasons for which we want to remove the background from power point. Sometimes image contains lot of object or lot of material in its body . But it turns out that we need on or two things in the picture and the rest things are not required. In such case, we can remove the background object. Or people may want to show their slide clear and clean , so they want to remove the background . Sometimes the background looks very messy and disturbing, that is the reason we should remove the background . But power point has so many versions . Older version of power point may not have the special features . But newer version of power point contains lots of feature through which we can cut out the background. Newer version of power point contains some straight forward option named as : Mark areas to remove , mark areas to stay for removing background.
Procedures of removing background from an image in power point 2007:
Step 1: In power point 2007 , open the power point . Before doing this function, select the image that you want to modify.

Step 2: Press on the image and select the option or tab named as “format”.
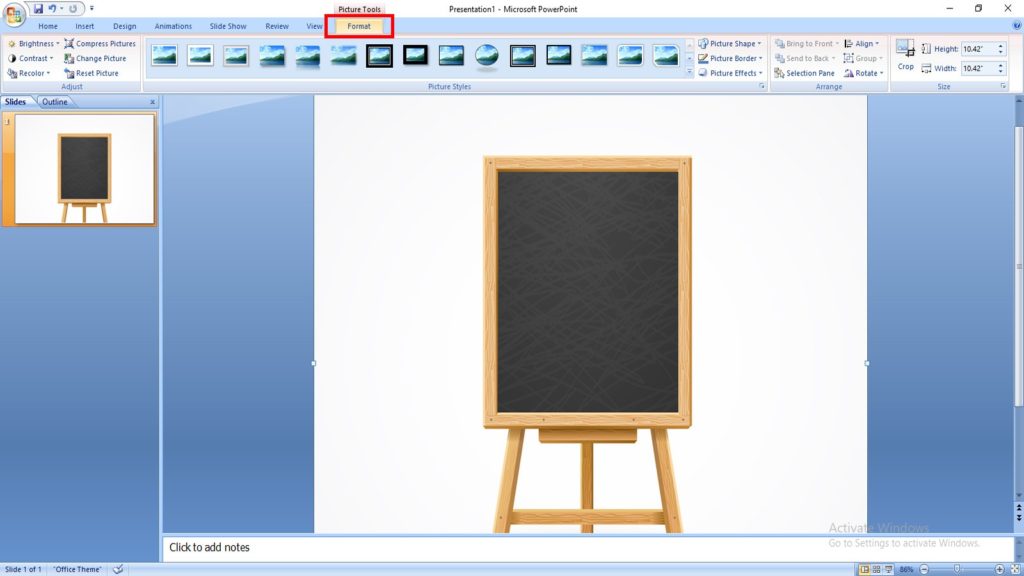
Step 3: After selecting the format option , Select the option named as “Re_color ”.
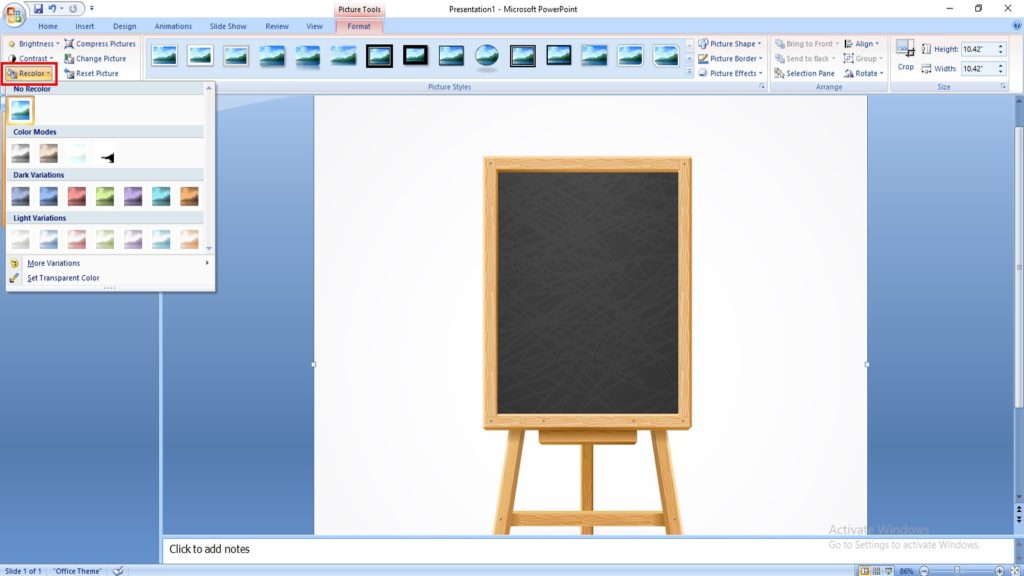
Step 4: From pop-down menu , select the tool named as “Set Transparent Color”
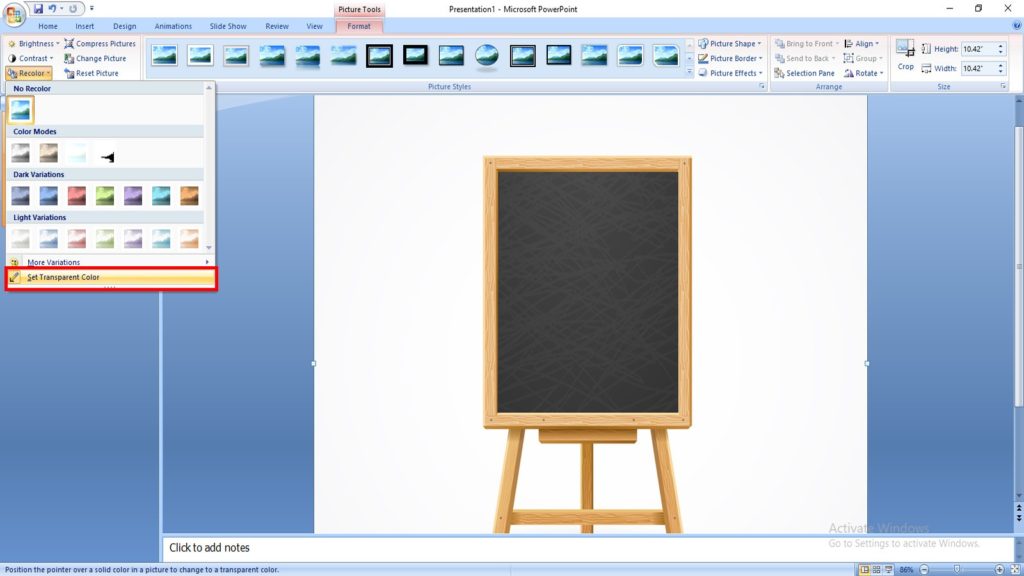
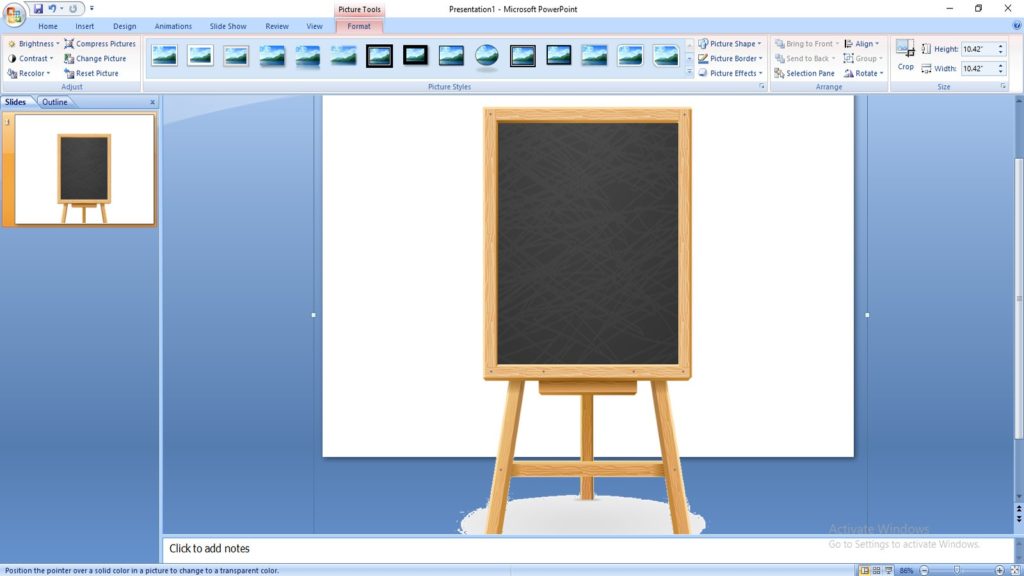
Step 5: Choose and Select the color that you want to set as Transparent color . It will detached the selected color from that image.
How to apply the background removing option in power point ?
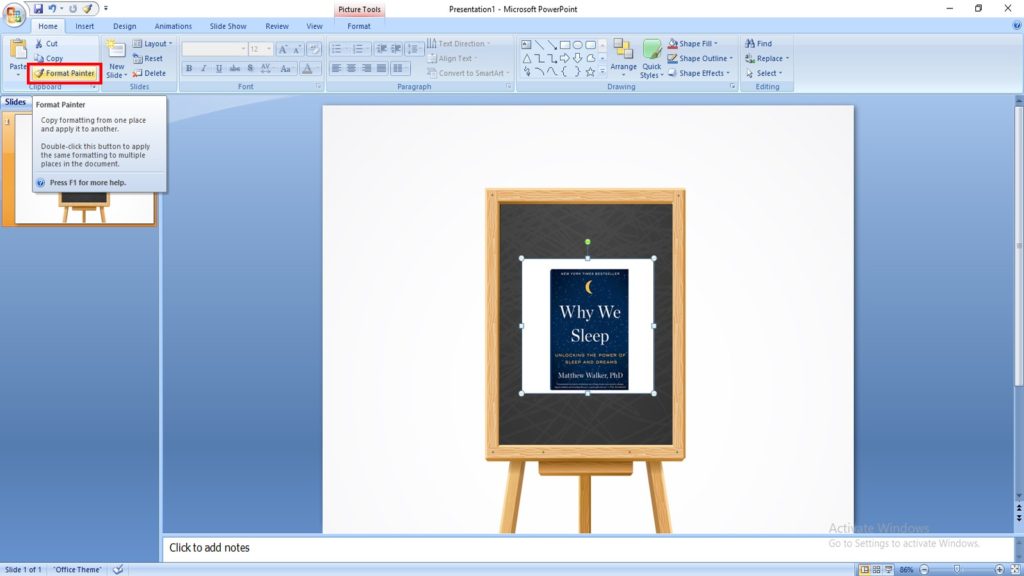
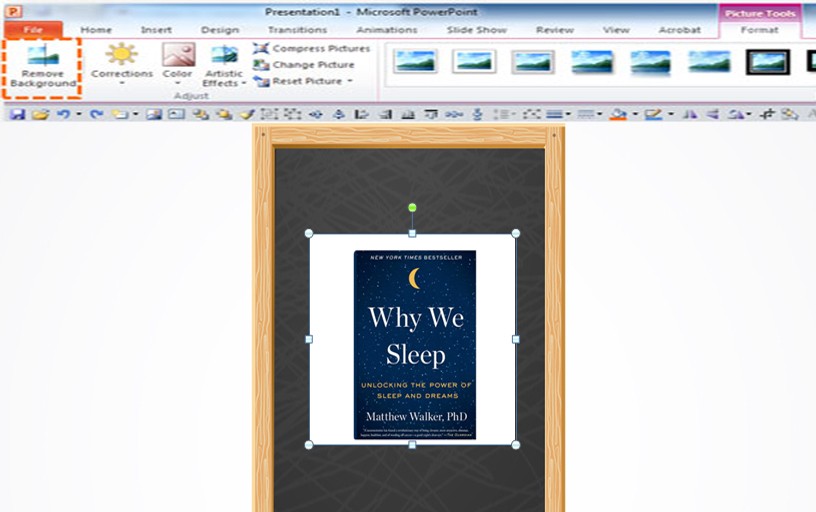
Step 1: Choose the image and press on it and insert it . A red square box will be visible and this box is named as “Format picture ”. If we do not insert the image, format option will not be visible. After clicking on the Format button , click on the adjust button . Then press on the button named as “Remove Background”.
Step 2: After clicking on the remove background option, power point calculates and displays the region that it discovers which part we want to discard . The image background color will be deep pink or deep purple .
Step 3: There will appear a rectangular selection box in the image . This rectangle box helps to adjust the size of the image . A message will pop out named as background removal . This will give the direction for detaching the image background. Press on the cross button to close down it . The slide shows the removed background .
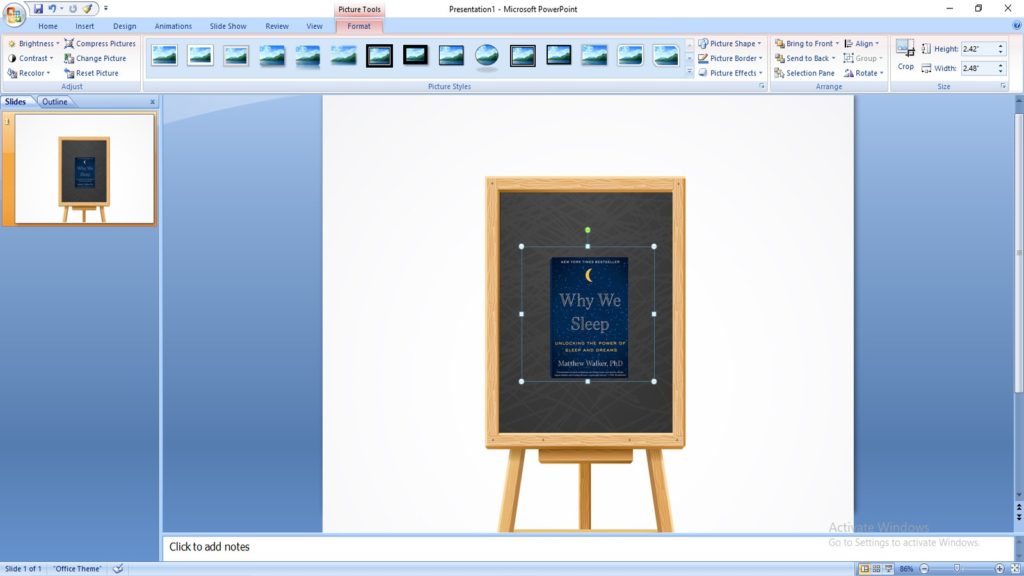
Step 4: A crucial sector of a picture surrounded by a deep pink outline . This outline shows that the background regions is to be detached . Those regions or parts shows the actual color of a picture will be continued . At this juncture, pull the pointer on the selected box to let power point determines the regions of the image we want to detach and which part we want to continue. To make the selected box bigger , we can add more regions in the picture if we want . Press and pull out the pointer outer of the image . And this is how rectangle box resized to lessen the pink outline.
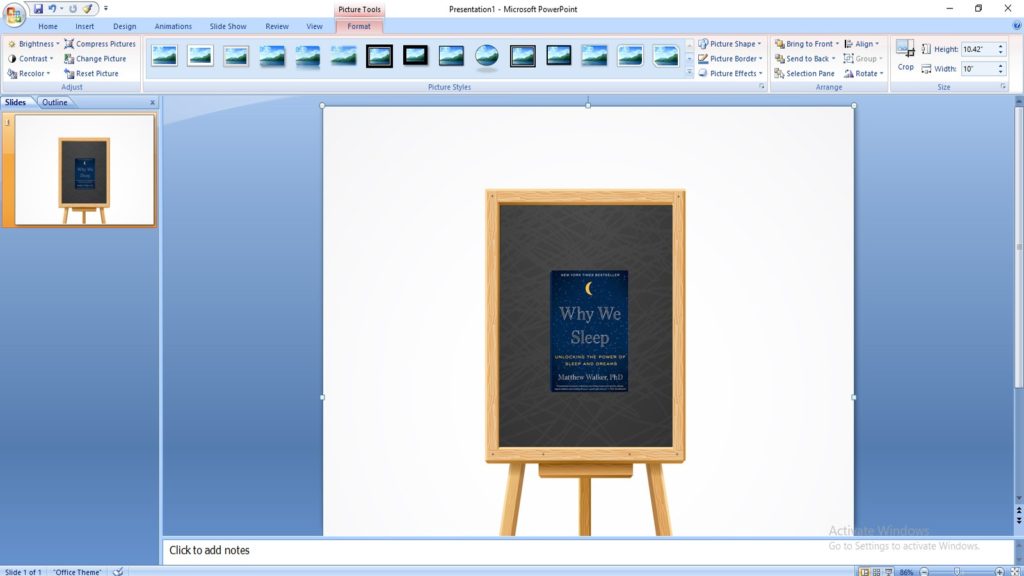
Step 5: Pink regions are minimized by extending the selected box for normal picture. If it is good, then press anywhere in the power point slide on the outside of the picture and click on the return button . By doing this , it will create the whole deep pink outline background regions of the selected image translucent. This is how background is removed . We have to save it .

In power point , people like to have formal and standard quality picture. Audience do not like to see fancy colored picture , or any gorgeous colored image . Sometimes when we use some picture in power point , the picture contains some unexpected or unwanted items in its body . We need to remove it to create a good presentation. We need to concentrate on the image , the texts, outline everything . And to remove a picture background , we do not need to install photo-shop . We can simply remove the background by the help of power point background removing option. Detaching an annoying background from an image in power point always help to focus on the main content and topic . Audience find it interesting and read-able .