Detaching the background from a picture in Photoshop is not so severe. When the background is white, it is not so tough to remove. But people need to be very calm while removing the background. Professionals do it quickly with fun and calm head. To remove the background, people need not be professional. Anyone can do it, but it needs a little practice along with patience. There are so many tools in Photoshop. Some of them are lasso tool, magic tool, pen tool, the object selection tool and many more. Sometimes to achieve the perfect background, we need to do a slight bit of modifying and colour-correction. Mostly, people use the Magic wand tool or pen tool to finish this type of work. There are some variations and exciting techniques to detach the white background in photoshop such as Lasso tool, the quick selection tool and many more.
There are many causes why people want to detach the white background from a photo. Sometimes, we do not have a translucent version of our design or trademark. Or sometimes people may need to extract the product to create a composite. Luckily, Photoshop has so many options for detaching a white background Using the Photo-shop technique, we can detach any background. What we need to are just a little learning and small practice.
Photo-shop contains so many procedures through which we can remove the white background from an image quickly. Some procedures are given below:
Step1
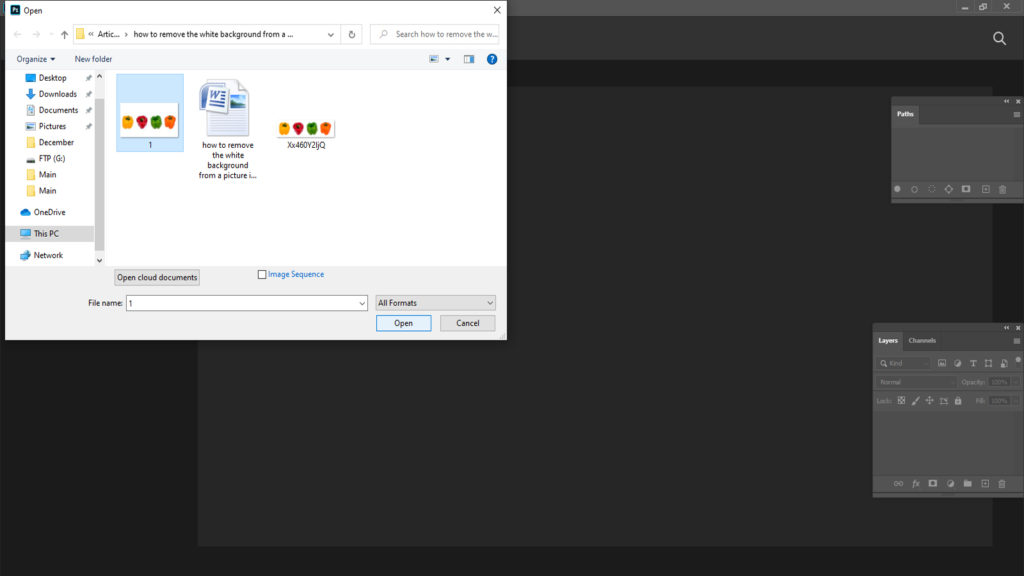
Open the desired photo. Choose the photo from the folders. Open the picture with Photo-shop. Balance the photo to the middle of the screen for quickly modifying.
Step 2
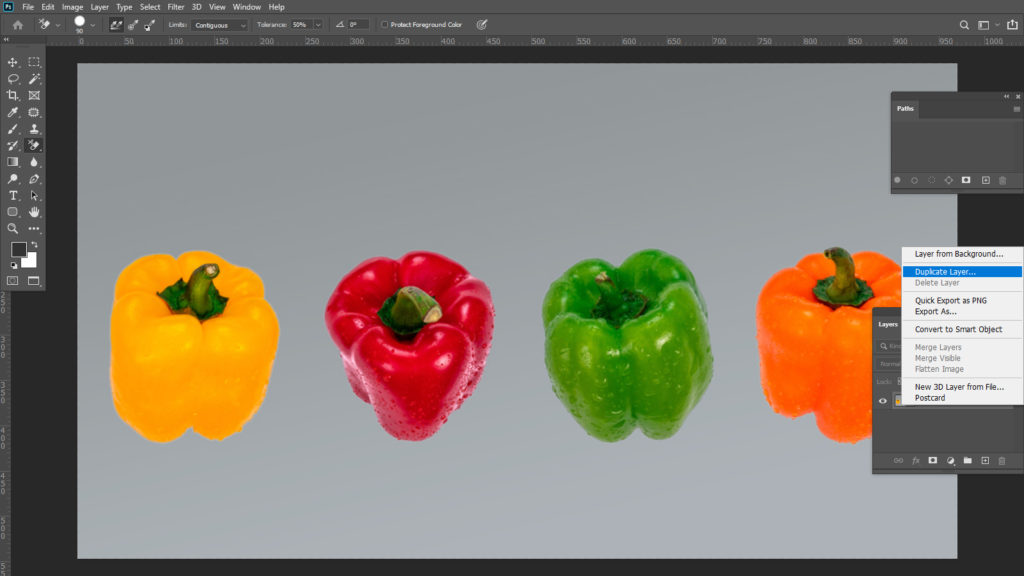
Go to the layer. In the layers board, press to the lock to enable it and turn it into a changeable layer. After that Rewrite it from layer 0 to anything illustrative. On the other hand, please create a new layer by copying the first and then concealing it by pressing on the eye. This is important if any mistake or accident occurs, then we can use it then.
Step 3
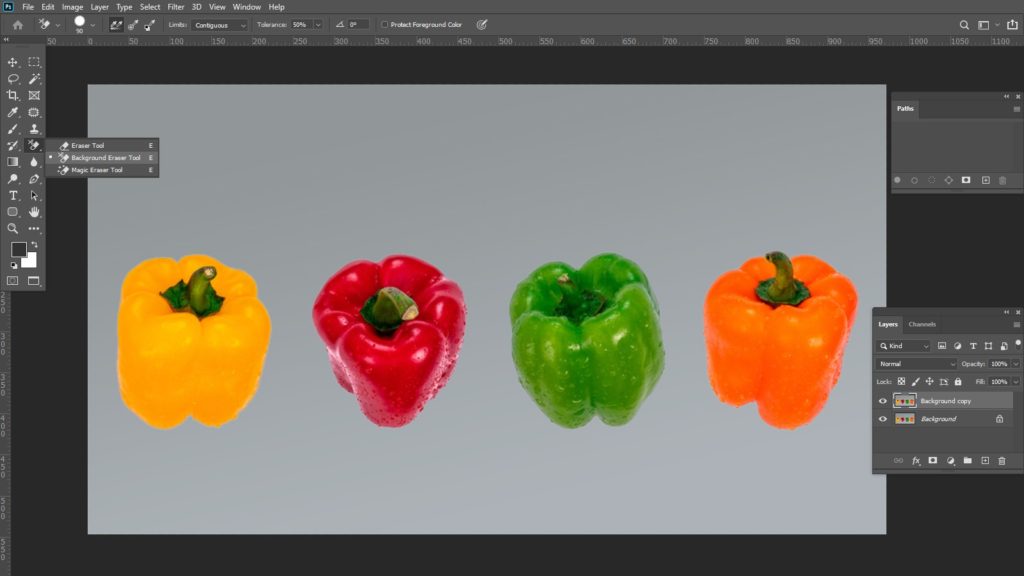
Choose option named as Magic Eraser Tool. Opacity should be 100%.
Step 4
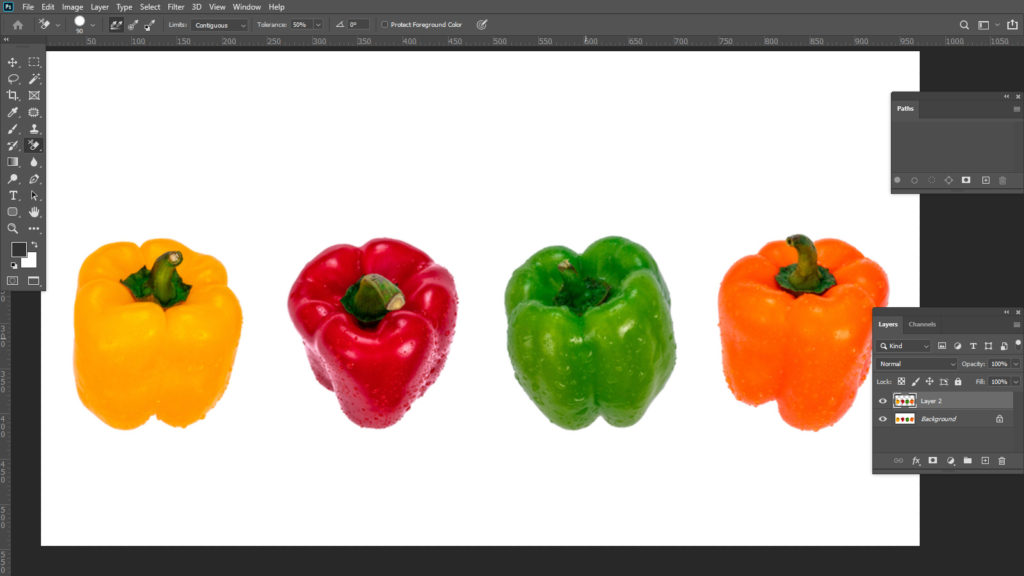
Remove the background by clicking on the white background.
Step 5
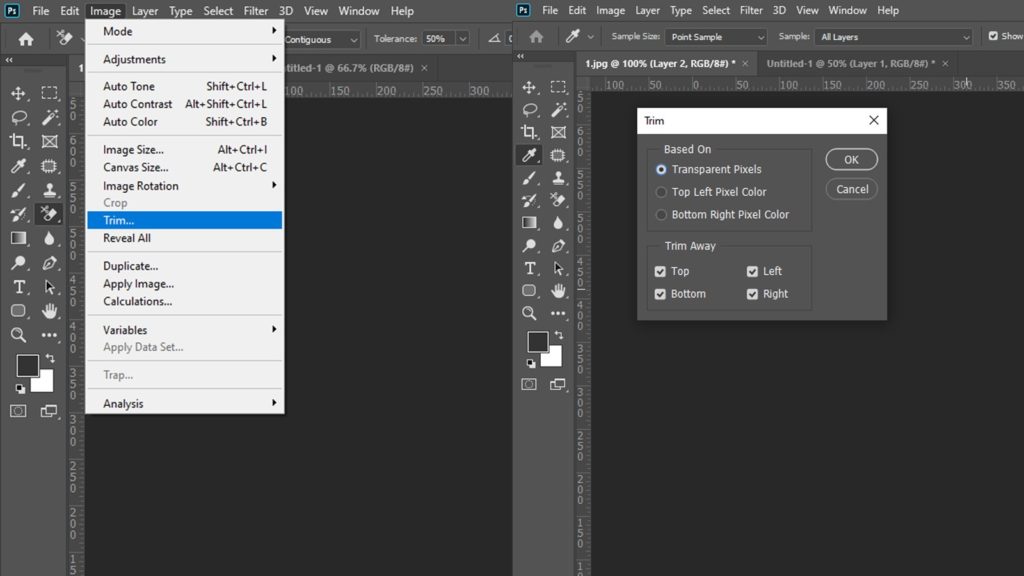
Select the option “Trim“. Press on the trim option bottom of the image tab. It will separate the different transparent portion throughout the cutout. Transport the design as a PNG format by merely pressing for the web below the file tab and selecting it as a PNG. If we select as JPEG format, all the efforts and hard will go in vain as it will save along with a white background, PNG file hold on to the transparency.
Steps 1
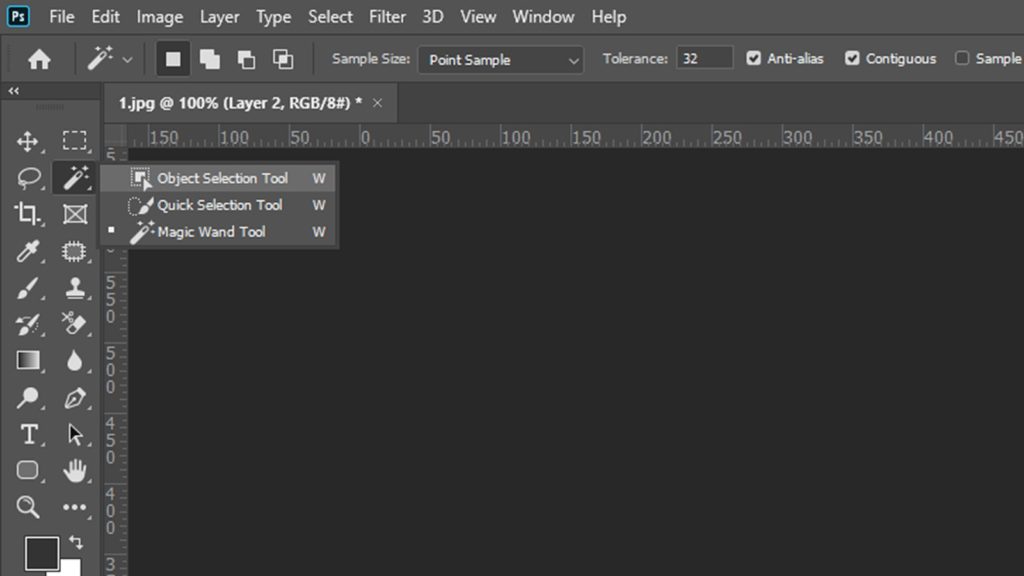
First, Open a picture with white background in photoshop. The next thing is choosing the option named “object selection tool” from the option or button bar, which is located on the left side.
Step 2
After choosing the option “object selection tool”, it is essential to choose the model. For choosing the mode, go to the options bar or menu bar, located on the upper side of the display. There will be two options: rectangular tool option and the other one is the lasso tool option. If the image’s object is painless and easy to select, then select the option named as a rectangular mood. If the photo contains numerous subject the apply the lasso tool.
Step 3
After selecting the tool, the next thing is to pull out a selection throughout the object. Check it. If the selection is not flawless, then one can also change the selection. Just click on the Shift key to do the selection area perfect. Besides this, it is necessary to hold on the Option key.
Step 4
On top of that, it is essential to choose the option named a mask. It is in the Right side below corner on the computer display. And finally, the object selection is made. And we can alter the white background very swiftly.
Step 1
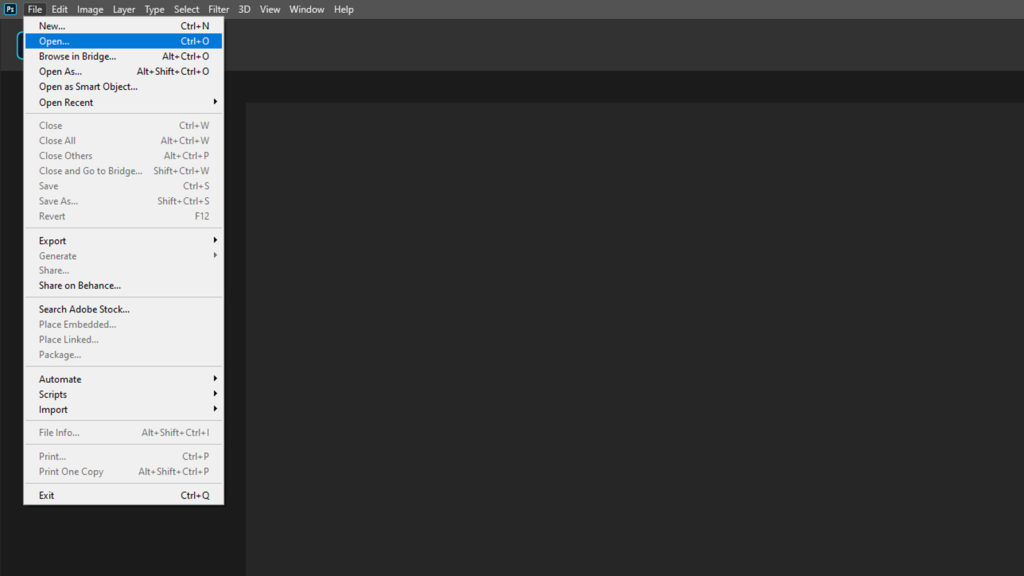
Open the desired photo. Choose the photo from the folders. Open the picture with Photo-shop. Balance the photo to the middle of the screen for quickly modifying .
Step 2
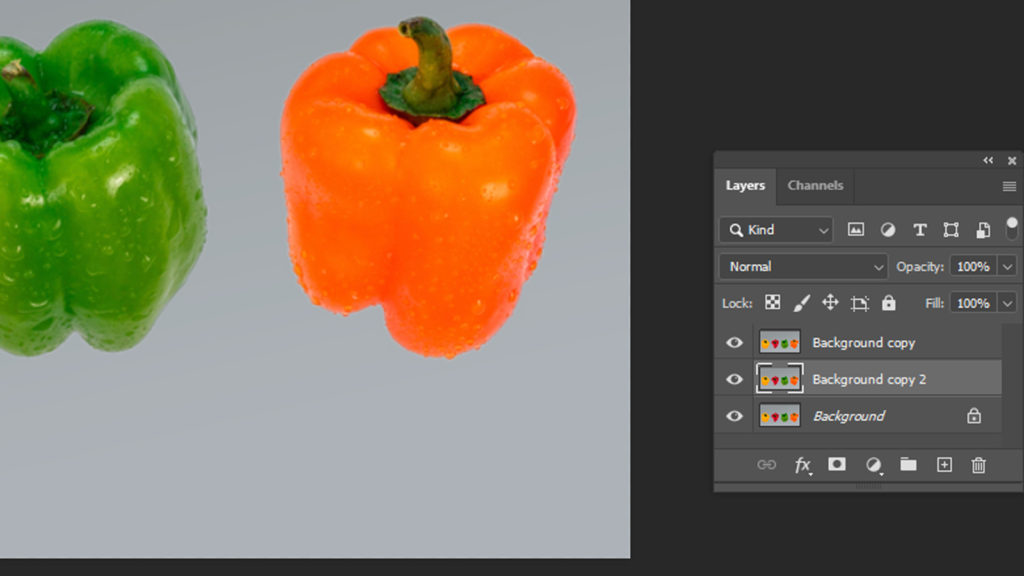
Go to the layer. In the layers board, press to the lock to enable it and turn it into a changeable layer. After that Rewrite it from layer 0 to anything illustrative. On the other hand, please create a new layer by copying the first and then concealing it by pressing on the eye. This is important, if any mistake or accident occurs, then we can use it then.
Step 3
After that, choose the background eraser tool. There will be a remover tab of the toolbar. The Background Eraser pointer resembles a circle with cross-links in the middle; these cross-links stands for managing the tool. It tests and selects the colour directly underneath it, in the case of the white portion.
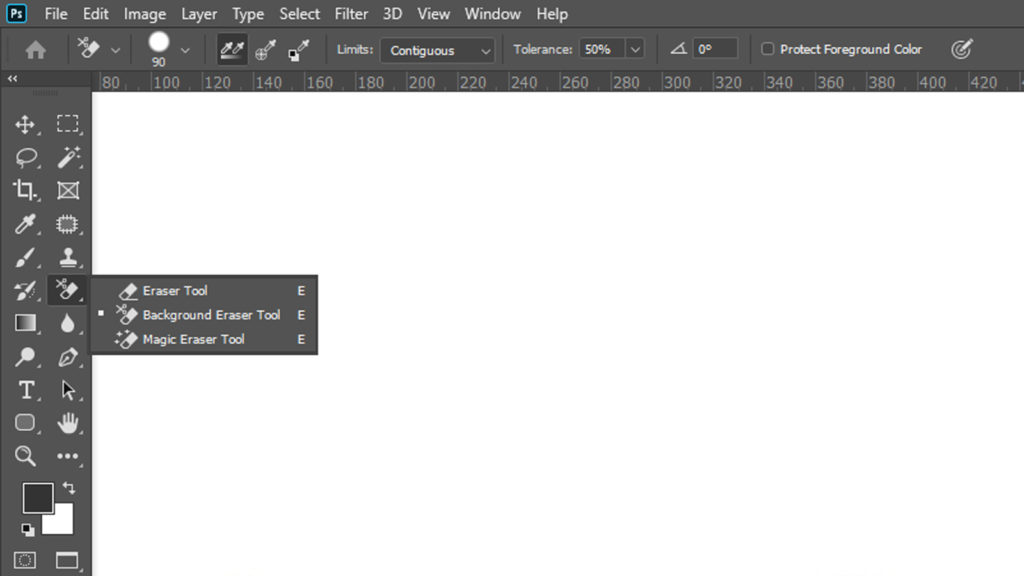
To eradicate the white background, Select the following measurements for the background eraser tool:
Go to the option named as Limit <<<select Find Edges.
Select Protect Foreground Color.
Step 4
Remove the White Background from the image. Set the pointer around the white area and click on the mouse. Clicking on the mouse, pull out the pointer throughout the white area. The eraser will affect the colour depending on the tolerance level. The eraser will not work on other colours which do not contain white colour. If the tolerance level is higher, the colours would be influenced a bit. Test various tolerance levels for individual images based on the colour of the main picture. If a small number of white pixels are left in the image or the screen, remove them with the essential eraser delicately.
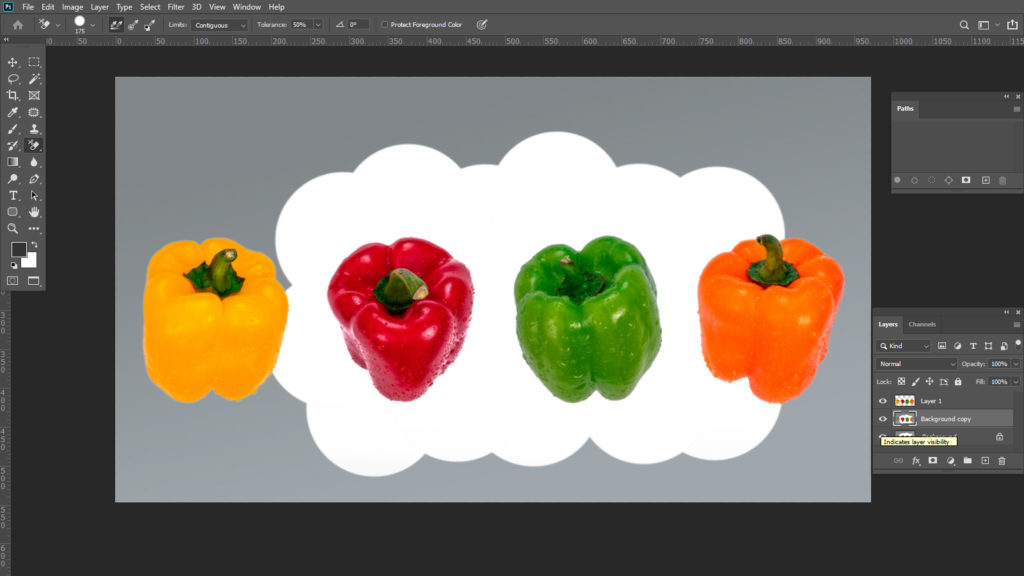
Step 5
Remove the background by clicking on the white background.
Step 6
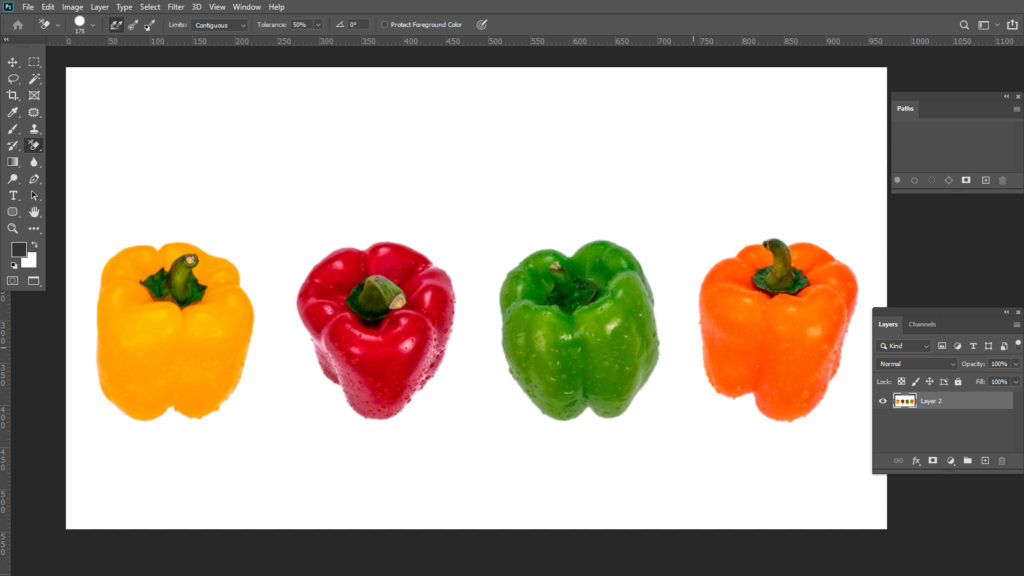
Select the option “Trim”. Press on the trim option bottom of the image tab. It will separate the different transparent portion throughout the cutout. Transport the design as a PNG format by merely pressing for the web below the file tab and selecting it as a PNG. If we select as JPEG format, all the efforts and hard will go in vain as it will save along with a white background, PNG file hold on to the transparency.
Automated Online Tools :
To detach the white background from a photo, people can try many kinds of automated online tools. By applying this type of online automated software, we can detach the white background from our desired photo. We can note as various subjects background by applying an online tool. Select the photo to load it and try to create a layout and detach the background. This tool includes a red brush for choosing the background, and there is green brush to choose the main object. Pull out the red brush in the background. And pull the green brush in the forefront of a picture. One can see the prime subject will be elected. But the selection may not be so good if we use online editing software.
How to use the quick selection tool to detach a white background:
Step 1: Open the photo-shop.
Step 2: Go to the file; a pull-down menu will pop out. Click to open and select an image from a folder.
Step 3: Go to the File option above the screen, create a new file, and click on the option named “New”. Here is an important thing to do. Select the background content option as “Transparent” and then press OK.
Step 4: Go to the actual image. Choose the tool as a Quick Selection Tool. Pull out the pointer on the subject. The complete subject layout will get selected.
Step 5:
From the toolbar, go to the option named as “window”. Choose the option named as “arrange option” and click on the option named 2- up vertical. Then two files will open on the display screen. Go to the menu bar and press on the Move tool option. Press on the subject which selected earlier. Pull and draw the subject on the generated file. This is how anyone can remove the white background from an image quickly.