When we email or share an online image, for a number of reasons, we almost always need to decrease the image size. First, we must make sure the image’s dimensions (width and height, in pixels) are small enough to fit the viewer’s display completely, without scrolling or zooming out. Secondly, the image file size needs to be small enough in megabytes that we can easily send or upload the photo. Luckily, as you will see with this tutorial, the second issue (file size) usually takes care of the first issue (pixel dimensions of the image) simultaneously.
Resize the image
Resize means that the pixel count or its file size is not changed. Re-dimension only changes the image’s printing size. The print size is controlled by changing the pixel numbers but not the resolution of photographs. In the first tutorial in this series you can learn more about the image size and resolution and how to print a new image in the third lesson.
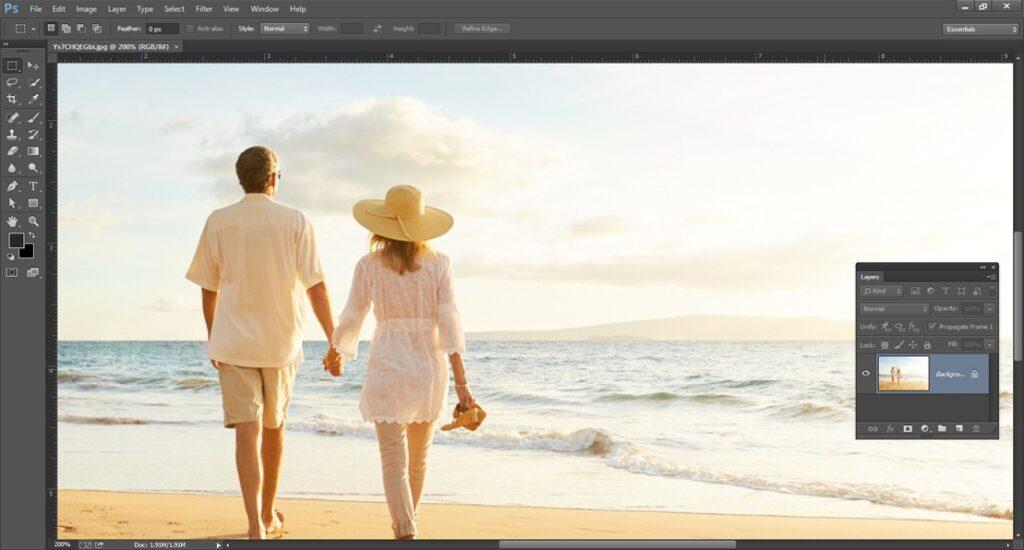
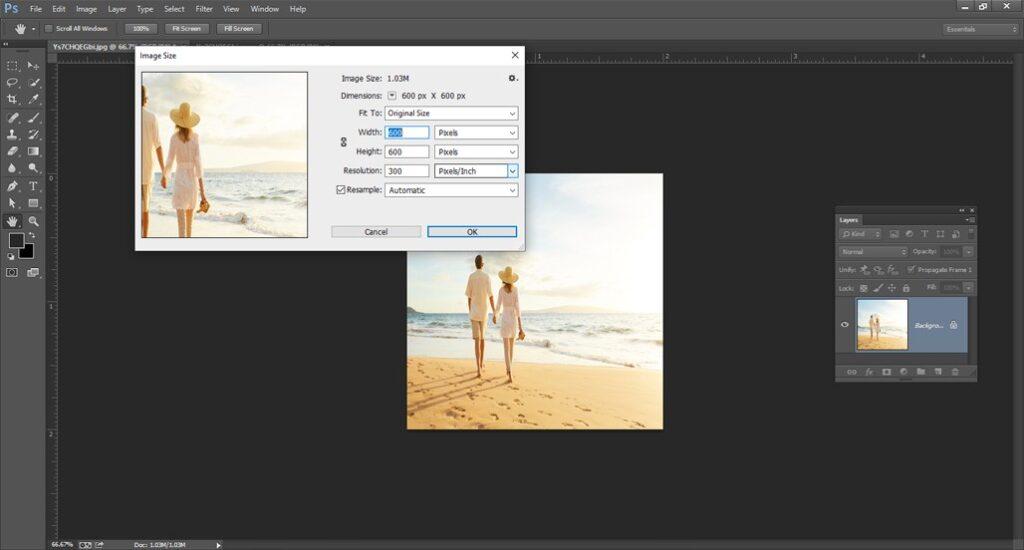
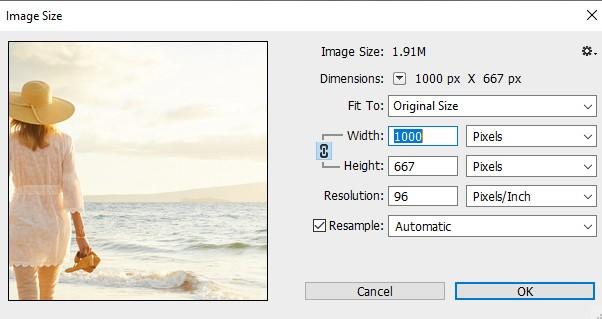
Image Size dialog box
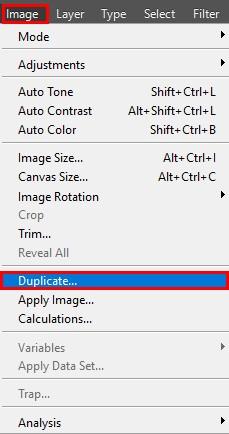
Go back to the Image menu to resize the image and select Image size.

Larger image preview
You can make the dialog box bigger to give you a larger preview window. Tilt the dialog box to the top left and drag the bottom right handle to the bottom right of the screen. Click and drag inside the preview window once you’ve re-dimensioned the dialog box to center it on your image.
Before resizing duplicating the image
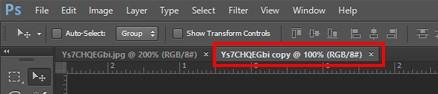
Since we usually change the image’s dimension to e-mail or the web, it’s a good idea to copy an image before re-dimensioning it first. It’s a good idea. Go up to the image menu in the Menu Bar to replicate the image and select Duplicate.
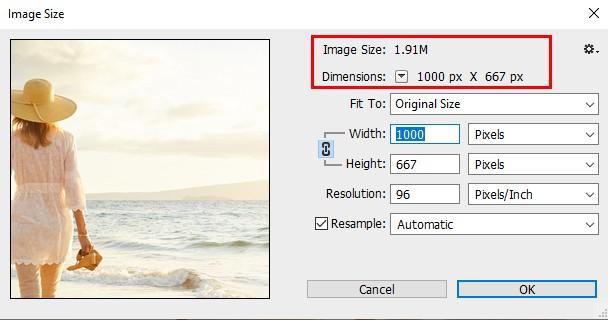
Viewing current image
At the top of the right hand column you will find the current image size, in pixels as well as in megabytes. In addition to the words Image Size, the number shows current size in megabytes (M) and the current size in pixels next to the word dimensions.
My picture is currently stored at 63.3 megabytes, and is 5,760 pixels wide and 3,840 pixels high. These two sizes are too large for the image to email or share online, yet in one moment we learn how to change them:
Resize images
Select Image > Size Image. To modify the preview image, do one of the following:
• Drag and Resize the Image Size dialog box to change the size of the preview window.
• Drag into the preview to view another area of the image.
• To change magnifying views, click on the preview image to increase the magnification by clicking (Windows) or clicking command (Mac OS). To reduce magnification by clicking,(Windows) or option clicking (Mac OS). The magnification percentage is briefly shown next to the bottom of the preview image after a click.
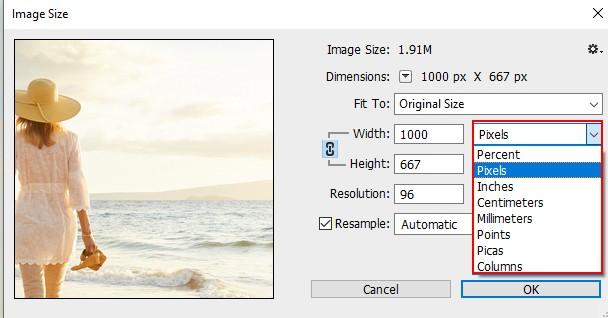
Click the Triangle next to Dimensions and choose from the menu to change the unit measuring for the pixel dimension. Make sure the Control Proportions option is activated to maintain the original width/height measurement ratio. To unlink them, click on the Constrict Proportions icon to scale the width and height independent of each other.
• Make sure that the resample is selected and, if necessary, use an interpolator method from the Resample menu in order to adjust the total number of pixels.
• Deselect Resample to modify image sizes or resolution without changing the overall pixel number in the image.
• To resize the image for a particular print output, select Auto Resolution. Specify the screen value and select a quality in the Auto Resolution dialog box. By selecting the Screen Text Field in the menu on the right, you can change the unit of measurement.
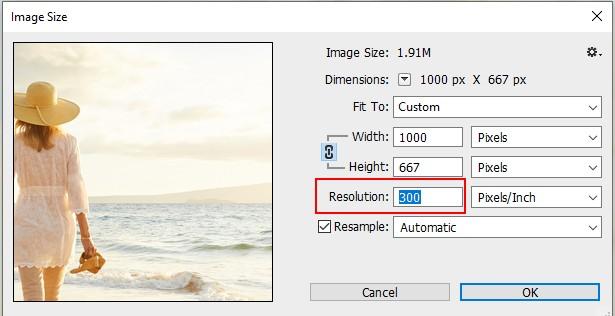
Width and height input values. Choose the Width and High text boxes from the menus to enter values in a different unit of measurement. At the top of the image size dialog box, the new image file size is shown in parenthesis with the old file size. Enter a new value to modify the resolution. (Facultative) A different measurement unit can also be selected. Select Scale Styles from your gear icon to scales effects on the resize picture if your image has style layers applied to it. Only if you have selected the Constrict Proportions option is this available. Click OK when you complete the options.