Photoshop pixel art is a special form of image that is used for aesthetics and properties of 8 bits and 16 bits’ graphics for creating the character. Several artists and developers use the process of “spriting “that will represent the form of your creation for pixels. Pixel art will help us to focus and isolate the significant part of the image without applying the finer control that is using in another form of an image. Today we will teach you “How to resize pixel art in Photoshop?”
Some district characteristics make the images alluring and the outcome is awesome. That is why pixel art is widely used among designers around the world. Pixel art games sometimes create nostalgia among the users. The simplicity, minimalism, and lightness of the pixel are reminding us of childhood. We can say that pixel art is popular for its simplicity. It is known as the digital form of art which is using for various games, visual effect, and so many things. So easily you can get how much essential it is in our day-to-day life.
A new designer might ask you this question that is it hard or easy to learn for beginners? The answer is positive. Yes, it is easy to learn but you need some dedication to learn all those techniques. To begin this journey, you might need some basic concepts of art. In the beginning, you might face some challenges but eventually, things will get a lot easier for you.
We can simply start this procedure by opening this image in a Photoshop window. To do this you have to go to the Image menu and then choose the image size. In Photoshop CC, you will have a window right there and you can choose the number from there as you wish.
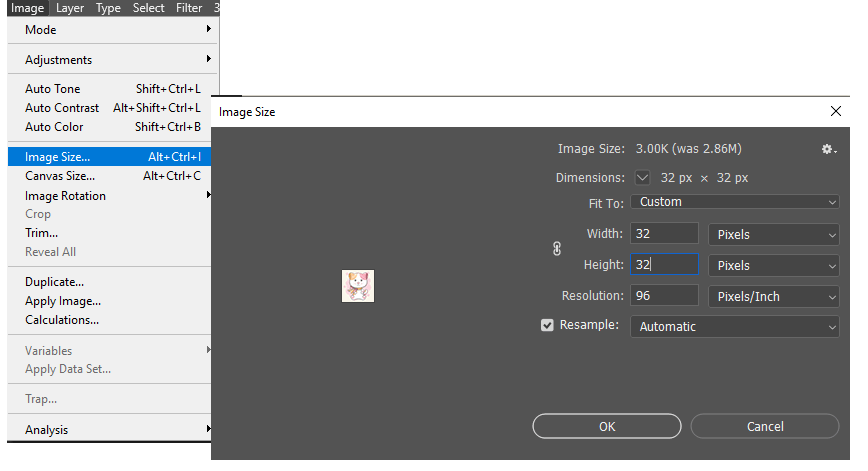
Viewing the current image size
The current image size is found at the top of the window. Check out the width and height from there and match whether it is in a perfect shape or not?
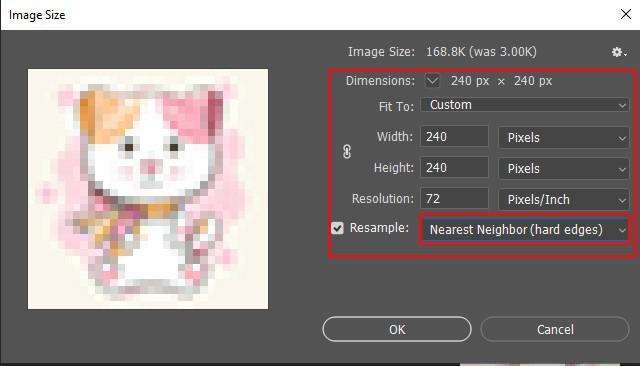
You can simply change the width and height by clicking the resample option. Otherwise, it will set like the proportionate way. To add or remove the pixel the resample option must be on. If you do not like it proportionately, then you can take them off.
The best way to enlarge them is by using the percentage option. To stay away from twists and keep each square in the work of art entirely square, you’ll need to adhere to rates that are products of 100 (so 200%, 300%, 400%, etc.). I’ll broaden the picture by setting both the Width and Height to 400 Percent.
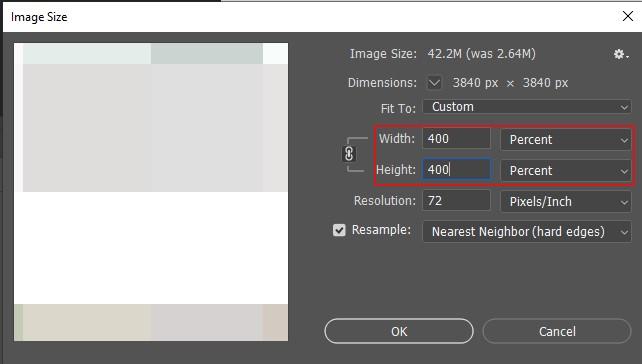
Notice that, by making the width and stature multiple times bigger, the work of art is currently too enormous to fit inside the little see a window. To make the see window greater, I’ll make the Image Size exchange box itself greater by hauling the base right corner outward. At that point, I’ll snap and drag inside the see window to focus the work of art inside it.
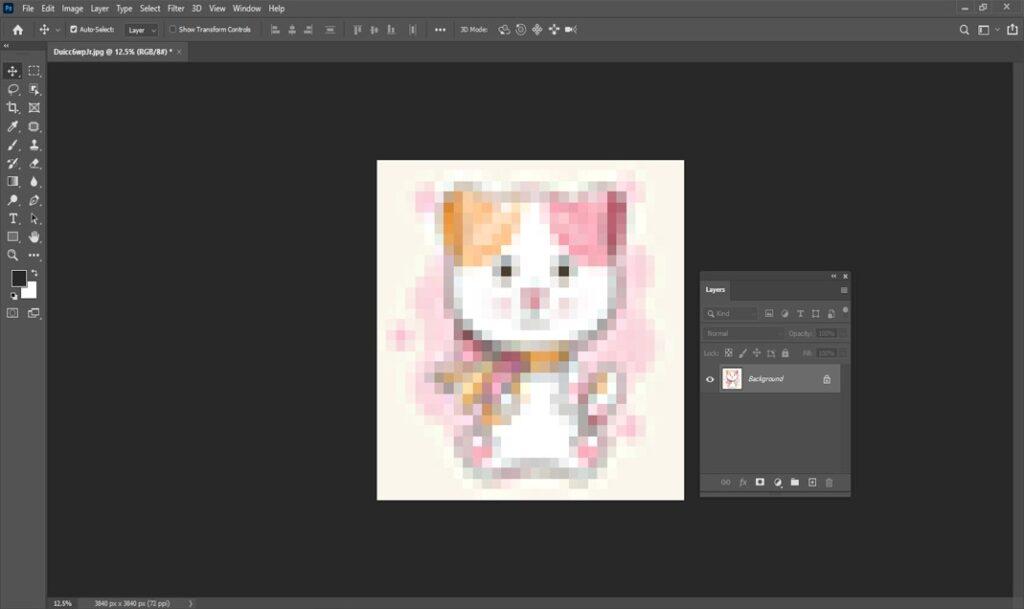
To do that, click on the Interpolation option near to you to open a rundown of the techniques we can look over. If you’re utilizing Photoshop CC, the introduction strategy Photoshop decides for upsampling pictures is Preserve Details. Furthermore, in Photoshop CS6, it picks Bicubic Smoother. Yet, neither of them function admirably with pixel art. When you are ready with upsampling work you need to put the value correctly and click okay. In this way you can simply complete the resizing procedure for Pixel art. I hope you got the details from here.
Thanks a lot for being with us. Let us know your opinion regarding this tutorial by email. If you like to know more about the latest version of Photoshop do not hesitate to comment below.


