What is wacom used for ?
Wacom tablet is a sort of gadget by which many creative workers like photographers , designers , image editors can do lot of amazing works . It is really helpful for them . In traditional computers , we need to use keyboard and mouse and many of us do not like to use mouse and keyboard . But , wacom provides us pen that includes everything in it . With the help of wacom pen tablet , we can retouch and magnify our photos . Wacom is very convenient to use .
Wacom is a splendid image modifying tool for implementing creative effects on photos. With the help of wacom pen tablet , we can get the clean edges on furry or hairy things . It is very convenient to select hairy things on wacom . But We can never achieve the 100% perfection by using mouse .

Before configuring the wacom pen tablet , install driver for this tablet . Once it is done to install everything on wacom tablet , start configuring the pen tablet .
Set up the pen: Open the wacom tablet properties. You need to ensure that the tablet is connected with computer. Choose the pen . Ensure the photo-shop is included there. If the photo-shop is not included there, go to “+” button , add photo-shop from there .
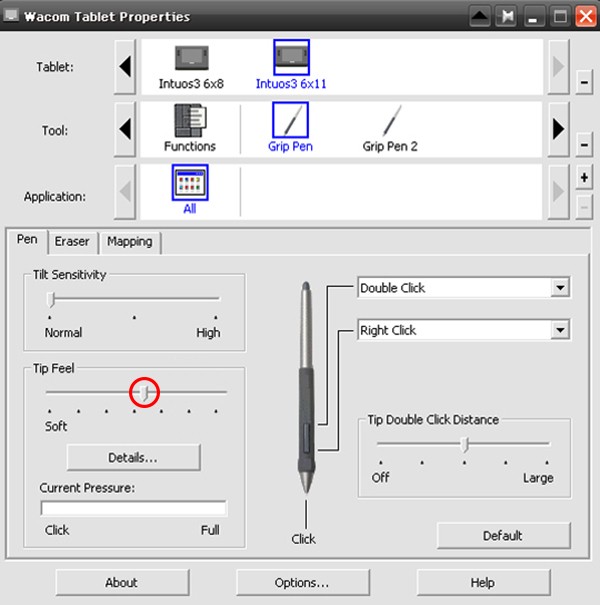
Create shortcuts : To apply the modifier on pen , go to bottom button of the pen and then select keyboard from drop-down menu< choose the option named as “modifier”< for windows choose “Left alt and click right”. By doing this , you can use the brush tool only flying or hanging over the tablet . Pull out to the right to increase the brush size and pull out left to make the brush size smaller . To make a soft effect , you just need to pull it out and straight up , and to make the brush effect stronger. All you need to do is to press on the pen switch to use the brush effect.
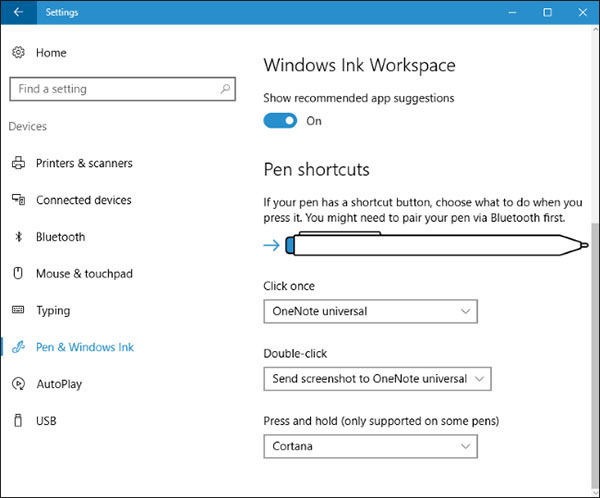
For mac, go and select keyboard from drop-down menu< choose the option named as “modifier”< choose “Control”, “Option”and Click “Middle” . Left and right options are also available but it does not perform well so it will be better if you choose the option named as “middle”. You need to click and pull out on the tablet for mac platform.
You can also select and modify the upper button of the pen .Go to the option “Clicks”< Right click. Well , this is really helpful for converting the layer into smart object only clicking right. Also you can right click and select the brush effects and can alter the background color .
Dodge and burn: shortcuts helps us in dodging and burning. It performs really well for generating the perfect photos.
Balance the double-click : Sometimes , it is not satisfied to click double on the very same area like we do with touch pad. To avoid such issues, we need to choose a specific region for managing the double click action . When we hit on that specific region or give any gesture on that portion, double-click action will be occurred. We can do this with our choice.
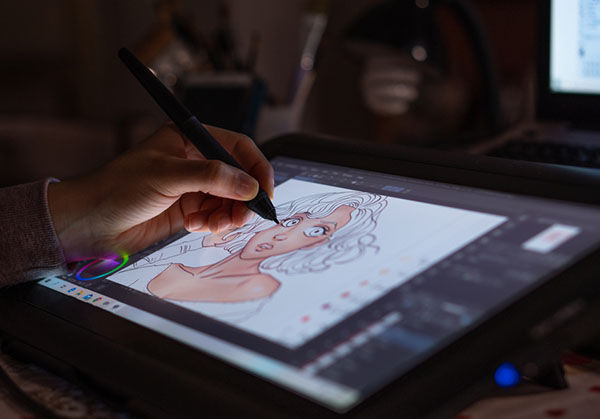
Wacom pen-point: Wacom pen-point is really very long lasting and can be used for creating outstanding design . You do not require to gather extra pen-point .
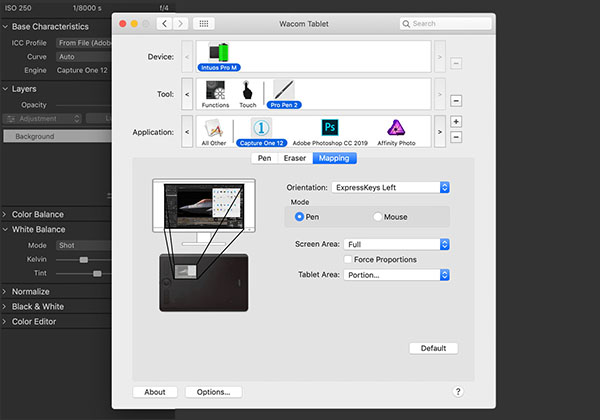
Mapping: Select the device and also your pen . Choose the option “mapping”. Mapping is defined as how much we want to show as “screen ” of the wacom tablet. The wacom pen tablet’s top covers the whole portion of the screen. If we want to move the pointer from any side , we need to move the pen from one edge to another . Using pen is really different . You can also choose the “tablet area” to choose how much you want to use . When you hit on the tablet area , an outline will be appeared , you can increase and decrease the way you want . If you click OK, only that part will present your whole screen . It will work only for photo-shop . With mapping techniques, we do not need to move our hands too long . If we set the small portion for tablet , we can complete our whole task using that small portion . We do not have to work so hard as wacom provides so much possibilities to work easier .
Express keys for keyboard shortcuts: Based on the model of wacom , the amount of keys may varies. If you do not have any keys, then you can personalize keys also. Make sure the device is selected and choose the option “Function”. Go to keyboard < keystroke < create shortcuts for step forward based on your photo-shop version and backward . This keys are useful for photo retouching . You can use this shortcut keys for applying healing brush tool on image and can eliminate any scars or unwanted things from image. With the help of these express keys , you can give a perfect effect on dodge and burn. With the help of express keys , you can also use liquify filter to make the image more alluring . You need to convert the layer into smart object. You should make a shortcut for converting into smart object. Go to the option “Edit” ans choose “Keyboard shortcuts”. There will be an option “shortcuts for ” and choose : “panel menus”< convert into smart object < give the task as “ctrl+shif+alt+s”. You can use any other command for this which you like to use for converting into smart object. When you click on the ctrl+shift+alt+s , it will turn into smart object. Go to < filter< choose “liquify”< it is done.
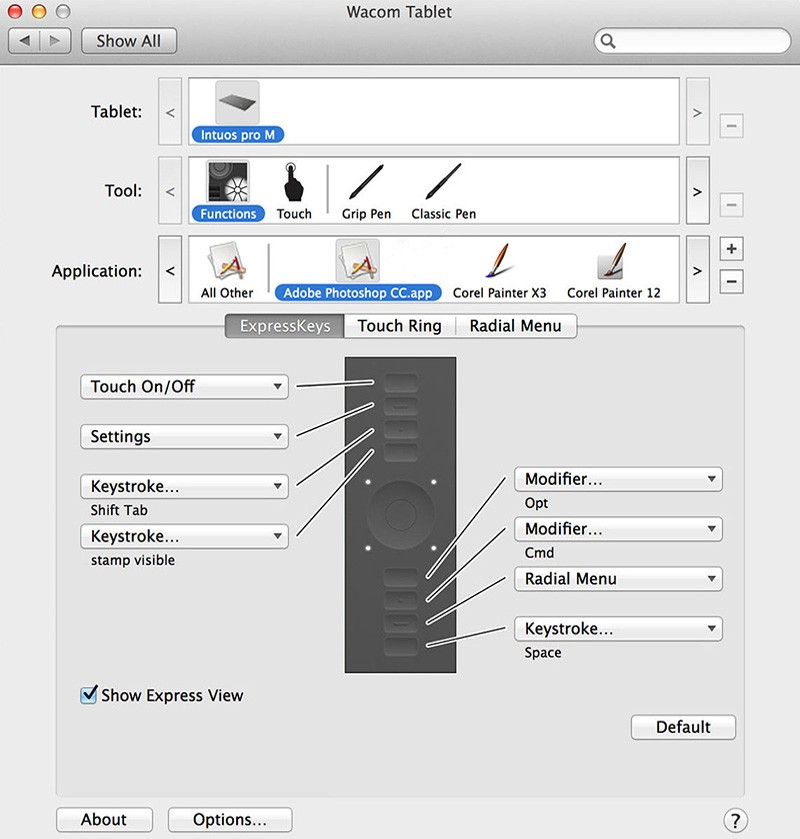
Utilization of eraser: We use eraser only for correcting something. We can use this from “Eraser tool”. Besides these, you can turn over the wacom pen to the reverse position of pen point and use the pen for removing any portion which you do not want to include.
Functionalities: To know the functionalities of the pen tablet, concentrate on the shortcuts. You can use your desired tools with the help of function key of the Wacom tablet.
Configuration of pen button: Wacom pen has buttons that can be configured for using many actions. Sometimes we use undo , redo options in the keyboard in the computer. If we give any instructions to the pen button , it helps to speed up our retouching tasks. Go to the drop-down menu of the pen button < choose “Keystroke”< Give any command that you want to set . Give another instruction for other activities . It will help us for photo-retouching.
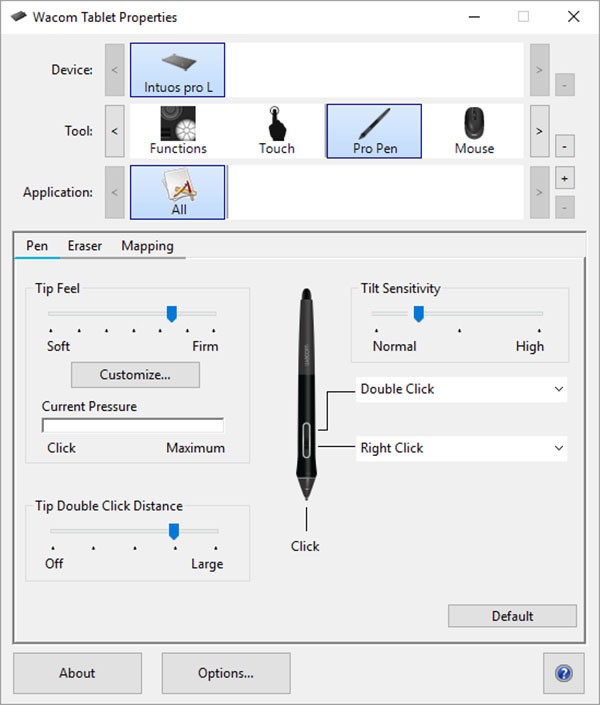
Set the responsiveness of the pen tilt: This is important while applying brush effects on photo-shop. When we use the pen forward and backward , the border looks delicate and smooth. But when we move the pen in an angle , the border changes its structure . This specific settings based on the type of brush we are using for our photo retouching actions. We need to set this pen’s responsiveness feature carefully so that it generates perfect output.
Wacom pen tablet helps the professionals a lot . With the help of it , we can bring out very beautiful pictures within a short period of time . It helps us a lot .