Who wants to display lifeless picture in-front of everyone ?? But we can create cinematic photos by the help of color grading . Color grading is the process which has the capability to put another color in an image . Color grading is so important like lighting in the photos . If you work on lighting effects properly but you forgot to adjust the color in your desired image , then you will be in big trouble . The photo will not bring the actual results the way you wanted to display . So color grading is very much important to bring out lively pictures.
It is the procedure of enhancing the looks of any pictures for showcasing in various situation . We can generate high end pictures by modifying image elements such as : contrast, color , shades. If we do not use color grading procedure in our photos, then our photos may look lifeless. For this reason , the client gets very disappointed. Color grading is really very powerful . It represents the aura of any pictures. We can bring the sunny look , or night looks in any image by the use of color grading technique.
How to use new color grading techniques in photo-shop 2021
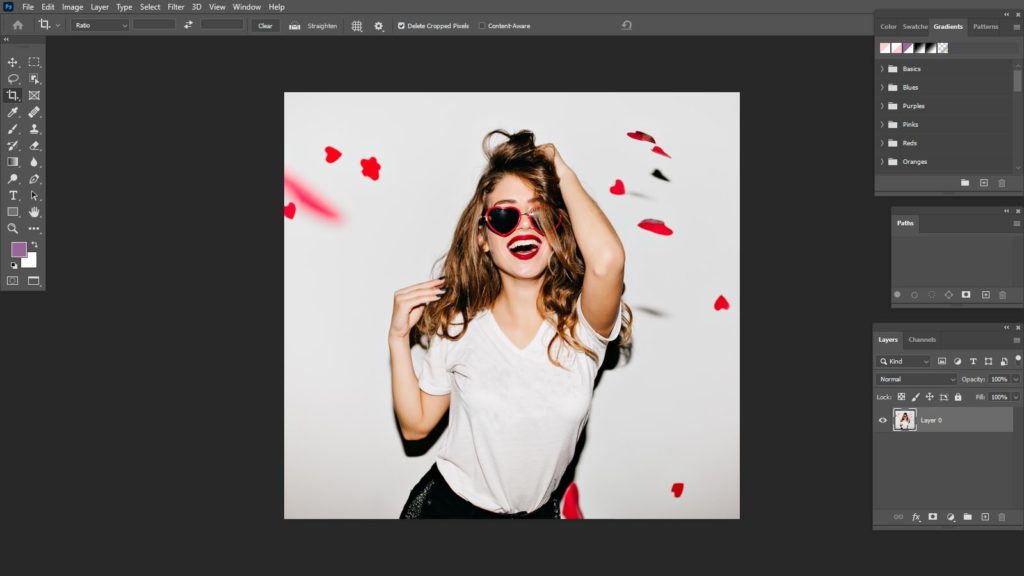
Step 1: Open photo-shop. Load your desired picture. Use raw picture to see the actual effects of using color grading technique. Convert the layer into “Smart Object”.
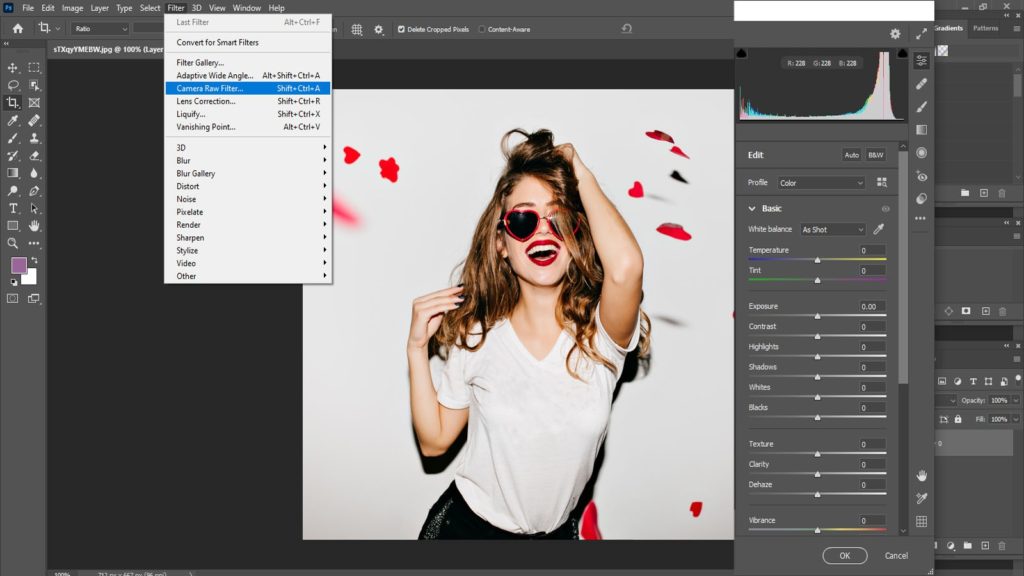
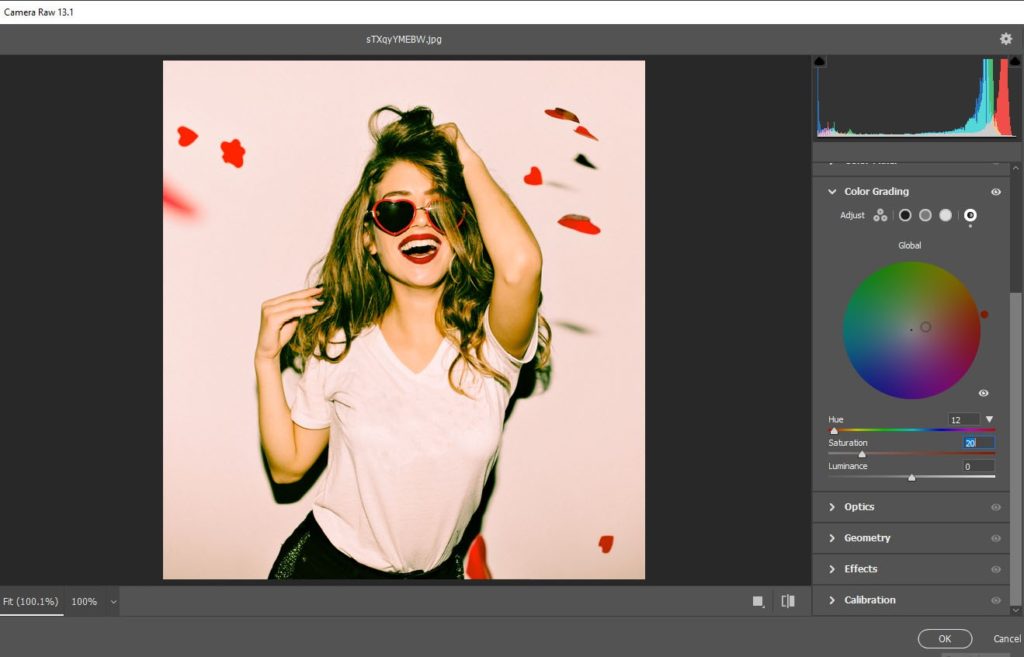
Step 2: After that go to the option named as “Filter”< Choose the option named as “camera Raw Filter”. A window box will be appeared . Adjust the changes according to your picture. Do not alter any other modes except color grading as our main goal is to see the effects of color grading.
Step 3: Scroll down the bar and go to the option “Color Grading”. When you click on the color grading mode, three color grading wheels will be displayed. A drop-down button will be there also . There will be many options available. There will be available four circled style icons. They represents the color wheels in actual. Black color circle presents shadows , light color circle presents the highlight, center icon presents the mid-tone.
In the color wheel, there will be available three color grading wheels named as “Shadows”,

“Mid-tones”

and “Highlights”.
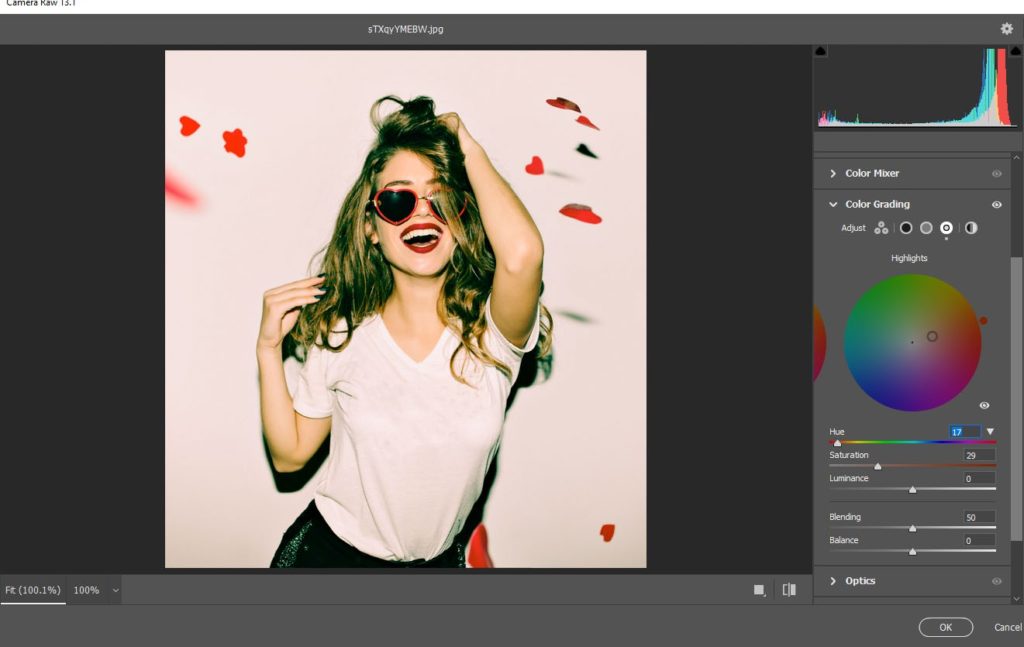
Lets try with the option “Shadow”. There will be a “Triangle icon” available. Press on that triangle icon and you will find many options in there . Adjust the hue and saturation option with the sliding bar. Adjust the balance and blending optionsaccording to your demand. “Balance option”works to balance the ration between those three color wheels.
Do again the same procedures with mid-tone color wheel and highlights color wheel also and adjust all the options. There is another option named as “Luminance”. If we use the sliding bar left then the color goes darker and if we use the sliding bar right then the color goes more lighter . Also you can directly go to the color wheel and make the changes. Choose any of the color you want to put and it will be done . But it will be tough to get the perfect effects on an image. If we press on the alt key then hue and saturation option will be changed slowly, but if we press down the shift key then only saturation option will be changed. Press on the ctrl key to change only “hue”option.
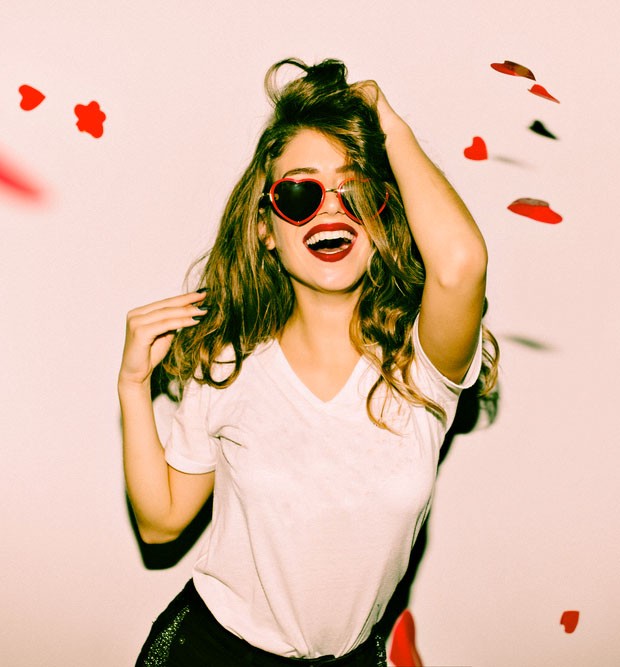
Step 4: If you use any model’s image for color grading , always try to use the color which match with the skin color . Otherwise the picture may look unnatural . Go the another option named as “Global”. Adjust all the colors altogether . Check the final result and match it with the previous picture . You can also use the preset button . Go to preset < press the option “New”< give a name . You can now include any kind of effects directly in your image. It is done . Everyone has different taste. So you need to do the settings according to your will.
Step 5: Remember one thing , if you do not use the saturation option , then you can not use the hue option as well. So , you need to adjust the saturation option at first . After that , you need to use the hue option.
Some other ways to use color grading :
Color grading using selective color: Using selective color method , we can control the color shades . We can add or detach any color shades . In the selective color panel , there are so many colors are available. You can use any of them as per your wish . But it takes a lot of time . So it is better to use hue and saturation mode mode for color grading .
Color grading using curves : Using curves for color grading might seem a little bit tough . But when you use this features , you will find it easy . It is not that much hard . When you click on the curves , the right part represents the highlights of the image and the left part represents the dark portion of the image . Select your desired color which you want put in your picture. If you want to include shadows or darkness in the image, then arrange the line into left . If you want to add highlights in your image , then arrange the line into right . Middle part in the curves represents as “Mid-tone”. It is really faster than other methods.
Color grading using painting : One of the most amazing procedure is painting. Use “soft light” mode for this . Choose the color from “color picker”. Create two layers for adjusting the saturation and gradient effects separately . Apply the option named as “Blend if ” for purifying . You can see the outputs and it looks really natural .
Color grading is really very helpful for us . We can use this for e-commerce business, fashion industry , magazine cover page photos and many other sectors.


