Today our topic for today is Mastering of Photoshop Gradient Tool. Well as I say, I write in simple words for simple people who are trying to understand things in simple words. Of course, there are lots of blogs and articles in the web to read and learn. But if you are interested in learning and understanding simple words you are in right place.
The tool that allows you to create color blending in Photoshop is called the Gradient tool. Basically, it allows the users to blend multiple colors, unlike the bucket tool. One can choose from preset gradient fills or can create their own. This tool allows to transit colors from one to the other. If you talk about the bucket tools, it pours single color to it entire selected section. But Gradient tool opens up the color creativity and color blending to the designers.
Though it is easy to understand what does it offer, it’s a bit complicated process while working with it in Photoshop.
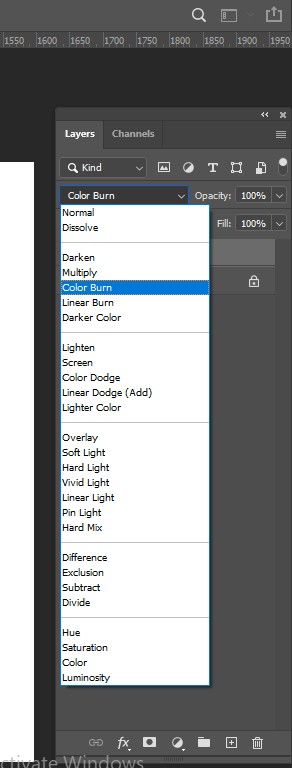
Major types of gradient tools are Linear, Radial, Angle, Reflected, and Diamond. One can vary the colors within the gradient, the opacity and is able to use about 28 different modes like Color Burn, Multiply, Screen, Diffusion, and more.
Also one may combine it with colors and layer effects, for masking and textures, the opportunities are actually endless. But one drawback is that it cannot be used with bitmaps or indexed-color images.
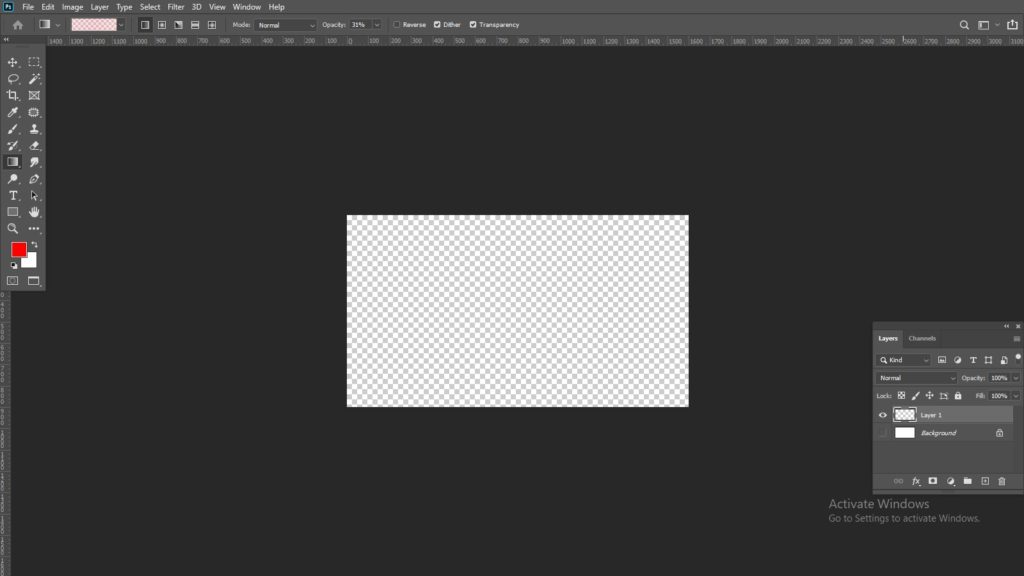
First of all, one needs to know how to create a gradient tool. To do so you have to make a new layer (shift+Ctrl+N) with a white color layer.
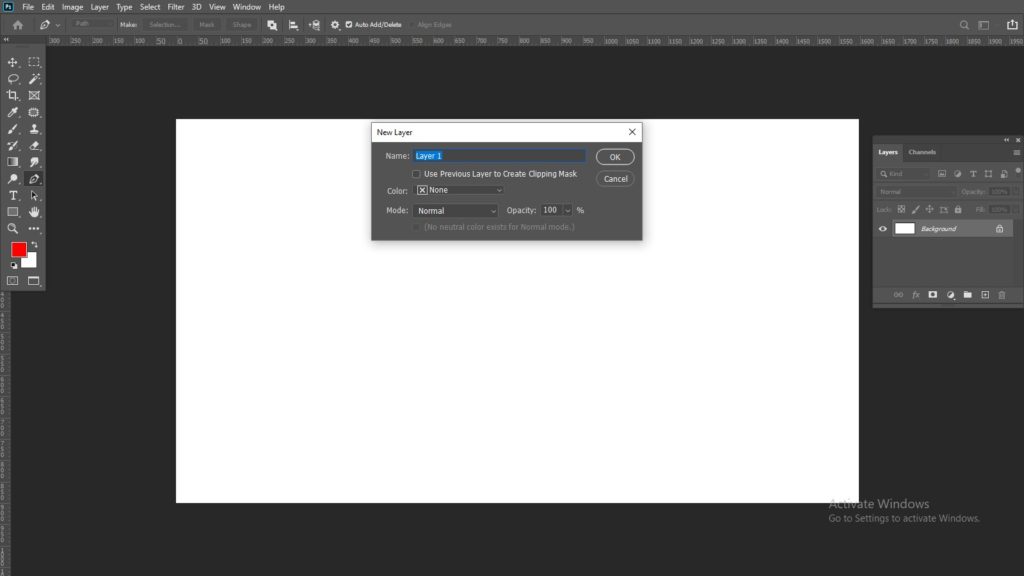
Then select the specific part to fill it.If you don’t do this step, the gradient tool will fill up the entire layer. Now to activate, press G on your keyboard.

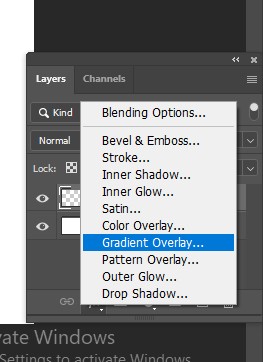
Gradients are also used as fill layers in Photoshop. For this click on the Layers panel, click on the Adjustment Layer button, and select Gradient. This will add a gradient filled layer and with an empty layer mask.
One can use the options bar as for the following:
Specify a blending mode and opacity for the paint in Blending mood
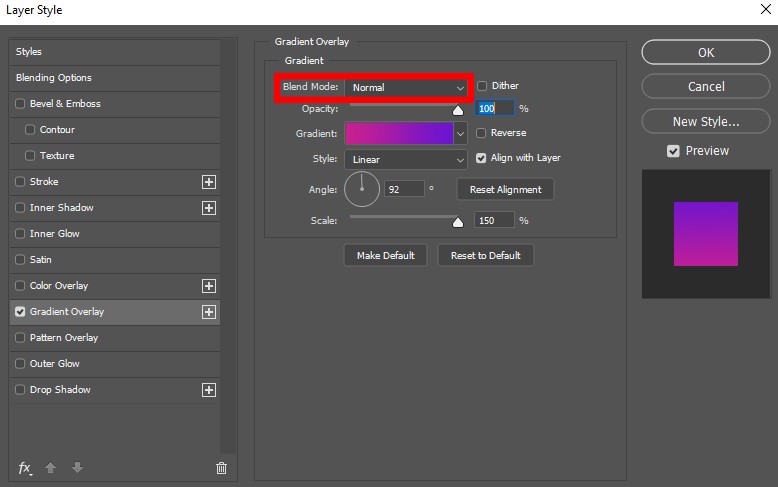
Select Revers to reverse the order of colors in the gradient fill,
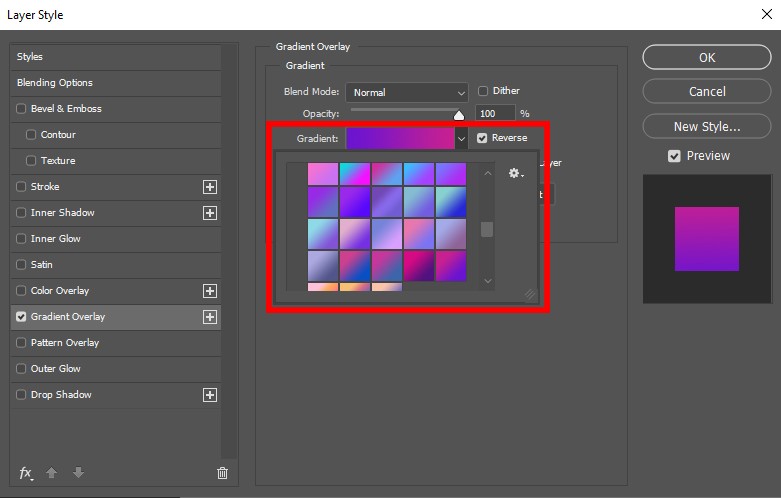
Select Dither to create a smoother blend with less banding,
Select Transparency to use a transparency mask for the gradient fill.
How to start with? Click on the triangle next to the wide gradient from option toolbar to open the Gradient Samples area. Select one area.
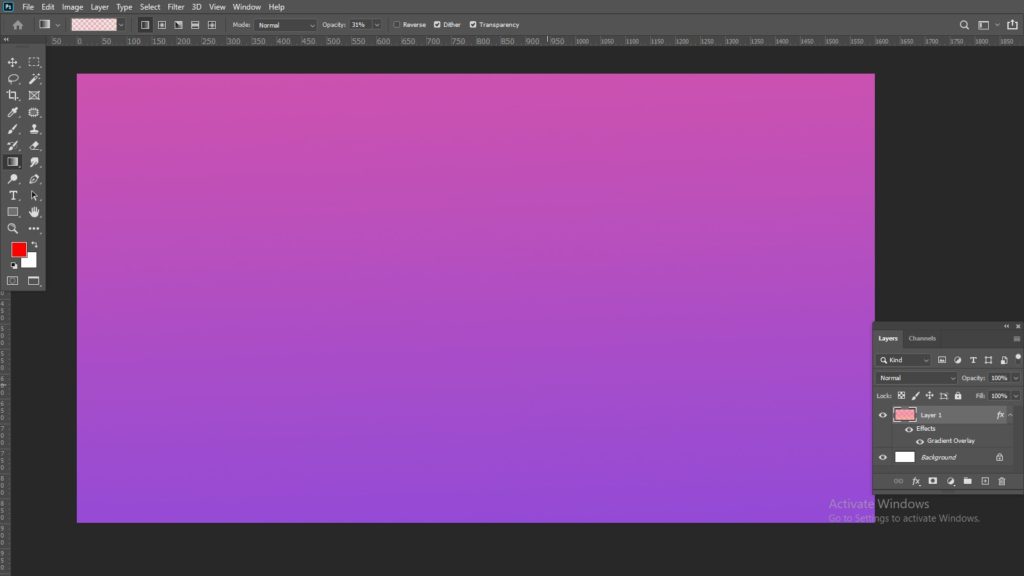
Now you can use the gradient to fill the layer or you can edit the gradient using Gradient Editor. In the toolbar the options are: Linear, Radial, Angle, Reflected and Diamond.
Now we need to fill the layer. To do so your mouse cursor on it and where you let go of it place will determine the appearance of the gradient
Another one is Angle Gradient which sweeps around the starting point by drawing from the middle to the right side.
The Reflected Gradient mirrors the gradient drawn. Starting from middle point and drawn to the right edge. All these will results in different effects as per from where the gradient starts and where it ends. Also different blending modes, transparency, and other layers are also to be considered for the final effect.
Taking of the Gradient Editor, the best part is it can be customized. So one does not stuck with limited options, rather can change and modify according to their need.
To save your changes, click on Name section, put new name and click on the ‘New’ button. This will save your new preset to the existing gradients list.
Hope this easy write up with simple words will help you to master the art of using Gradient tool at your early stage with Photoshop.


