Transferring an image from JPEG to raw is like getting more details while a raw file without digital post-processing is like a film strip without a closed dark room. We can start this procedure by taking RAW format.
Editing a raw file in Adobe camera raw s not so easy and it takes a lot of effort to do that. The drop-down menu and different tools are hard to navigate. A plethora of users have asked me to write on this topic and that is why this tutorial is for you. Let’s go for a detailed discussion on “How to edit raw images using Adobe camera raw?”
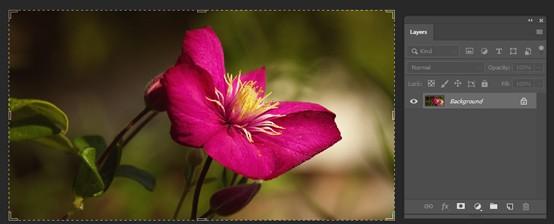
Adobe Camera Raw is considered the default program for RAW documents. You ought to have this program on your PC if you have Photoshop or Lightroom. (On the off chance that your documents won’t open, check the similarity, you may have to refresh Adobe Camera RAW, or if an update is inaccessible, convert it’s anything but DNG record with Adobe DNG Converter. When the record is open, you’ll get the most adaptability by utilizing a 16-cycle channel. Snap on the “8 cycles” that you see at the lower part of the screen. This is typically either as a drop-down menu or a connection with a popup window. Then, at that point select the 16-bit channel. The specific advances and areas change dependent on what form of the product you have, yet they are something very similar.
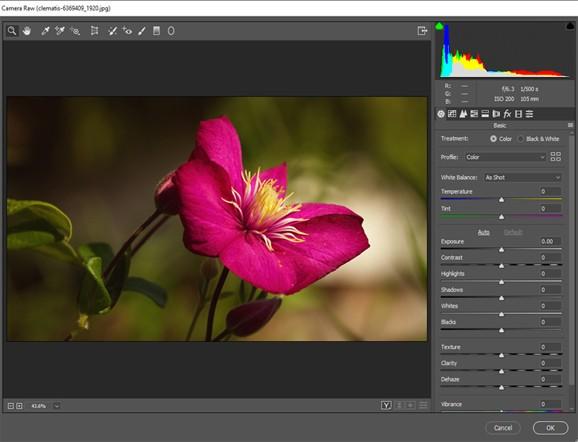
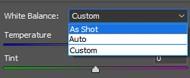
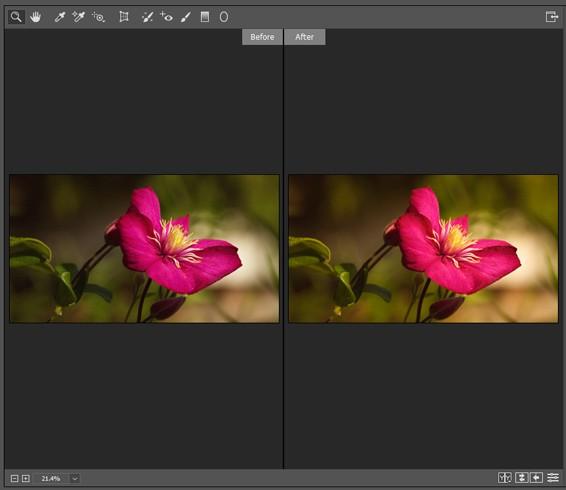
If we check out the right-hand side, there is a sidebar with various sliders. From there, the top two are responsible for adjusting the white balance of the image. With the help of RAW files, it will be easy for us to fix the white balance errors. From the drop-down menu, we can select a new preset, otherwise by the help of temperatures and tint sliders we can make those huge adjustments. The picture will frequently change when we will adjust the sliders. This time we can easily monitor what is working inside the photo. By this procedure, we can warm-up or cool down the photo. This will help you to set up the accurate white balance by increasing up or cool down the photo.
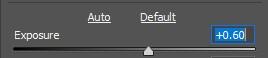
Exposure adjustments are almost the same as adjusting the white balance of the image. In this case, we need to use the histogram to do the change properly. The exposure slider will take care of the overall exposure procedure. From the recovery slider, we can get back to the previous time and check them again. The fill light sliders will help us to get rid of the shadows. You can easily change the values that are showing up from the pop-up window. After completing changes, you can simply check it out or if you wish get back to the previous position.
Now it’s high time to adjust the colors for them. From the vibrance and saturation sliders, we can simply bring them up. By clicking them we can bring the colors of the photo. The vibrance tool will bring up the less dominant colors while the saturation will push them up. This will work vice versa. So, easily you can understand the tricks and the procedures of working with them. If you do not like the change get back to the previous position by redoing them.

When we are thinking of a high-quality image the first hindrance that we will face is noise. It will reduce the quality of the image and eventually the client is unsatisfied. A JPEG is consequently sharpened, yet a Raw photograph isn’t. In this way, whenever you’ve gotten done with your openness and differentiation settings, head to the sharpening tab. It’s the one that resembles two mountains. Before you move that sharpening slider, however, make it to 100%. You can utilize the amplifying glass apparatus at the upper left, or type in 100% in the zoom enclose the base left corner. With the photograph zoomed to 100%, it’s not difficult to track down the right degree of honing. A lot of will investigate handled. On this equivalent tab, you can likewise diminish the commotion in a picture by shooting with a higher ISO. Utilizing the clamor decrease sliders will diminish a portion of the fine subtleties, however, so use with alert. The best three noises decrease sliders help diminish the general appearance of noise, while the last two steps with shading noise, or uneven colors of uncommon tones from high ISO‘s.
I hope you got the details from here regarding editing a raw image by Adobe camera raw. If you like to know more, please put your comment below. Have a great day!


