Photo-shop layers mask contains so many tricks and tips . In this article , I will describe layer masks tips and tricks . Layer Masking is helpful for creating resemblance synthesis , cutting out body for use in another paper works and restraining edits to part of a layer. It is used to display some portion or sometimes it is used to conceal some portions of an image. Masking is really essential for complex photo retouching such as : fur,hair,feather refinement . Masking techniques help us to rectify all the flaws and bring out the real looks on a photo. Layer masks contains so many tips and tricks and some of them are very popular and they are :
Tricks 1:How can you include a layer mask that conceals the content of a layer : Basically , we press on the add layer mask symbol for including a layer mask . Photo-shop includes a white layer mask automatically which covers the whole layer visible . Also you can include a layer mask which conceals the whole contents of the layer . Click on the ALT (For windows) or option Key(for mac) and press add layer mask symbol . When you use this command , photo-shop generates a mask with black which conceals the contents of a layer .

Tricks 2:How quickly you can remove a background : make sure that the layers is selected and also make sure that it is in locked position. Click on the lock icon. Go to the properties panel . You will find a option “Quick action”. You will find “remove background ” option there . Click on that option. Photo-shop automatically removes the background and generates full focus on the subject. When you use the masking technique , sometimes the edges are not perfect. One way you can reduce this problem. Use minimum filter technique . Choose the layers thumbnail < go to filter < choose Other < choose minimum. A window appears . Set the radius value . Enable the preview option . If you are working with human material then set the preserve mode as roundness. Do not increase the radius value too much.
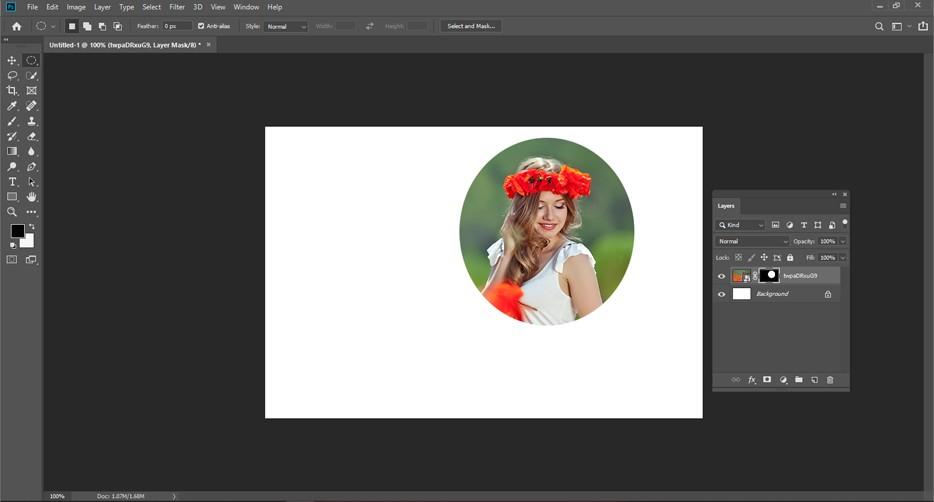
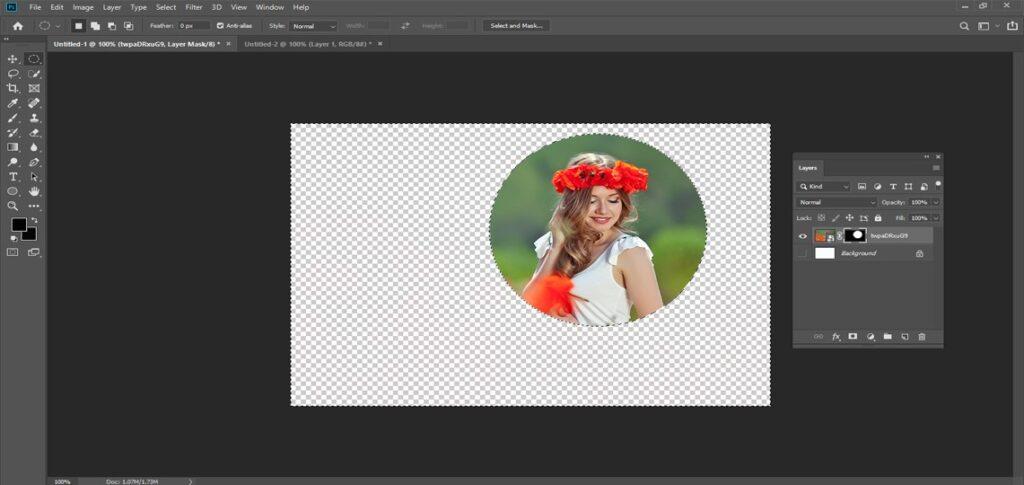
Tricks 3 :How to disguise or invisible any selected portions when including a layer mask : If you want to include layer mask , then first of all create a selection . Apply elliptical marquee tool for selection. Draw a selection throughout the main subject . Press the “Add layer mask” symbol . photo-shop transforms the selection into a layer mask . Only selected parts will be visible and rest of the parts will be invisible . Also you can disguise the selected part invisible and can make the outside area visible . Click and hold on the ALT key or OPTION key and press on the add layer mask symbol . It will conceal the selected part and outside parts will be visible .
Tricks 4 :How to see layer mask in quick mask : Click on the backslash key from your keyboard to see the layer mask in red layer . Press the backslash key one more time if you want to go back to its previous view .
Tricks 5 : How to disconnect layer mask from its layer : As we all know that layer and mask are always connected each-other. If you want to disconnect this , there is a link symbol between the two thumbnails, press on that link symbol to disconnect.
Use the move tool to the layer mask without moving the layer : Go to move tool < select the layer mask < Pull the document to see if it is working or not . You can move the layer mask without moving the layer . Because you pull the mask , the picture remains in its place .
If you want to work with the layer not with the mask : Select the layers thumbnail to work with the layer. If you want to move the image throughout inside the mask , then press and pull the move tool .
If you want to reconnect the layer and layer mask again , then you need to press between layer and layer mask to bring back the link symbol. Now you can move the layer as well as the mask .
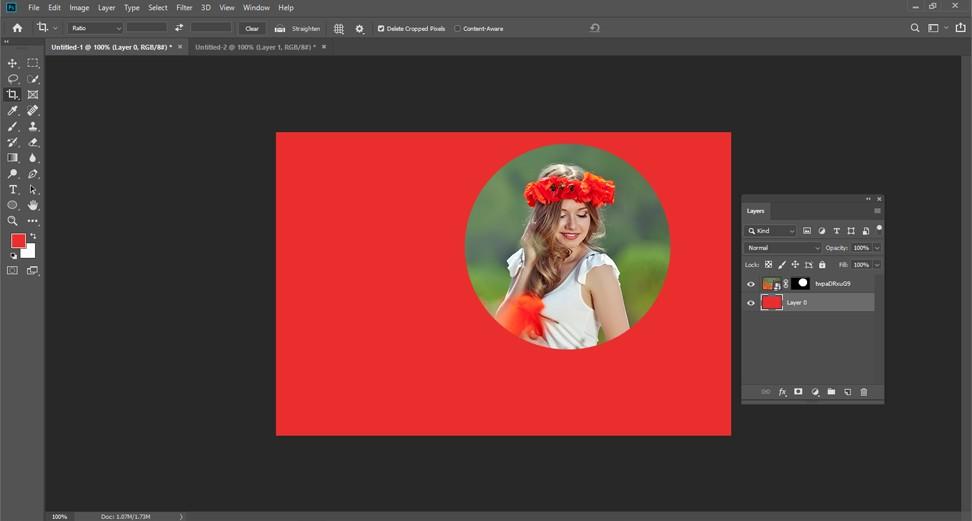
Tricks 6 :How can you move a layer from one to other : Include another image to your document and set it on a layer over the first layer. The second picture closes the actual image fromscene. From the layers panel , Press and pull the mask on the new layer to move a layer from one to another .Leave the mouse to set the mask into right position .

Tricks 7 :How to remove or cutout a layer mask : to cutout a layer and its mask , go to the layers panel < press on the layer < click on the backspace key or click delete . The layer and mask will be removed within a very short time . If you only want to remove the layer mask then press right click on the layer mask < pick out the option “Delete layer mask” option. It erases the mask but the layer will be there .
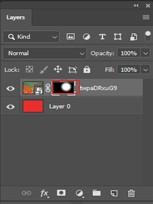
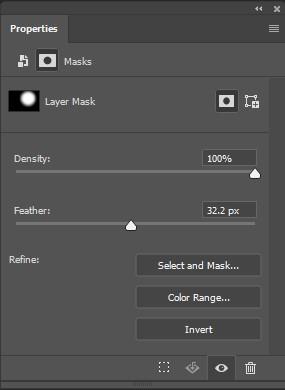
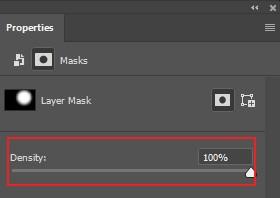
Tricks 8:How to dim a layer mask : Photo-shop properties panel contains two great layer mask options . One option is feather and other option is density. Density option allows to dim the effect of the layer mask . And feather options helps to make the edges more soften and gentle . If you want to use vignette effect then follow the procedures. Include a layer mask at first. If the layer mask options is not visible , then go and select the layer mask symbol . Apply the density slider to fade the layer mask . Increase the density option more to get the effect . Take a look of the layer mask thumbnail and you can see that portions of the mask becomes more faded . You can use the 100 % density effect if you want to conceal the portions which is outside of the selection .
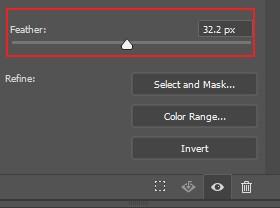
Tricks 9 :Apply feather option on a layer mask : If you want to create gentle edge and want to give vignette effect, use feather option from the properties panel . Move the slider into right side to make the edges gentle . If you move the slider more , you can make the edges more soft and vignette effect .
Apply all these tricks for your image and get perfect photos .


