Achieving the most out of Photoshop with a small amount of effort and time, there are two different methods we must need to know— first how to use layers, and second how to use keyboard shortcuts. The layers make and keep our work very flexible, while the other way keyboard shortcuts help us achieve our goals as fast as possible.
Show And Hide Layers Panel
By default, Photoshop’s Layers panel appears in the panel column along the right of the screen:
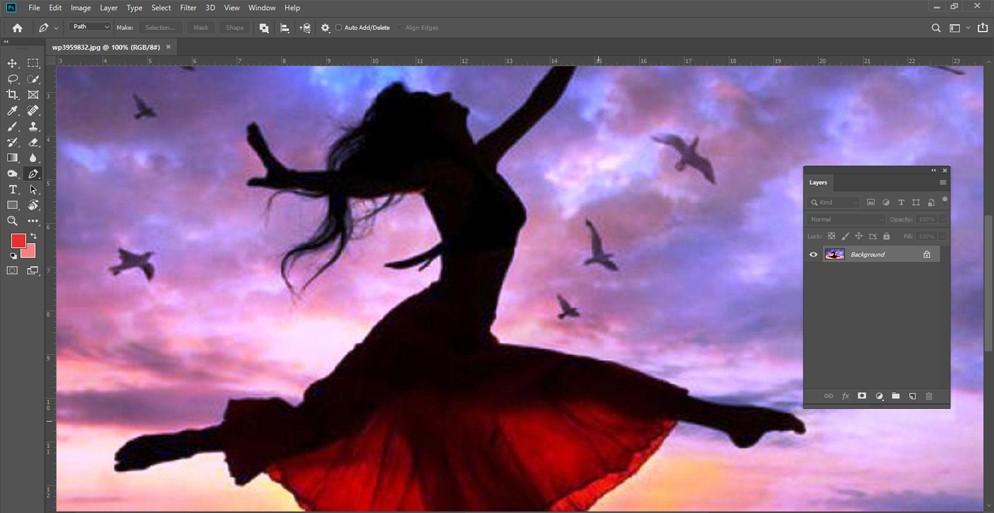
You can easily show or hide the Layers panel by just pressing the F7 key on the keyboard. Press F7 one time to hide the Layers panel. Press F7 once again to show it. Also, remember that this will also show and hide the Paths panels and Channels since they are nested in with the panel in the group of the same panel.
Making A New Layer
We can also make brand new layers directly by the keyboard without clicking the New Layer icon at all. To make a brand new layer from your keyboard, just press down Shift+Ctrl+N (Win) or Shift+Command+N (Mac). Photoshop will quickly open the New Layer dialog box so you can give the new layer a definitive name.

If you do not want a new layer’s name, just press Shift+Ctrl+Alt+N (Win) or Shift+Command+Option+N (Mac) on the keyboard. This will escape the option of the New Layer dialog box and just simply add the brand new layer with one of Photoshop’s normal names.
Copy A Layer, Or A Selection To Another Layer
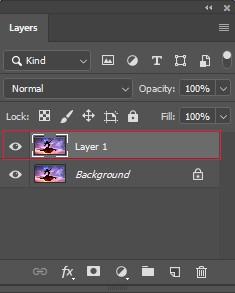
To fastly create a copy of a layer, or a selection to another layer, just press Ctrl+J (Win) or Command+J (Mac). Before it’s added,If you really want to name the layer yourself then just press Ctrl+Alt+J (Win) or Command+Option+J (Mac) which will open the New Layer dialog box.
Copying A Layer During Moving Time
For copying and moving a layer at the same time, first you have to select the layer you need in the Layers panel. Then just press the letter V on the keyboard to select the Move Tool. Now just press and hold your Alt (Win) or Option (Mac) key as you click and drag to move it on the layer in the document. Without moving the real layer, you will move a copy of the layer while the original stays in the default place.
Add A New Layer Below The Currently Selected Layer
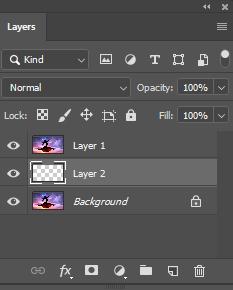
In general,A new layer is added above the layer that’s currently selected in the Layers panel by Photoshop, but we can also add new layers just below the recently selected layer. All you need to do is just press and hold the Ctrl (Win) or Command (Mac) button on the keyboard as you click the New Layer icon.At the same time if you wanted to name the new layer just press and hold Ctrl+Alt (Win or Command+Option (Mac) instead.
At Once Select All Layers
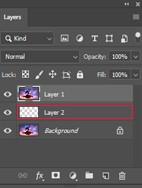
For selecting all layers at one time,just press Ctrl+Alt+A (Win) or Command+Option+A (Mac) key.Remember that this selects all layers without the Background layer.
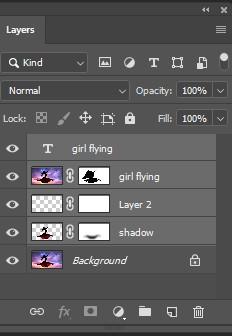
Multiple Layers Selecting
For selecting multiple layers that are neighboring, just tickle on the top side layer to select it, after that just press and hold your Shift key and click on the bottom side layer.
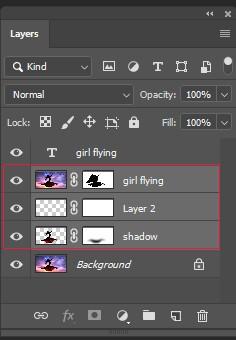
This will select the bottom layer and the top layer and also all layers in between them. Another method to select a number of layers that are all directly above or below each other is to just press and hold Shift+Alt (Win) or Shift+Option (Mac) and press the left and right bracket keys on the keyboard. By clicking the right bracket key the layer will add above the currently selected layer to your selection. Continue pressing the button to move the upper side the layer stack and select more layers. And on the other hand by pressing the left bracket key the layer will add to the below of the currently selected layer. You can press it repeatedly to move down the layer stack adding more layers.
For selecting multiple layers that are non-neighboring just press and hold your Ctrl (Win) or Command (Mac) button and click on each layer you want to select.
Scroll All The Layers
To scroll through all the layers in the Layers panel, you have to press and hold Alt (Win) or Option (Mac) and use your left and right bracket keys. The right bracket key scrolls the upper side through the layers; the left bracket key scrolls the bottom side.
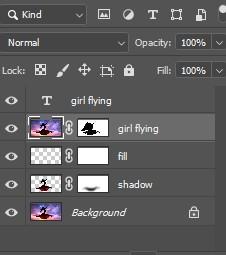
Moving The Layers to Up or Down
To move the selected layer to the upper or bottom side of the layer stack, then just press and hold Ctrl (Win) or Command (Mac) and just use your left and right bracket keys. The right bracket button takes the layer upper side; the left bracket button takes it down. Remember that this does not work with the Background layer since you can not move out the Background layer. Also, you will not be allowed to move any other layers below the Background layer.
Directly Jump A Layer To The Top Or Bottom Of The Layer Stack
For a direct jump the pre-selected layer straight to the top side of the layer stack, just press Shift+Ctrl+] (Win) or Shift+Command+] (Mac) button. For jumping the selected layer towards the bottom of the layer stack, or to the position just above the Background layer, press the button Shift+Ctrl+[ (Win) or Shift+Command+[ (Mac). Also, remember that neither of these shortcuts works with the Background layer.
Show And Hide Layers
You may know that you can temporarily hide a layer in the document if you have been ever using Photoshop. You can do it by clicking its visibility icon in the Layers panel.
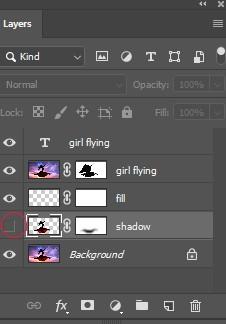
What you probably do not know is that you can hide every layer for a little time without that one layer by pressing and holding your Alt (for Windows user) or Option (for Mac user) button as you just click the visibility icon. Notice that the visibility icon is visible only for my Dancer layer, which tells you that every other layer in the document is now hidden. Only that one layer remains visible. To turn all the layers back on, again press Alt (Win) / Option (Mac) and click the same visibility icon.