Photoshop Pointillism effect depends on the viewer’s ability to take back and allow the eyes, in full tone, to blend small colored points. It is now a simple process to recreate the effect using Photoshop, a technique of painting that became famous in the late 1880s for its complex and challenging detail. The colors of the points are specially selected and arranged to make our eyes view a wider range of tones from a distance. It may be that digital photos work the same way if the concept of pointillism looks similar to you. A photograph is just lines and columns, each of which is set to a specific color when viewed closely. But we see a full-color photograph from a distance, a constant tone. Printers do use a similar method to produce a comprehensive full-color impression with small cyanine, magenta, black and yellow dots on the paper.

Here, I will demonstrate to you how easily you can create the pointillism effect using a comparable color palette of a real image that you want to use. You need 2 images to do this: one of the images to which you want the effect to suit the colors and another of a real painting.
Open the picture in Photoshop for the Monet painting then open the picture in Photoshop to apply the effect of pointillism. To reset the original image colors, click on ‘D’ on your keyboard. Go to Photograph > Modifications > Match Color for the document containing your image. Set the intensity of lighting and color to 100, select the painting file we opened before, and click OK from ‘Source.’ Next, Go with Layer > Layer Duplicate.
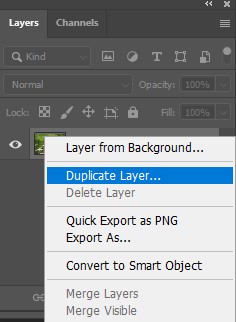
Type ‘Paint Daubs’ on this layer and click OK and Go again to Layer > Copy Layer with the ‘Paint Daubs‘ layer active.
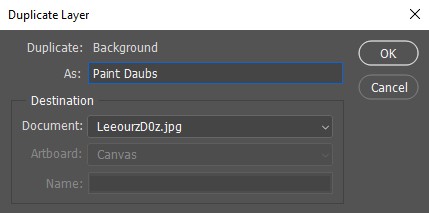
Name the layer as ‘Pointillize,’ click OK this time. After that, Go to Filter > Pixelate > Pointillize with the layer selected. Click OK and set the cell size to 3.
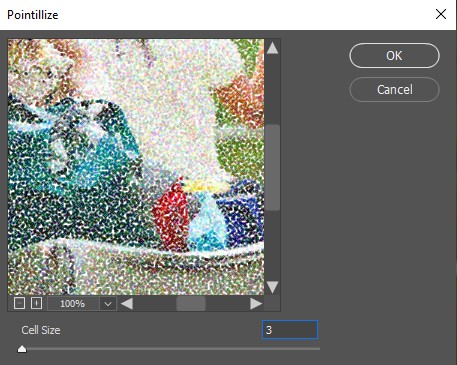
Note: It depends on your image size, you can change cell sizes. Reduce opacity to 55% for the “Pointillize” layer.

Select a layer called ‘Paint Daubs’ and go to Filter > Filter Gallery.
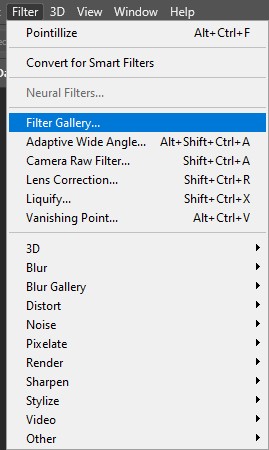
Choose the ‘Paint Daubs’
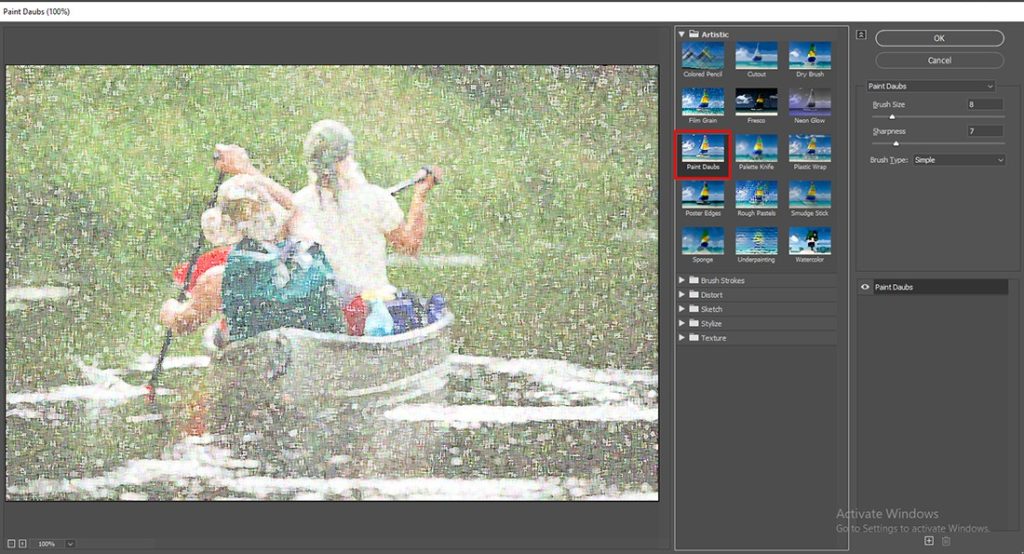
impact, follow the appropriate parameters, and click OK under ‘Artistic.’

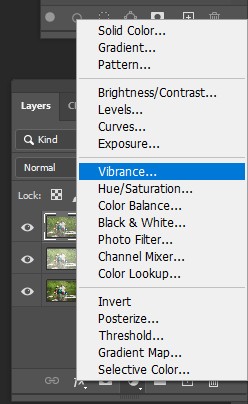
Select the layer “Pointillize” and go to Layer > New Add Layer > Layers.
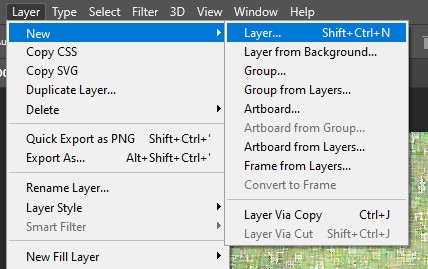
Set the Levels name and OK. Set the Levels name. Set the Shadow and Illustrate input levels in your preferences in the Levels Properties panel.
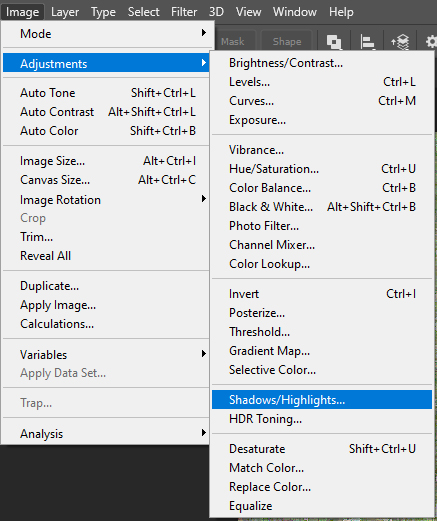
You have to set Shadow Input Level 70 and Highlight
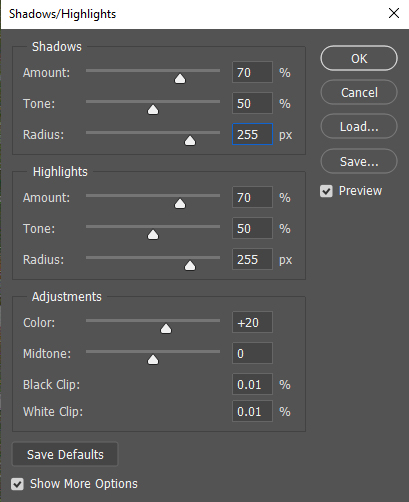
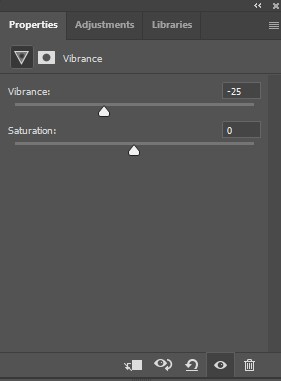
Input Levels 225 to make the colors a bit more vibrant
and more contrasting.
An unforgettable time, effort, and skill requires a true pointillist art. As we will see, it’s quick and easy to fake a dotted painting in Photoshop. The combination of the filters Pointillize, intelligent filters, and layers blend modes is all required. The only true trick is knowing, which point size will best work for your image,

but we will see how the pointillism effect can be easily edited at the finish of the tutorial so that the best results are always achieved. The punching effect is easy, you see, in Photoshop and you can only create many variations by changing the values we used and using these based on your image size. Having the same procedure for this tutorial, there are some illustrations of the effect implemented on other images.