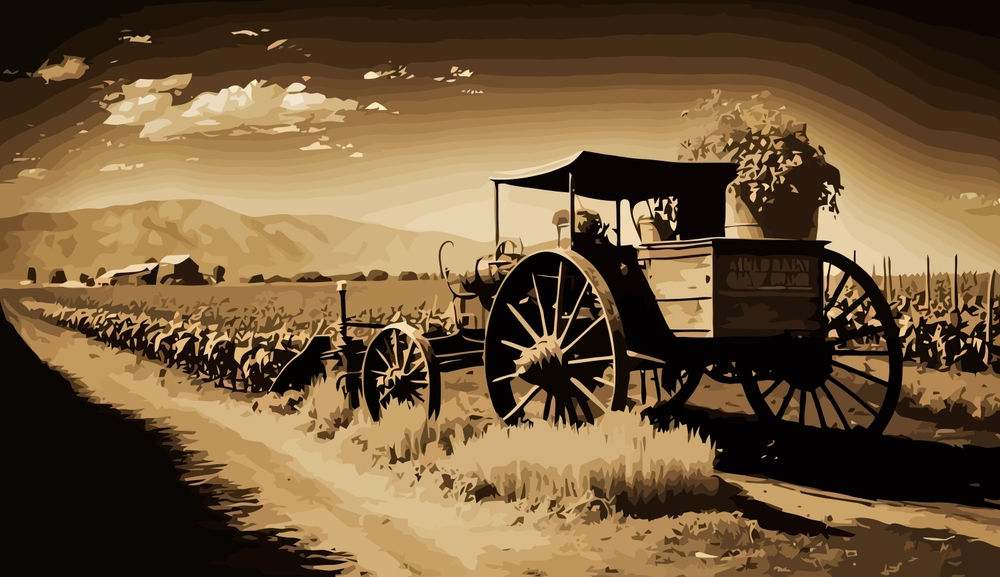
Adobe photo-shop is one of the best image editing software in this technology-based world. We all modify our photographs more or less just to make the photos more alluring in front of others. No matter what others say, photo-shop is really very helpful and useful software for us. It has multiple functionalities to solve any kind of problem. Photoshop is like a mysterious gem. It contains so many effects, so many filters and so many tools by which anybody can create their picture from good to best. Within a short period of time, anyone can get their desired photo looks with the help of a photoshop. Photo-shop offers non-destructive procedures and techniques and it has become so much popular all over the world. In a photo shop, a gradient map is one of the most rarely used items. Gradient map permits us to apply the “Photographic toning ” on our photo. Using this item, you can turn your picture so amazing and you can give an antique look using this.
In this article, I will describe how to apply photographic toning in photo-shop CC 2014 and how can anyone make their images so beautiful. Let’s get started.
What is called Toning Photography?
Importance of using “ toning ” on our photo :
Purpose of using Toning photography?
What is the location of photographic Toning in Photoshop?
What are the procedures for using toning photography?
Adjustment layers permit us to use various effects on our photos but as a separate individual layers. It permits us to improve it later without modifying the actual photograph. Gradient Map is hardly used for image editing purposes. For image modifying purposes, one of the hardly used adjustment effects is the gradient Map. It is used on rare occasions. The gradient map uses gradient film throughout the photo. It is a great effect. Gradient map permits us to use “Photographic toning effects ” depending on the prepared and organized Preset. And when you apply this photographic toning effect to your photo, the final looks will be amazing to look at. Try this and make your image more beautiful and eye-catching.
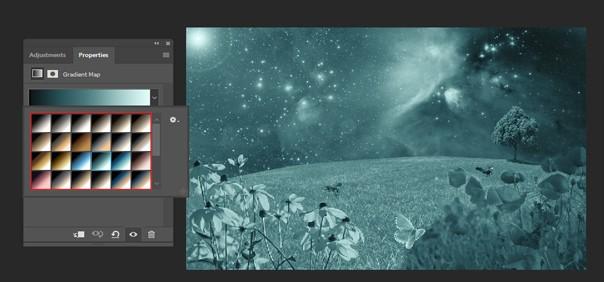
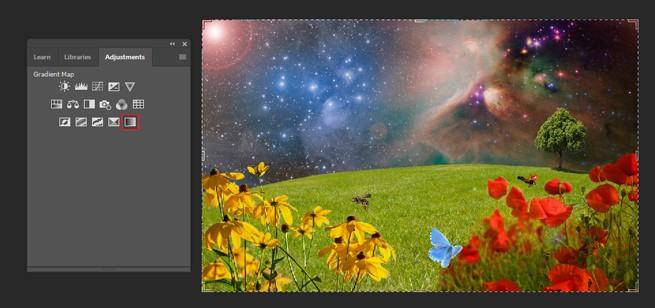
Step 1: Open your photo-shop application. Load your desired photo in the photoshop. Go to the top of the screen and select “Window ” < Choose “Adjustments ” from the window.

Step 2: Now Choose the “Gradient Map symbol” from the Adjustment panel. In the layers panel, a new adjustment layer will be displayed upward of the photo layer after selecting this.
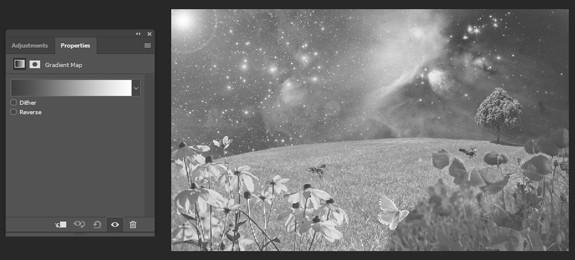
Step 3: After Selecting the adjustment layer, press on the Arrow indicator which is beside the gradient in the properties panel. After clicking on this, a gradient drop-down table will be displayed.
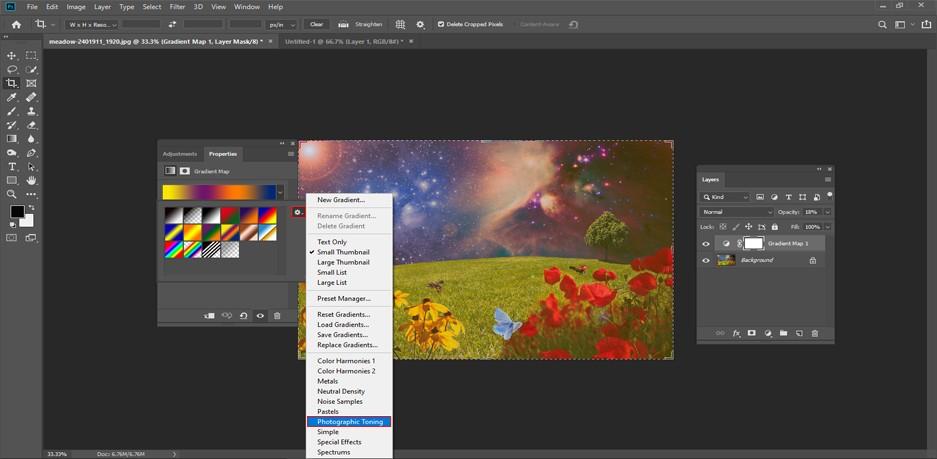
Step 4: On the right side of the gradient viewing box, there is a tiny gear symbol. Press on that symbol. A menu will be displayed.

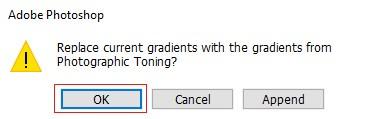
Step 5: Choose the option which is named “Photographic toning” from that menu. A note will be displayed and it will ask you if you wish to replace the present default form of gradients with the ones you are inserting. You can press the OK option because it is much more comfortable to operate with them if they are not included in the present Set. Also, you can go back to the default gradient only selecting the “reset gradients”. You can reset it from the displayed menu. In simple words, it will allow you to select how to include the new gradient into the preview box. Select to include it to mix it with the present gradient.
Step 6: There will be different types of effects. Select as per your wish. Press any of the freshly included photographic tones gradient to know the various toning effect. If you want to improve it, Press on the gradient preview.
Step 7: The final outcome may differ based on the variety of the gradient.
It is the entire procedure of how easily you can apply photographic toning to your image. Also, you can apply this approach in terms of quick toning and you can customize the gradient just to make your personal toning layer. Besides these, you can know so many things from the layers panel.