Creating shadows in Photoshop can add depth and realism to your images.
Here’s a step-by-step guide on how to create a basic shadow:
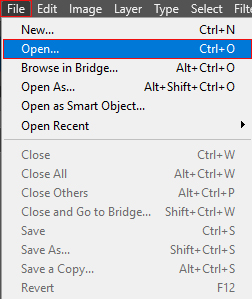
1. Open Your Image:
Open Photoshop and load the image on which you want to apply the Creating shadow.
2. Select the Layer:
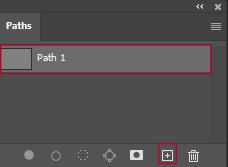
* Create New Path
* Select the “Pen Tool” from the toolbar on the left.
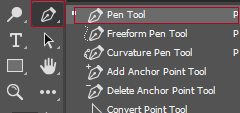
* Create a path around the subject by clicking to set anchor points and dragging to create curves.
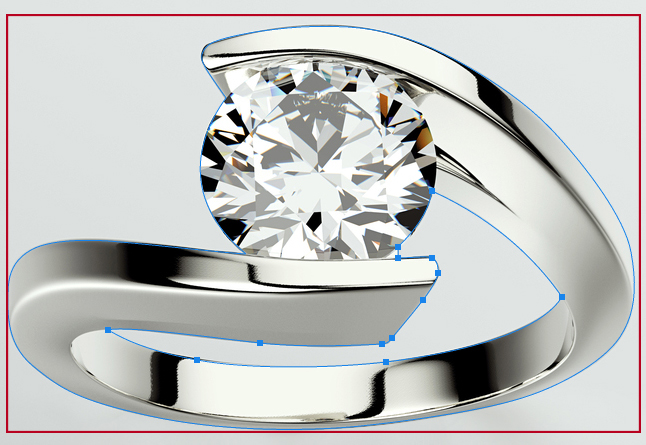
* Once you’ve closed the path, right-click on it and choose “Make Selection.” Set the Feather Radius to 0 pixels and click “OK.”
* Go to the “Select” menu and choose “Modify>Father” Set the Feather Radius to 0.5 pixels and click “OK.”

* Select the background layer and copy the layer from the keyboard with Ctrl+J
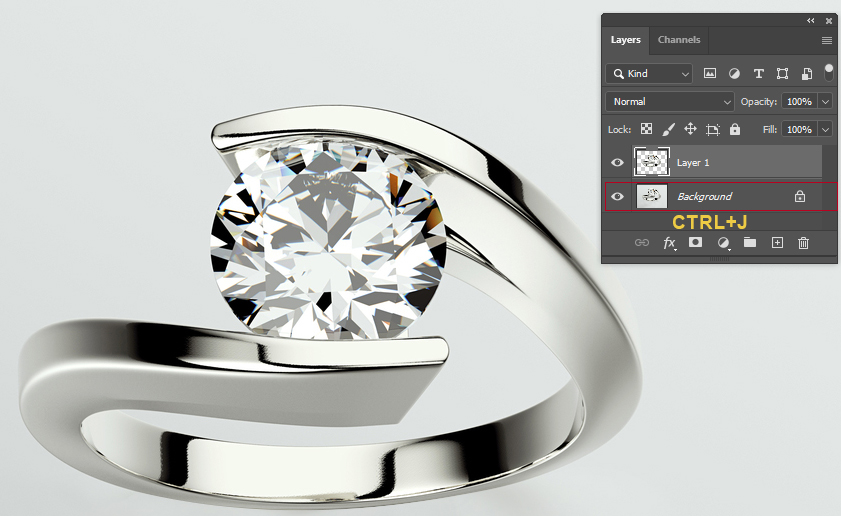
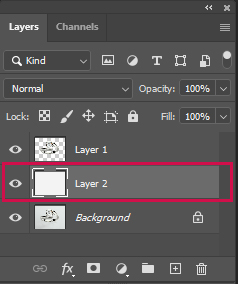
* Select the background, create a new layer, and give the background color (keyboard with Ctrl+delete)
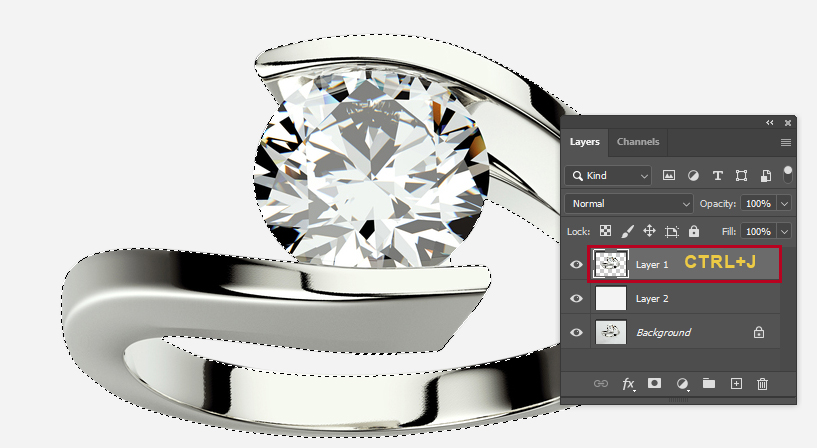
3. Select the Object:
* Select the object layer and copy the layer from the keyboard with Ctrl+J.
* Select the copy the layer selection the object and give the foreground black color (keyboard with Alt+delete)creating the base for your shadow.
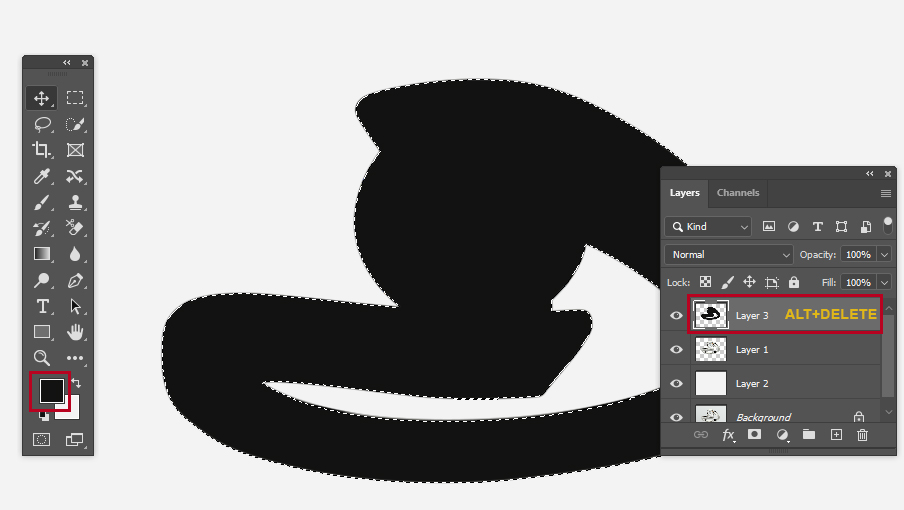
-The shadow layer will be below the object layer.
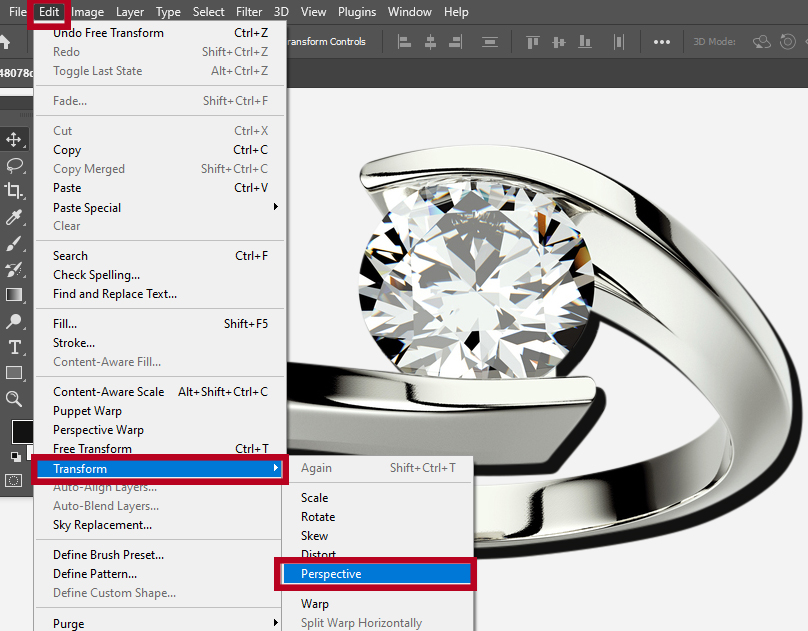
4. Transform the Shadow:
With the shadow layer selected, use the Move tool (`V`) to move the shadow to the desired position.
You can go to Edit > Transform tool (`Ctrl + T` or `Cmd + T` on Mac) to resize and rotate the shadow to match the light source and object’s perspective.
5. Blur the Shadow:
Go to Filter > Blur > Gaussian Blur to add a subtle blur to the shadow. Adjust the radius until it looks natural and blends well with the surroundings.

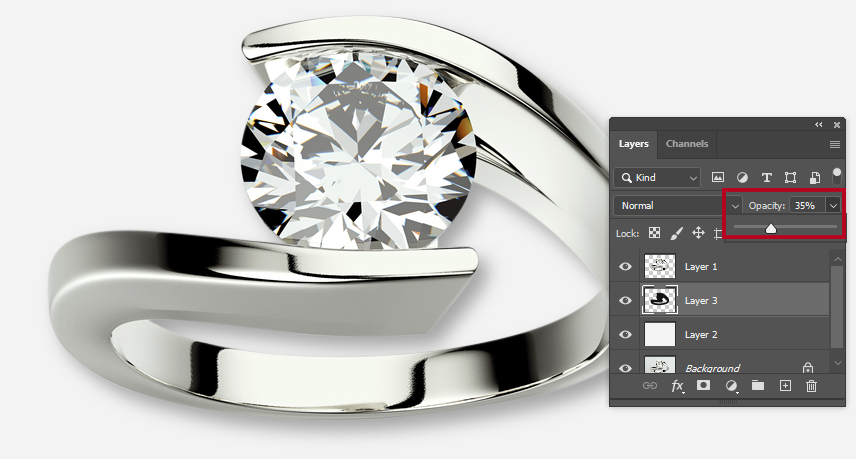
6. Adjust Opacity:
Lower the opacity of the shadow layer to make it more subtle. You can do this by adjusting the opacity slider in the Layers panel.
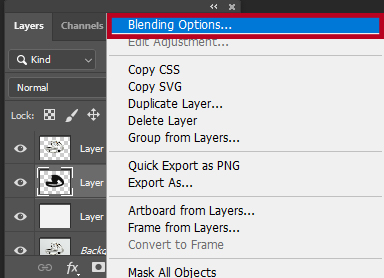
7. Fine-Tune with Layer Styles (Optional):
Right-click on the shadow layer and choose “Blending Options.” You can use the settings in the Layer Style dialog, like Blend If sliders, to fine-tune the appearance of the shadow.
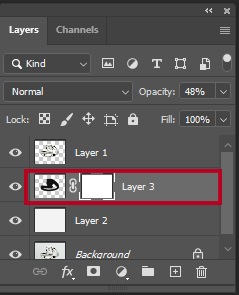
8. Add a Layer Mask (Optional):
If needed, add a layer mask to the shadow layer and use a soft brush to mask out parts of the shadow for a more realistic blend with the background.
9. Save Your Work:
Once you’re satisfied, save your work.
Remember, the key to creating a realistic shadow is to pay attention to the direction and intensity of the light in your image.

Experiment with different settings until you achieve the desired effect.


