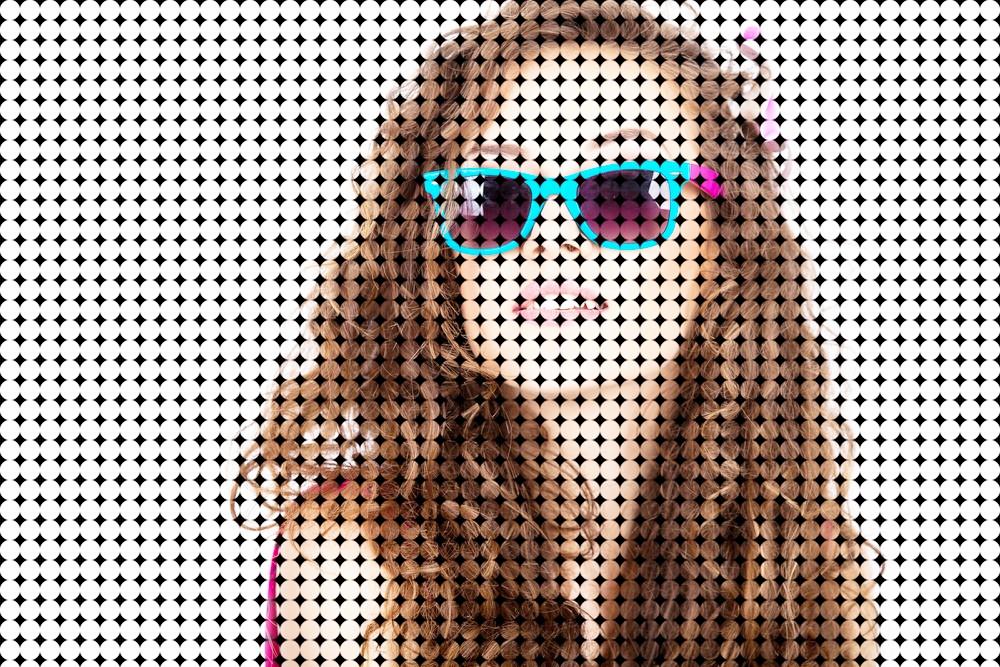
In this article , I will describe how to turn a photo into a pattern of color dots with photo-shop . All the process are given below.
Step 1 : Select your desired Picture: Select the picture. Go to the layer and the image is named as background.

Step 2 : Change the background layer as a Smart Object : Change the background layer into smart object . Press twice on the background layer and set a name. Set the name as “Photo”. Now return back to the layers panel. Go to the top < Go to the right side < Press on the menu Option < Select “Convert to smart object”.
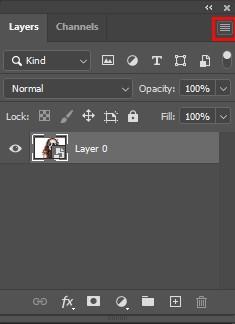
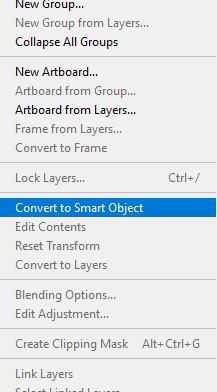
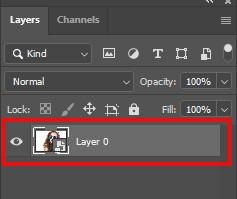
By doing so , you can change the layer into smart object . An icon appears in the layer . It means that you have successfully changed the layer into smart object.
Step 3 : Insert a New fill or Adjustment layer : Press on the “New fill or adjustment layer symbol” if you want to include background color to the color dots effect . New fill layer symbol is situated at the bottom of the layers panel. Go to the new fill layer symbol < select “Solid color”.

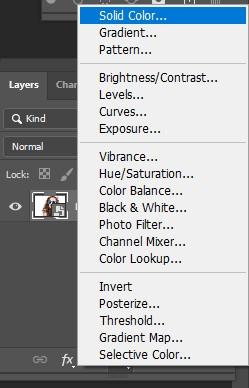
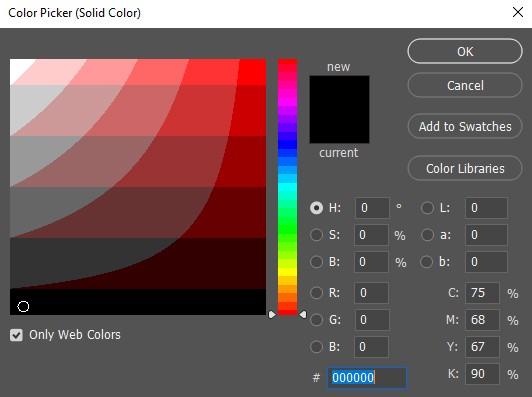
Go to the color picker dialog box, select black. Hit the OK button. Photo-shop fills the entire file as black.
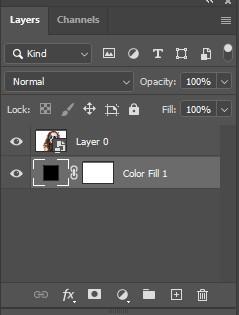
Step 4 : Pull out the “Fill layer” beneath the image:Solid fill layer is situated upward of the image in the layers panel. It is obstructing the image from viewing. If you want to get back the image in the document , then press on the fill layer and pull it down beneath the photo layer. If a white box appears , then leave the mouse to put the fill layer into perfect position. Now you can see the image easily in the document.
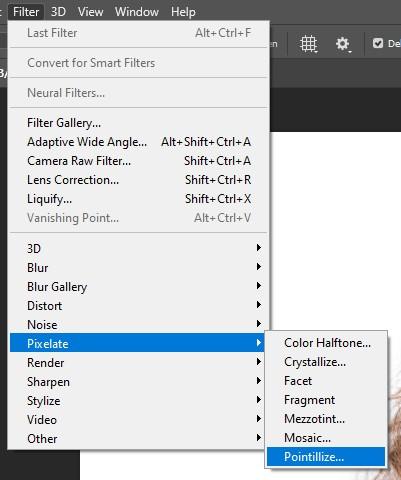
Step 5 : Use Mosaic filter On your image : To create dot pattern in your image , first of all you need to use mosaic filter on your image . Change the image into cubic shape. Choose the photo layer < go to the top < select filter < pick out pixelate < Select “Mosaic”. Mosaic value box will be appeared.
Set the cell size as per you want. Cell size manages the format of cubic or squares of your image. Keep an eye on your image and modify the value . See which value works best for your image . And set that value by pulling out the slider into left or right side. For example give the value 50.
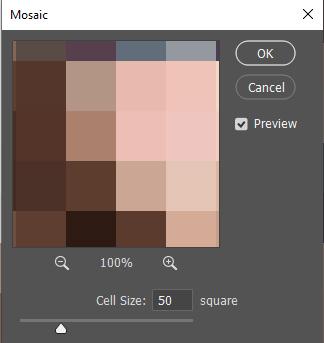
It is not mandatory . You can set any value which goes perfect with your image. Click OK.
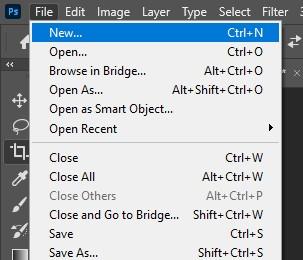
Step 6 : Now make a new document: You will be needed a new document for creating dot patterns. Go to the file < select New.
Place the height and width value same as the cell size value. Give height and width value 50 .
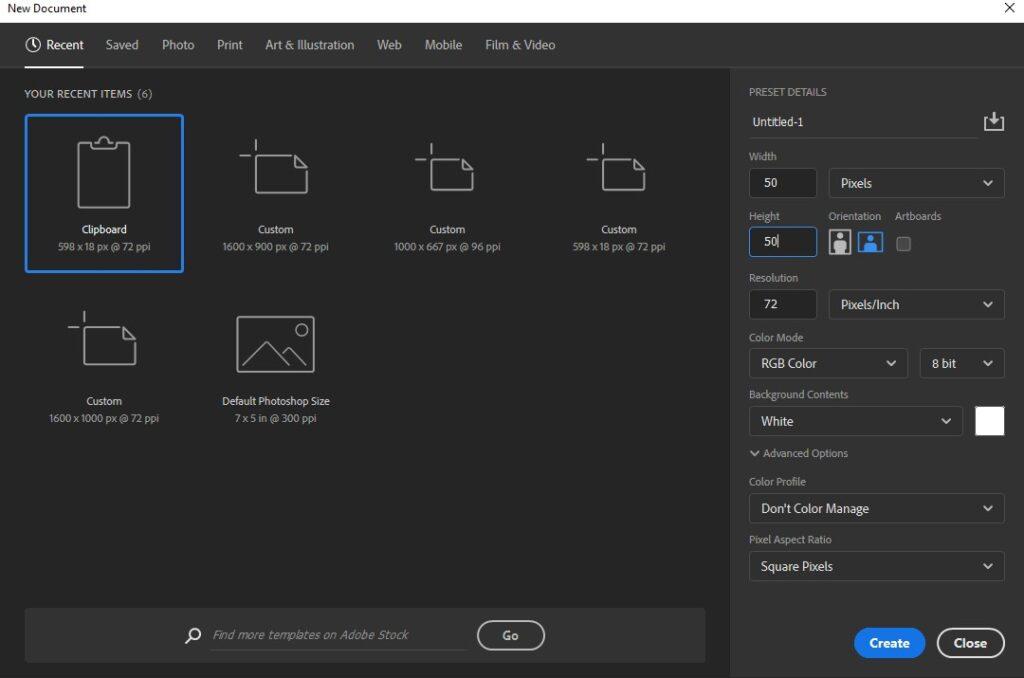
Now it will make a document which co-ordinates with the size of the cubic. Place the background contents mode as “White”. Hit OK(PS CS6) or Create(PS CC). Atiny document box is created . As the box is very tiny , so use the zoom tool option. Click and hold on the CTRL+SPACE (Windows) or COMMAND + SPACE (MAC). Press in the document if you want to zoom it.
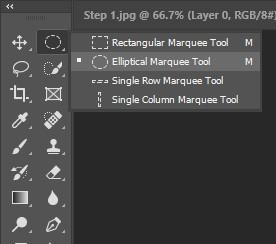
Step 7 : Pick out the elliptical marquee tool: To select the elliptical marquee tool , click on the rectangular marquee tool < then select elliptical marquee tool.
Step 8 : Create a circular layout: press in the upward left corner of the document and pull it down to the right side corner. When you are pulling the circular layout , click and hold on the SHIFT key. It helps you to produce an accurate circular outline. As soon as you arrive in the right corner of the bottom , leave your mouse button immediately , and then leave the SHIFT key.
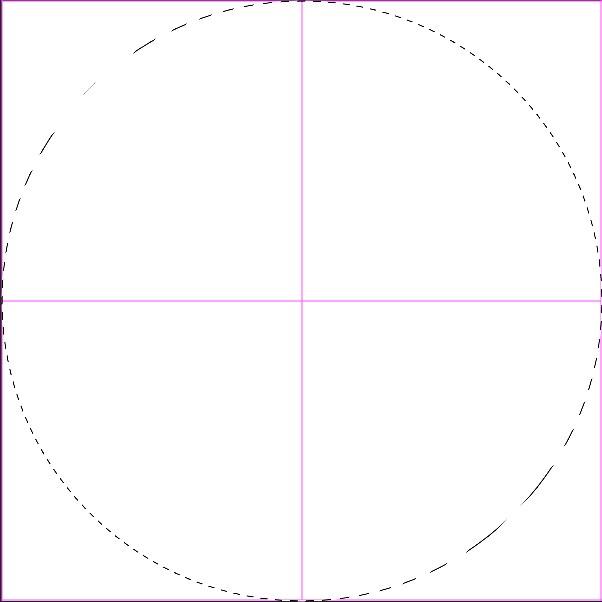
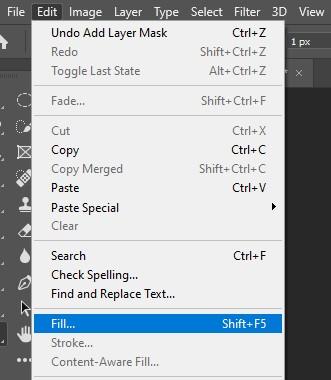
Step 9 : Use the “Fill option” and set the contents mode into black: The area we have selected , we have to fill the selected area with black. Go to the top < Select Edit< Select Fill.
Fill value box appears. Place the Contents option as “Black”. Opacity 100 %. `
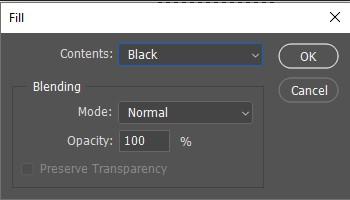
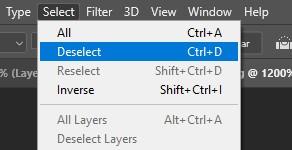
Photo-shop covers the selected area with black. Go to the top < press in the select option < Pick out “deselect” to detach the selection layout .
A matrix pattern appears in the circular part . It is called pixel grid. To turn off the pixel grid , go to the top < select “View” < Select “show” < pick out “Pixel grid”.
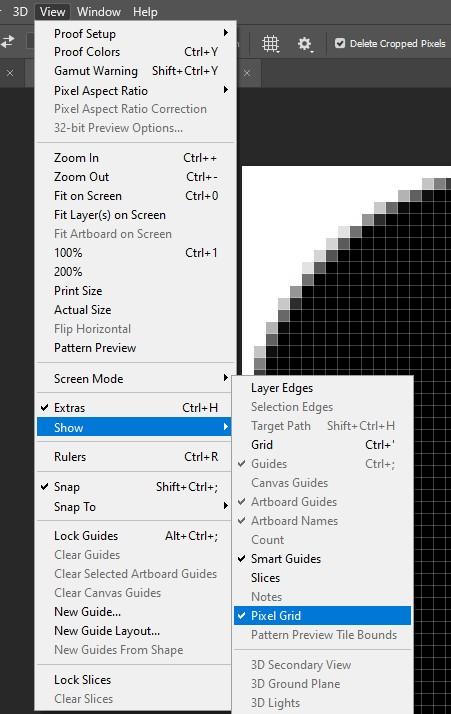

Step 10 : Select the Invert option:

now you can see that the circle is filled with black and the background is white . But it should be opposite. The circular part should be white and the background part should be black. Go to the top < select “Image”<< Select Adjustments << Pick out “Invert”. It reverts the color . The circle turns white and the background is black.

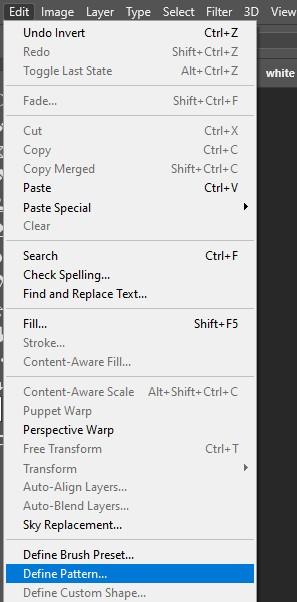
Step 11: Use “Define pattern” option: Go to the top < select “edit”< select
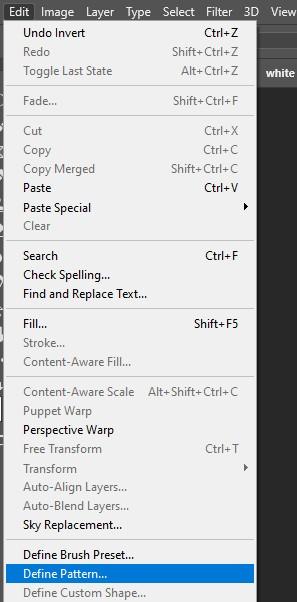
“define pattern”if you want to set the dot into pattern. Set a new name for pattern name. The dimension of our document is 50*50 pixels.

So set the pattern name as “circle 50*50 px”. Hit the OK button. Now circular document is not needed. To turn off the circular document , go to the top < select file < select “close”.
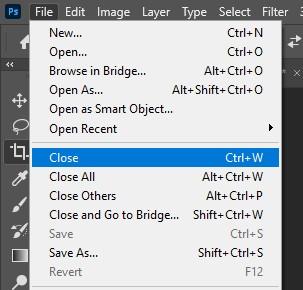
A message will be popped out whether you want to save it not. Click No (for windows) or click DON’T Save (for mac).
Step 12 : Include a layer mask : Ensure that you have selected the “photo” layer. Go to the bottom and press the “ layer mask” symbol. Now you can see that the layer mask thumbnail arrives right beside the photo layer. It is a white box which defines that it is a mask . It is not a layer.
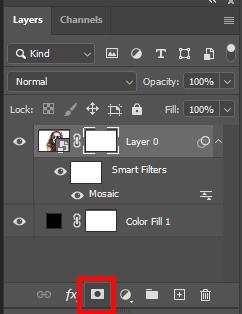
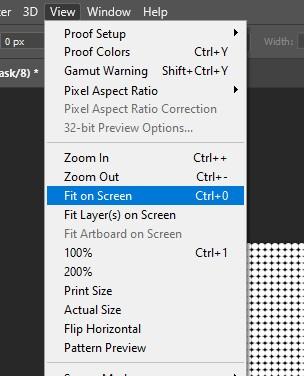
Step 13 : Give dot pattern in the mask and Change the size of dots: We have to provide the dot pattern in this mask. Go to the top < select “Edit”< select “fill”. Place the contents mode into “pattern”. Press on the “custom pattern”. It is a drop-down option. Click on it and select dot pattern that you have made. It will be in the last . Press OK. You can see that photo-shop covers the whole mask with dot patterns. Try to zoom and notice that every dots contains separate colors. This happened because you have selected the mosaic filter. To zoom out,Go to the top < select view < select “fit on the screen”.
What if you do not like the dot patterns?
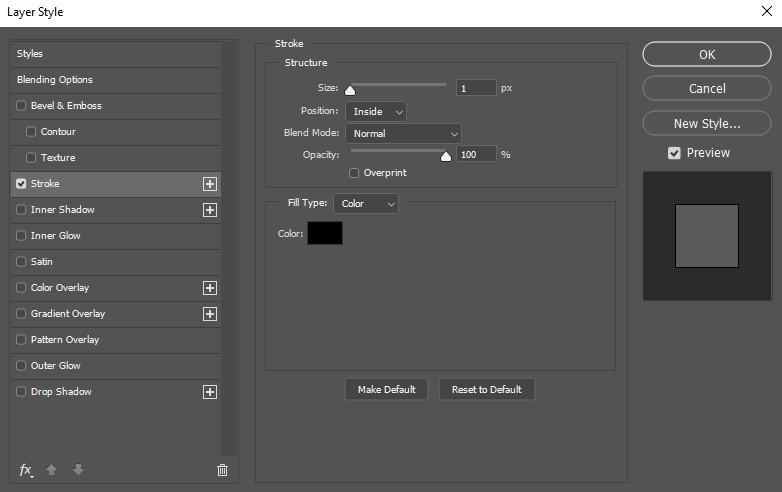
Step 14 : Select or include strokes throughout the dots: To magnify the entire effect more and more , include a stroke throughout the dots. Go to the layer style symbol or click Fx symbol < pick out “stroke”. Layer styles value box will be popped out. Place the color mode as black. Place the size “1 PX” and position mode should be set as “inside”. Hit the OK button. Now every single dot contains a black stroke throughout it. It focuses on the ring shape more clearly. To check the effect of strokes , press on the eye symbol of the stroke . Turn it off and turn it on and see the difference.
Step 15 : Include Vibrance layer :
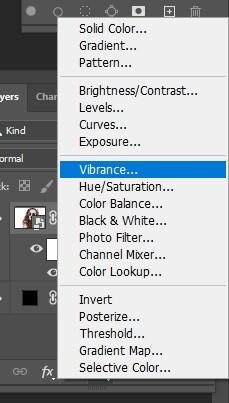
If you want to produce color inside the dots , you have to include vibrance adjustment layer. Press on the “New fill or adjustment layer symbol. Pick out vibrance . Vibrance adjustment layer arrives upward of the photo. From the properties panel , you can manage the vibrance option. Pull the slider into right side and increase the value. The dots looks more lovely and more lively .
Step 16: To illuminate the image , select levels: Color dots makes the dark effect on the entire image which looks not so great. To illuminate the image ,
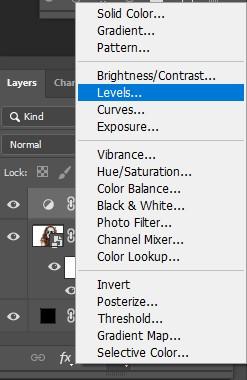
select the new fill or adjustment layer < pick out levels. Levels adjustment layer arrives upward of the vibrance layer. Only modify the normal mode into “screen”.
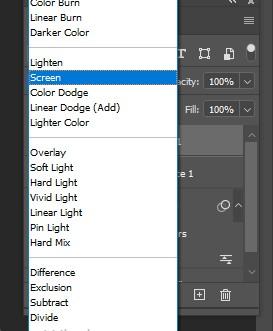
If the entire image is shinning a lot, then reduce the opacity value. Now the photo is perfect . This is how you can turn a photo into a pattern of color dots with the help of photo-shop.
