In Photoshop we can create realistic water reflections. This tutorial in Photoshop demonstrates a fast way to add water reflection to a photo. Some of the tricks Colin bring in to incorporate a more realistic touch. As we will see, the water reflection effect is created in three main parts. We will begin by creating the fundamental reflection by copying our picture, dragged it well below original, and then dragged it to reflect the image above at the bottom. We will add movement blur and blue, to make the reflection focus more like water. We will generate a displacement map from there, a special type of Photoshop document, which we’re using to adjust, warp and reorganize our picture. And finally, we will use our displacement map to create waves and rips that look realistic! We will even insert a shadow mostly along shoreline that appears as if it were pitching into the water. There are a few steps, but I will walk through every step as ever, so even when you’re a beginner you can simply move it.
You first of all open the image in Photoshop that you want to modify. Then click on “Picture,”
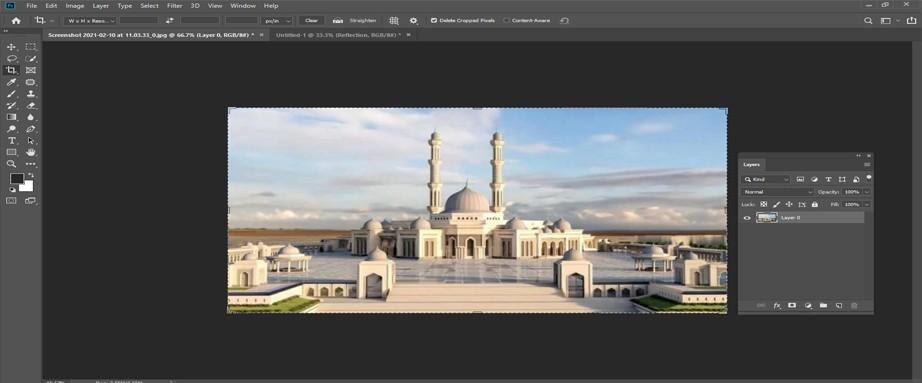
double the “Height.”
Then go to “Image” Make sure the anchor point is the top. Point to remember that the crop tool

can also be used and the picture can be cut bigger than the size. We will begin to create the reflection in this step.
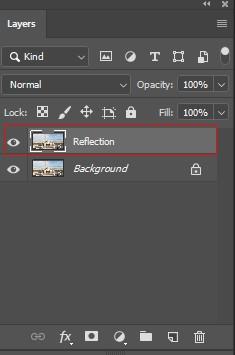
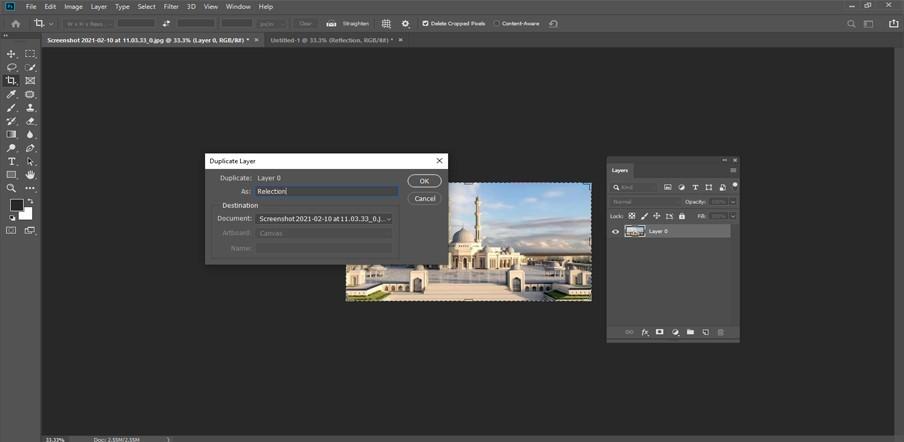
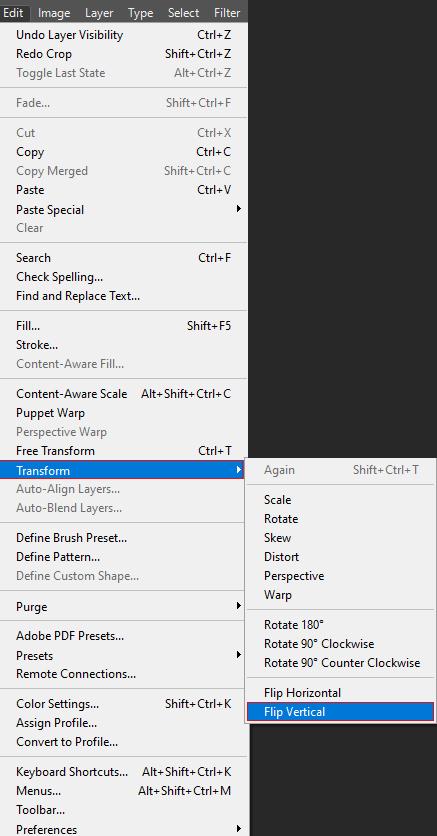
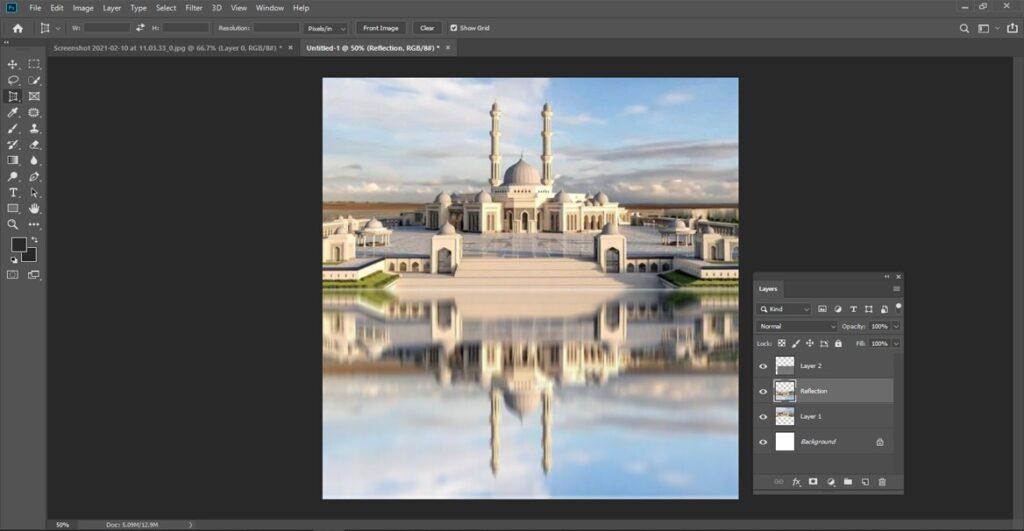
Thus, double the previous layer and call it “Reflection” CMD/Ctrl+J Then go to “Edit>Transform>flip”.
We’re going to create a blur now. Filter>Blur>Blurring movement.
Adjust the angle to 90° and 30 pixel distances. Set the brush size to 150 pixels,
durability to 0 and strength to 20 per cent, select “Smudge Tool.” To create irregularities that are characteristic of a water surface, use this tool. We suggest that you try settings to get the outcome that you most like.
The water ripples have to be created now. Make a new layer now, complete it with white. Just go filter>noise>add noise.

Go to filter>noise. The “distribution” to Gaussian is set to 400%, and monochromatic is checked.

Go to Filter>Blur>Blurry movement. Specify the angle and distance to 0 degrees and 40 pixels. We’re going to change the contrast now. To do this, please click Ctrl+L and use: We will work on the aspect to continue making the ripples seem much more real. Go to “Edit,” “Transform,” and click “Outlook.” Just go down (left or right) to the bottom corner and drag out the corner. Drag and drop the same in a top corner.
This is the result you ought to get. Go to “Filter” and “Blur” and “Blur” from Gaussian: put 3 pixels of radius. Now set the opacity of the layer to 30% and the soft light blend mode. Duplicate the preceding layer to invert the colors, press Ctrl + I and set the level blend mode to Overlay and opacity to 25%. Make sure to put these 2 layers between the original and ‘reflection’ layers

In Photoshop, we provide some tips for applying water reflections.
Attaching these reflections is an excellent way to make it look like water is in the front. A few things must be remembered. We added a large white gradient in the foreground in order to simulate the failure or reflection in the atmosphere for big clouds, or just haze. If it seems naturally, don’t be inclined to accept some color to it. Every picture is different and needs a different touch.


