Clipping masks are also known as Photoshop mask. It is a group of layers. Clipping masks are similar to layer masks. But actually clipping masks and layer masks are different. While layer mask uses black and white to show and hide different parts of the layer, clipping mask uses the content and transparency of one layer to control the visibility of another. It something like that, cut images out and stick them on another paper. Clipping masks are very handy in many ways during graphic design.
When you want to create frames for photos or typography, a clipping mask in Photoshop can make the process very much simpler for you. Typography is widely used in different places in Photoshop. It can add it to posters, pamphlets, or other designs where you need to add a font. So if you want to take your designing up a notch, use a clipping mask for your fonts.
You will need minimum two layers to create a clipping mask. The bottom layer contains actual content like pixels, shapes, or type. But for the transparent part of the layer on the bottom is, the same area on the layer above it will be hidden. It’s confusing how a layer mask works, but clipping masks are easy to use. Multiple layers can be added to the clipping mask there is no limit. And you can also have more than one clipping mask in a file. Photoshop allows you to clip multiple layers into a single mask.
A mask layer and a clipped layer
If you look in the Layers panel, you see the image that you select, on the Background layer. You need at least two layers to create a clipping mask one that will be clipped to the mask and another one to serve as the mask. That’s why you need to add a second layer. Then unlock the Background layer.
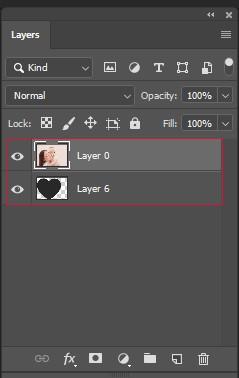
Click the lock icon to unlock it in Photoshop CC. if you are using Photoshop CS6 or earlier, then press and hold the Alt (for Windows user) / Option (for Mac user) key and double-click on the Background layer. Press and hold the Ctrl ( for Windows user) / Command (for Mac user) key and click the Add New Layer icon to add a new layer below the picture. A new layer named Layer 1 will appear below the photo, layer 0 is the before layer. Now you have two layers in the document. You can turn the bottom layer into the mask, and the picture above it will be clipped to the mask.
How to create a clipping mask in photoshop
Photoshop provides the amazing feature of Create Clipping Mask, which is in the Layer Panel. Clipping masks use the content and transparency of the bottom layer to control the visibility of the top layer.
Step 1: Select the layer which will be clipped
To create a clipping mask, first you need to select the layer which is going to be clipped to the layer just below it. The top layer will be clipped to the bottom or base layer. Make sure you select the top layer.

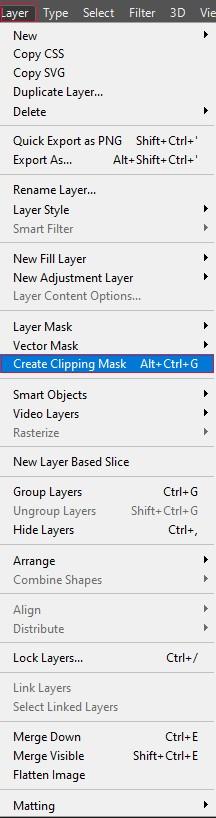
Step 2: Choose create clipping mask
Go to the layer menu in the menu bar and choose Create Clipping Mask. When the layer mask will be created, the Layers panel now shows the top layer indented to the right, with a small arrow pointing down at Layer 1 below it. In this way, Photoshop tells that the top layer is now clipped to the layer below.
How to release a clipping mask
Go to the Layer menu choose Release Clipping Mask and release the clipping mask. You can see the top layer is no longer indented to the right, as well as it’s no longer clipped to the layer below.
Adding content to the clipping mask
Add some content to the bottom layer and click the top layer’s visibility icon to hide the photo so you can see what you are doing. To make it active click on the bottom layer. To add content, just draw a simple shape and select the Elliptical Marquee Tool from the Toolbar. You need to do right-click (for Windows user) / Control-click (for Mac user) on the Rectangular Marquee Tool and choose the Elliptical Marquee Tool from the fly-out menu. Then click and drag out an elliptical selection outline in the center of the document. Go to the edit menu in the menu bar, choose Fill. Set the Contents option to black, and click OK. Photoshop itself fills the selection with black. If you want to remove the selection outline from around the shape, then go to the select menu and choose deselect.
Creating another clipping mask
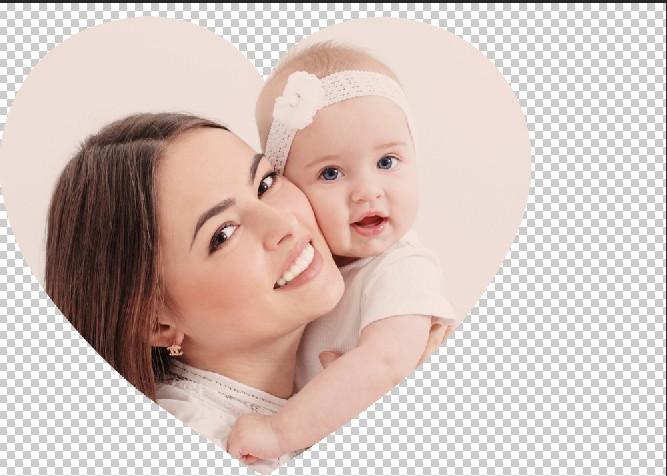
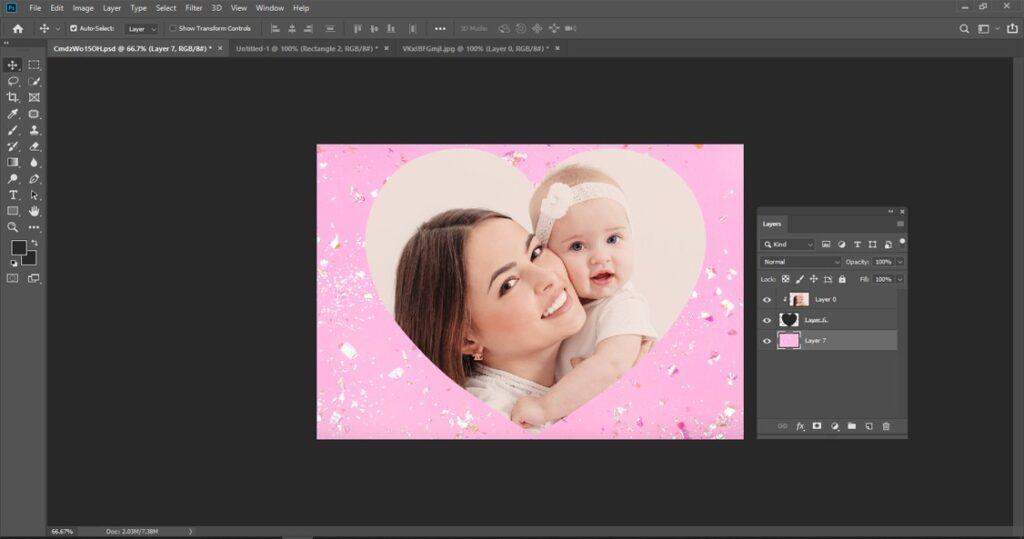
Now you have added some content to the bottom layer, so create another clipping mask. Again, you need to select the layer that will be clipped to the layer below, to do that click on the top layer to select it. And click the top layer’s visibility icon to make the picture on the layer visible. Go back to the layer menu and again choose Create Clipping Mask like before. But you will see a very different result in the document this time. The section of the image that’s sitting directly above the shape on the layer below it remains visible. The only parts of the image that are hidden are the areas surrounding the shape.
When to use a clipping mask
Layer masks are the best option for blending layers with seamless transitions, and clipping masks are the perfect option when your photo needs to fit within a clearly defined shape.

The clipping mask can also be used to fill a vector shape with a photo, or to place a photo inside text. The Photoshop clipping masks are a useful feature. It can make your work easy and saves lots of time by giving you satisfying results.


